Add Code to Custom Panels in Blocks
Blocks enables you to create custom panels for your action bars, so that when a site builder clicks an action bar button (for example, the Settings button) - a custom panel opens.
Creating your panel has two main parts. First, design your panel by adding its elements and customizing them. Then create your panel logic, to determine how it interacts with the widget or to control the behavior of the panel itself.
API reference for panel elements See all panel elements API reference so you can work with them in your code.
To add code to your custom panel:
- Go to Editor Experience
 in the left menu and select the Panels tab.
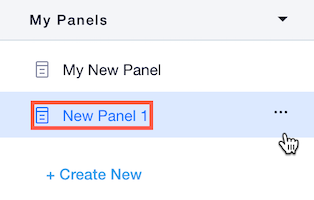
 - Make sure that your panel is selected in the Panels section on the left menu (or create a new panel, if you haven't created it yet).
-
Go to your panel's code section.
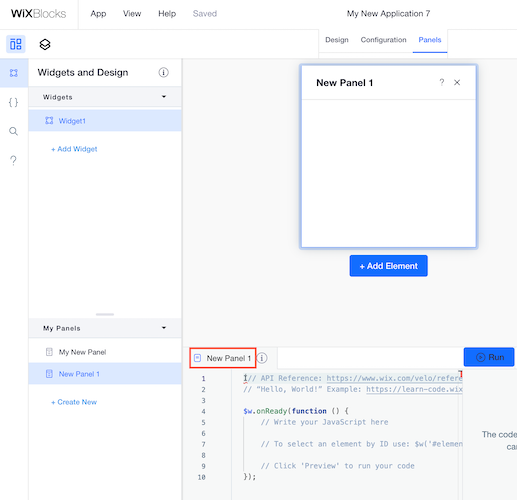
Write whatever you want to happen in the onReady function of your panel's code.
Panel elements
Custom panels are made of unique user interface (UI) elements, such as buttons, checkboxes, drop-down lists and more. See the list of elements and the Velo API reference for all panel elements.
Velo modules for Blocks custom panels
To enable panel elements to interact with your widget and perform actions in the editor, use one or more of the following modules in your panel code:
について ウィックスウィジェット module controls your widget's properties, design presets, and more.
1
について ウィックスエディター module interacts with the Editor to remove or restore widget elements, open Dashboard panels, and more.
1
Interact with widget properties
Panels are often used to manipulate your widget API properties. For example, in a shopping widget, users could turn a "special sale" property on and off, through a toggle element in the widget's panel.
1
Show and hide widget elements
Here is a way for showing and hiding an element through the panel code:
1
Interact with widget design presets
Here is an example of changing the widget's design preset from the panel code.
Note that Blocks also provides a default presets panel to any widget that has presets. This example is just in case you want to create your own custom design and logic for it.
The panel has two thumbnails with the presets name as their values, for two different preset layouts, and looks like this:

Here is the panel's code:
1
Interact with a nested widget
This example shows how to set a "Sale" or "No Sale" tag in the widget props, but for a nested (inner) widget.
1
Interact with the panel itself
In some cases, you might want to manipulate what happens within the panel itself. For example, you might want some of the panel elements to be hidden if they are irrelevant.
This panel for the Login Bar Settings button has a toggle, which determines whether or not to show a greeting before the user's name.
To make your toggle switch work:
- Select the toggle switch element.
- Change the ID to a meaningful name in Properties & Events
 The toggle switch here is called
 showGreetingSwitch. - Change the ID of the text box element. Here it is called
greetingText. - Add the following code to your panel's
onReady()function:
1
Interact with a collection
You can access your app collections in Blocks from the panel code, and perform various actions, such as query, insert, etc.
You can also access a collection on a site where your app is installed.
Just make sure to use the app namespace.
For example, write this in the panel code to query your app's collection:
1
Connect and test your panel
After making your panel work, don't forget the next steps:
-
Connect your panel to an action button, if you haven't done it yet. When a site builder clicks that action button, your panel will open.
-
Test your panel across editors. We recommend that you install your app on both a Wix Editor and a Wix Studio site, to check how the panels work and look the way you want them to.