Wix Restaurants: Designing and Printing Your Menu
読了目安時間: 2分
重要だ:
この記事はオリジナルのWixレストランメニューアプリについての記事です。新しくなったメニューアプリをお試しください。Wixレストランメニューアプリ(新)の追加と設定方法についてはこちらをご覧ください。
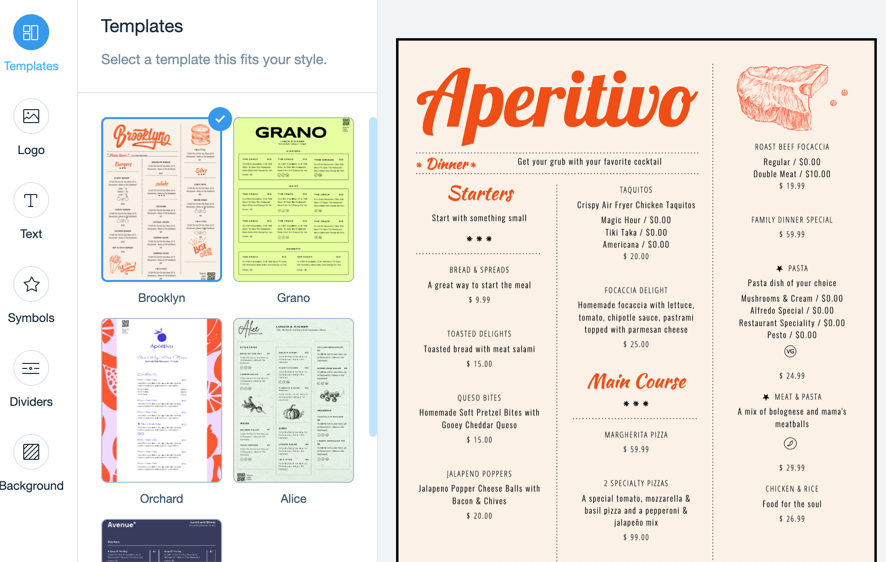
Choose one of our designed templates and customize a printable menu for your restaurant. You can set the font style and colors, add your restaurant logo and a scannable QR code for your customers to scan and order online. Once you're done, click Download Menu to download your menu in PDF format.
To design and print your menu:
- サイトのダッシュボードにあるメニューに移動します。
- Hover over the menu you want to customize and click the Print icon
 .
. - Customize your printable menu:
- Templates: Click on a template that suits your restaurant.
- Logo: Add your restaurant's logo and QR code for online orders:
- Click Upload to upload your restaurant's logo from your computer.
You can also click Create a Logo to create one with the Wix Logo Maker. - Enable the QR Code toggle to include a scannable QR code on your menu for customers to scan and order online.
- Click Upload to upload your restaurant's logo from your computer.
- Text: Hover over the relevant text style and click Customize to set the styles for text on your menu (menu, section and dishes):
- Dish description: Click the toggle to show or hide descriptions of dishes in your menu.
- Font: Click Change Font and choose a font for your menu.
- Text style: Click to bold, italicize or underline the text.
- Alignment: Choose to align the text to the left, center or right.
- Text color: Choose a color for the text or enter a hex code.
- Size (px): Set a size for the text or drag the slider.
- Symbols: Select a set of symbols and set their colors.
- Dividers: Use dividers to separate the different sections on your menu.
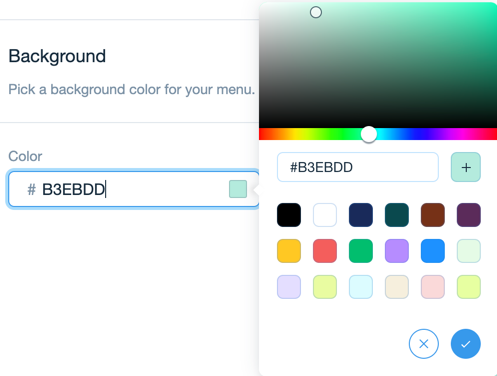
- Background: Choose a background color for your menu. You can also enter a hex code.
- Click Download Menu to download your menu in PDF format.
これは役に立ったか?
|