Wix Events: Creating a Seating Map
13分で読める
Create a seating map so guests can purchase specific seats for your event. You can create seating around tables, rows of seats, areas with unreserved general seating (e.g. a standing room only area), or a combination of any of the above.
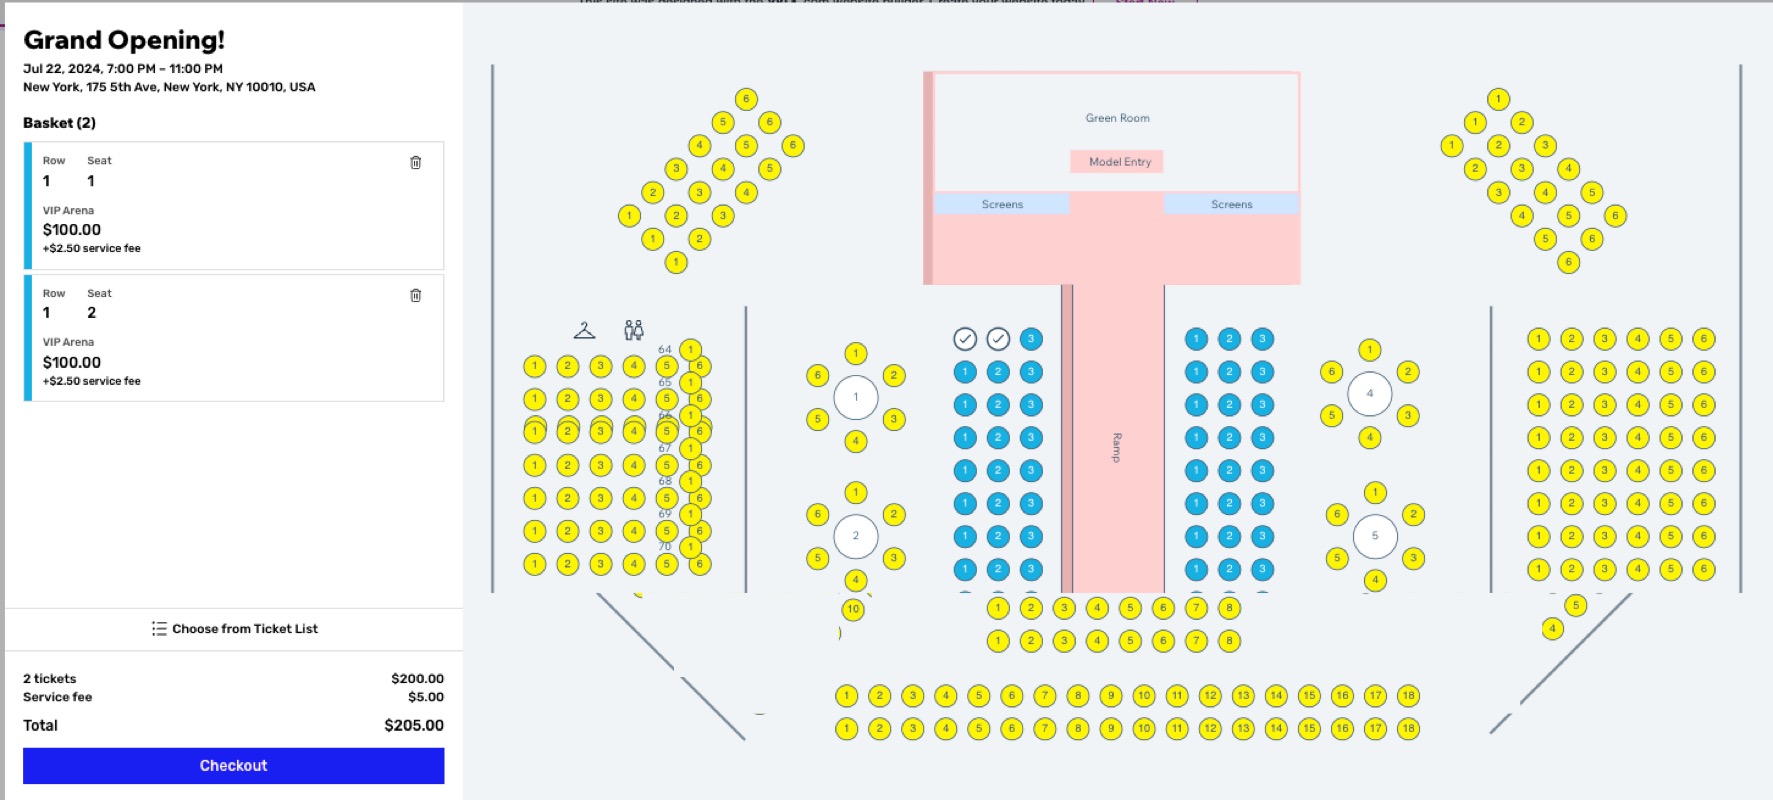
When guests buy tickets, they click to select the seats they want to purchase from the available seating.
Step 1 | Create an event draft
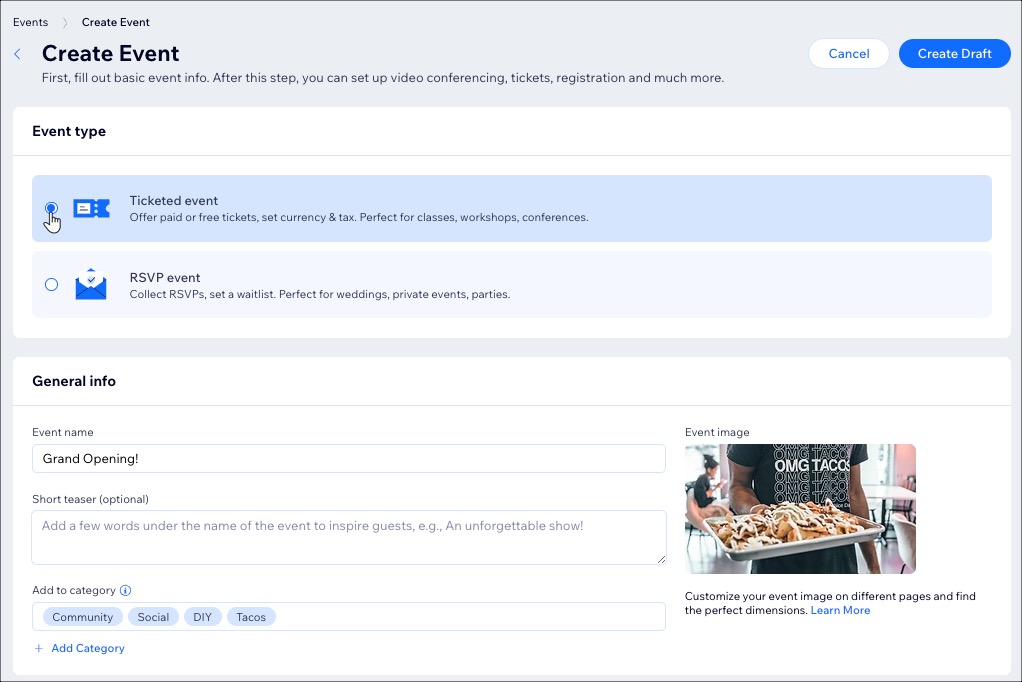
Start by creating an event. Make sure it's a ticketed event, as the tickets are directly related to the seating map you're about to create. When ready, click Create Draft.
ヒント
Build your seating map while the event is still a draft (or while registration is closed) so guests don't purchase tickets before they're connected to specific seats.
Step 2 | Create event tickets
Create up to 50 different ticket types to match your seating map. For instance, if front row seats cost more than back row seats, you can create two ticket types, each for the different pricing areas.
Alternatively, if all tickets are priced the same, you only need one ticket type.
To create event tickets:
- Go to Events in your site's dashboard.
- Select the relevant ticketed event.
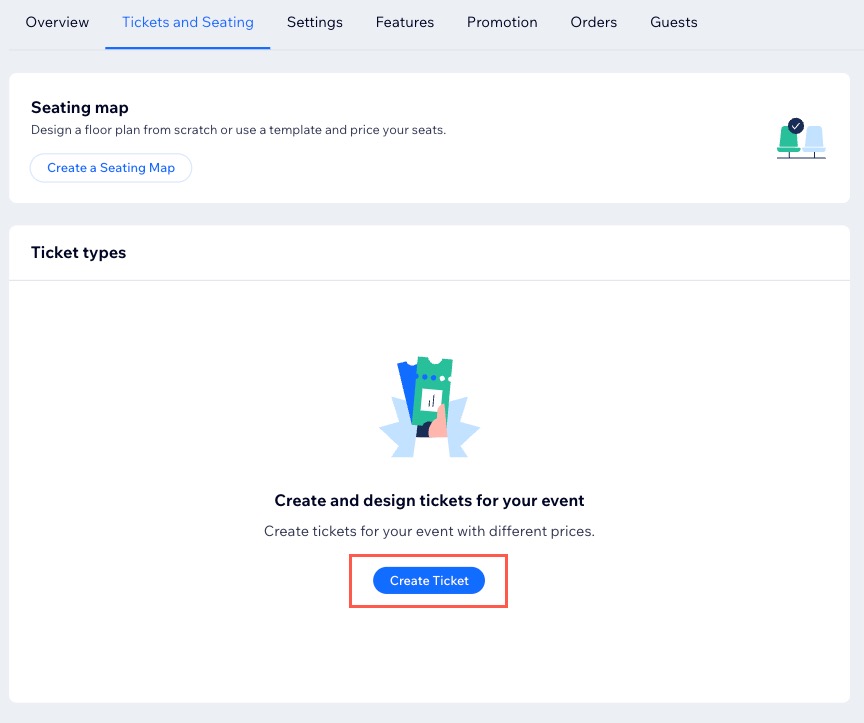
- Click the Tickets and Seating tab.
- Create the ticket types you need for your event (e.g. 15 table seats, 90 row seats, and 20 standing room only places). Learn more about creating tickets.
Tip: You can edit these tickets later or add additional ones.
ヒント
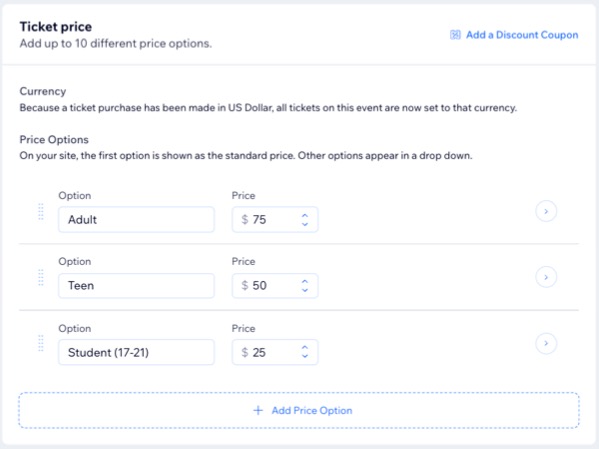
You can create separate ticket types for the same area (e.g. orchestra, balcony) using Price Options. For example, you can sell orchestra tickets at different prices for adults, teens, and students.
Step 3 | Create the seating map
Now it's time to create the seating map for your venue. You can start from a blank canvas or select a map that already has row seating, tables, or both and edit it.
ヒント
In this step, you'll just create and save the map. In the next step, you can add the specific seats you need to reflect your venue.
To create your seating map:
- Go to Events in your site's dashboard.
- Select the relevant event.
- Click the Tickets and Seating tab.
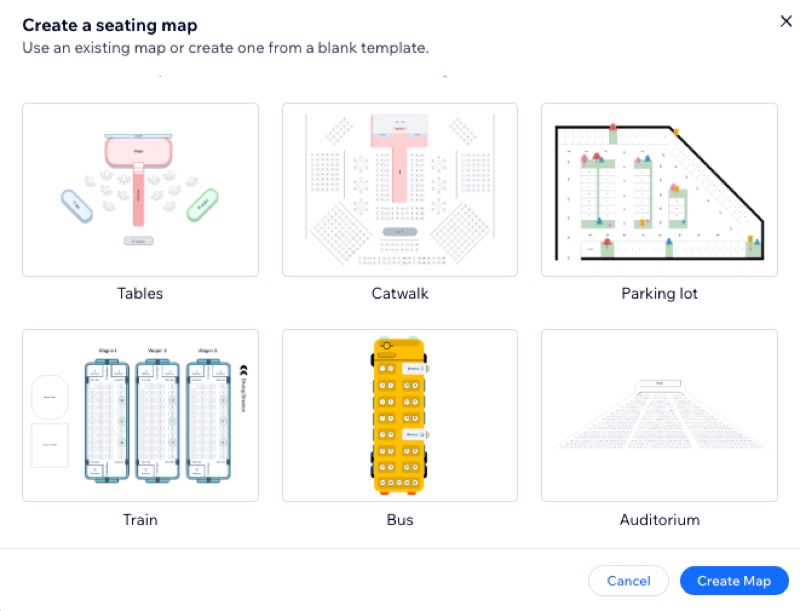
- Click Create a Seating Map.
- Select a seating map:
- Blank template: Start from a blank canvas.
- Mixed seating: Mixed seating with both rows and tables
- Rows: Default stage type seating.
- Tables: Seating around tables.
- Catwalk: A runway-style layout.
- Parking lot: A grid layout resembling a parking lot.
- Train: Seating arranged like a train compartment.
- Bus: Seating arranged like a bus.
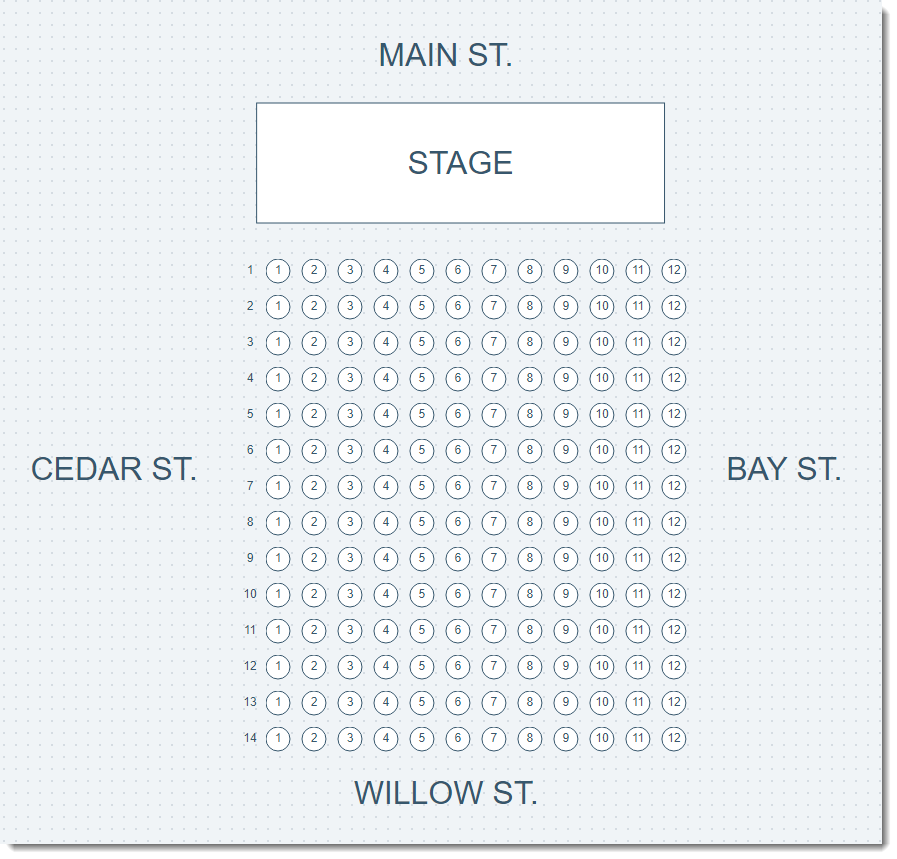
- Auditorium: Traditional auditorium seating with a stage.
- Click Create Map.
ヒント
The next time you create an event, you'll be able to select the seating map you created for this event.
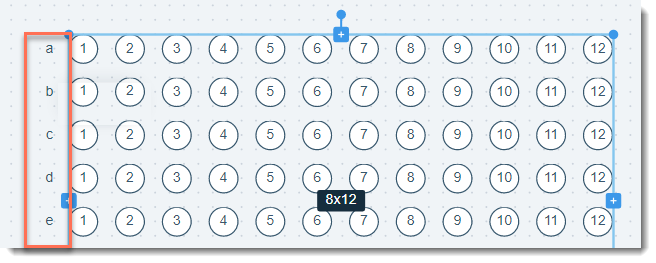
Step 4 | Customize your seating map
No matter which map you started with, you can now customize it to fit the exact layout of your venue.
ヒント
Save time by making bulk changes. For example, after adding 10 tables you can select them all and resize them so they have the identical size and adjust the number of chairs.
To customize your map:
- Go to Events in your site's dashboard.
- Select the relevant event.
- Click the Tickets and Seating tab.
- Select Edit Map.
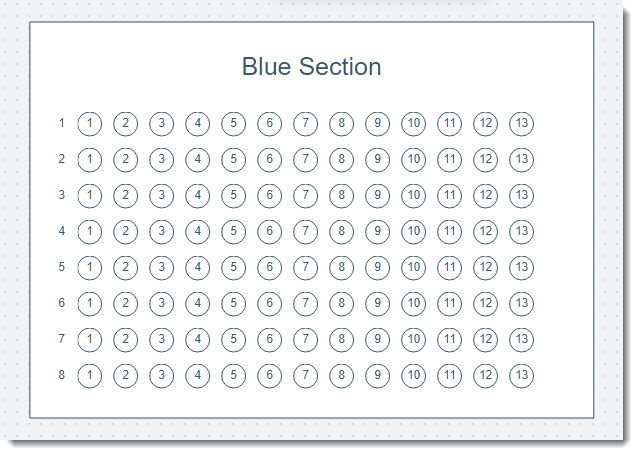
- Customize the relevant Add seating options:
Rows
Rectangular table
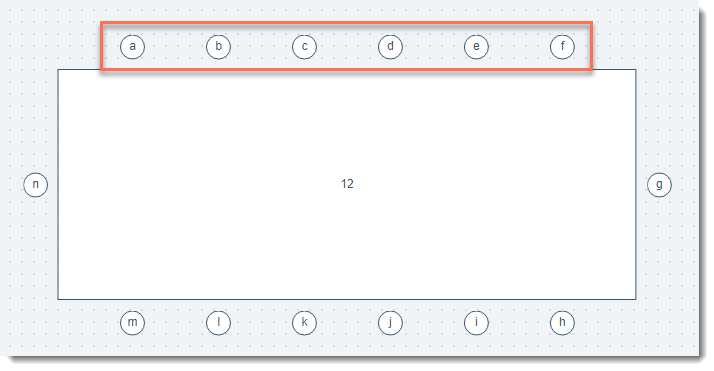
Round table

Area
6. Customize any elements under Add objects:
テキスト
Rectangles or circles
 .
.
Line
Icons

背景
 .
. Add image
ヒント
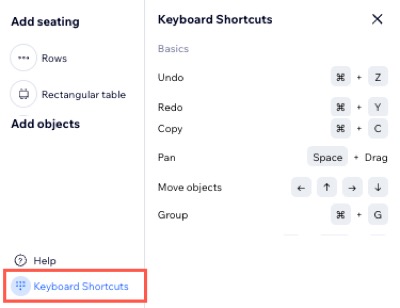
クリック Keyboard Shortcuts to to access a list of key combinations for faster navigation and commands (e.g. Group objects together to make bulk edits).
Step 5 | Assign tickets to seats
Once all your seating is set up, you can map which tickets are connected to which seats.
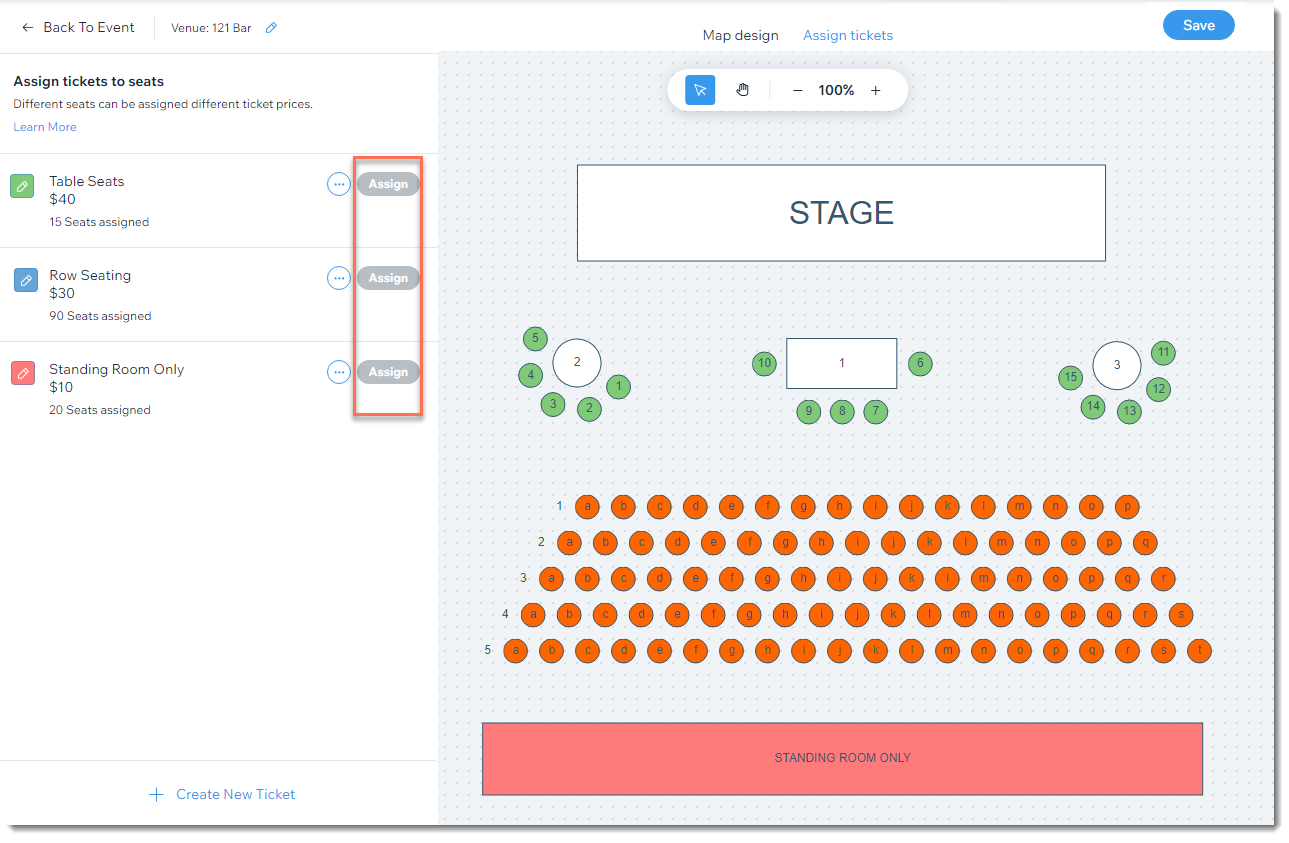
For example, this venue has seating around tables, seating in rows, and a standing room only area. The venue sells 3 kinds of tickets - one for each type of seating.
To assign tickets to seats:
- Go to Events in your site's dashboard.
- Select the relevant event.
- Click the Tickets and Seating tab.
- Select Edit Map.
- をクリックする。 Assign tickets tab at the top.
注: The tickets you created before appear on the left. You can click the その他のアクション アイコン to edit a ticket or + Create Tickets at the bottom to add a new ticket type.
 - Select a table, row, or area.
Tip: You can also click and drag the mouse to select multiple elements at once. - Click Assign next to the relevant ticket type.
- Repeat until you have assigned each table, row, and area a ticket type.
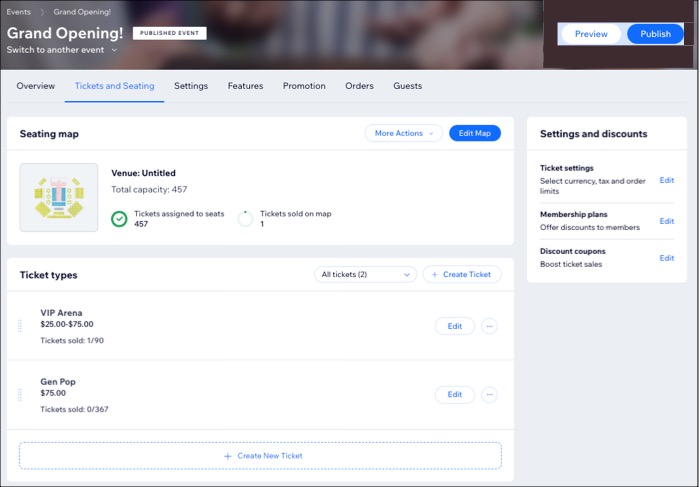
Step 6 | Publish the event on your site
When you are ready, you can publish your event so guests can start purchasing tickets. You can decide where your event is displayed on your site and when registration opens and closes.
よくある質問
Click a question below to learn more about creating a seating map.
How do guests know when a seat is sold out?

My map has tables and rows. Can I edit multiple elements at the same time?
Can I edit the seating map after I started selling tickets?
How many ticket types can I create?
Can I sell a ticket offline and select a seat?
My guest wants to switch seats. How can I help them do that?
 icon next to the guest's name.
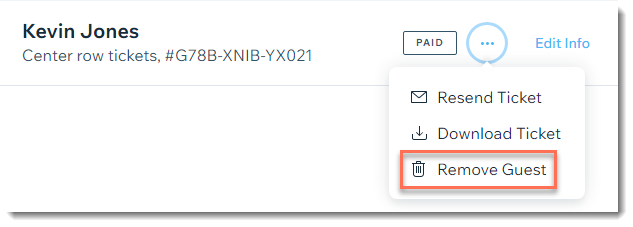
これは役に立ったか?
|