Wix Bookings: Creating Bookings Automations
10分で読める
Automations can help you to stay in touch with your clients and make sure they come back for more sessions. Create automations that are triggered for different things, such as when clients attend their first session, when they check-in to sessions, or if they haven't booked a session in a while.
重要だ:
In order for 'Client checked in X times' or 'Client checks in' automations to work, you must also mark attendance.
Step 1 | Create a new automation
Create custom automations from the Automations tab in your site's dashboard. Make sure to choose a name that's clear and easy for your staff and collaborators on your site to understand.
To create a new automation:
- Go to your Automations Dashboard.
- Click + New Automation.
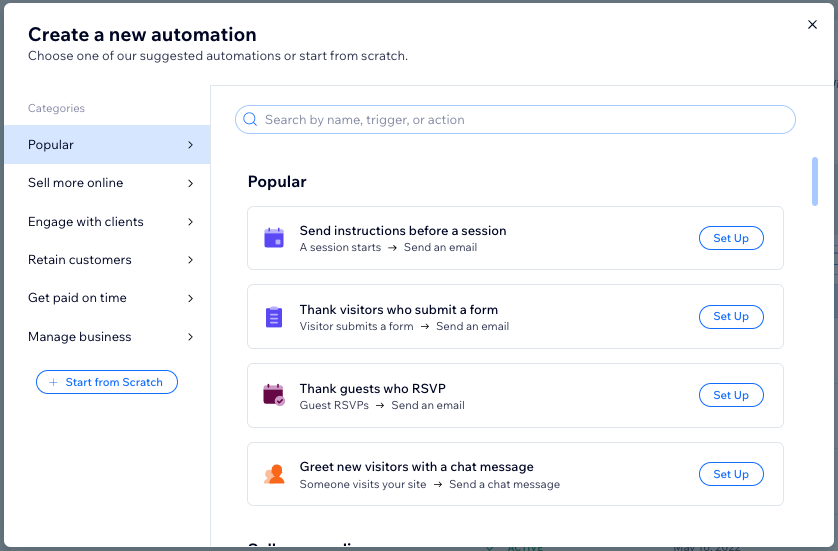
- Click + Start from Scratch.
Note: To use a suggested automation, search and select from the options under Popular. You can edit the trigger and actions of a suggested automation.
- Click the title at the top to give your automation a name.
Step 2 | Choose a trigger for the automation
The trigger is a specific action your clients take on your site, such as checking in for a session, that activates the automation.
The triggers you see change depending on the app you're using. Make to choose Bookings and then select one of the available triggers.
To choose a trigger:
- Select Bookings under Choose a Trigger.
- Click the checkbox next to the relevant trigger:
Session booked
Booking canceled
Client checked in X times
Client checks-in
Client was last checked-in a while ago
A session starts
A session ends

Step 3 | (Optional) Add a delay
Choose when you want the automation to happen after your client takes the relevant action on your site. You may want to perform the action immediately after the trigger occurs, or set a delay to send it after a certain amount of time has passed.
Make sure to add the relevant delay, so that the automation doesn't happen too quickly or too late.
To add a delay:
- Click + Add Delay.
- Click the up and down arrows to set the number and click the drop-down to choose between days, hours and minutes.

注:
If you don't add a delay, the action is performed as soon as the trigger occurs.
Step 4 | (Optional) Add a condition
After choosing a trigger, you can also add a condition. Conditions are a great way to set and manage more complex automation flows.
To add a condition:
- Click + Add Condition.
- Click the Select criteria drop-down and choose the criteria you want to use to decide whether this automation continues each time it's triggered.
- Click the drop-down that appears next to your criteria drop-down to select your operator (e.g. "is", "is not").
- Click the drop-down or text box that appears next to your operator drop-down to complete your condition. The logical statement you've created will determine whether the automation continues. For example: "Booking creation date is before 01/01/2024". This is useful if you are running an end-of-year promotion and want to send an email reminding your clients about discounts.
- (Optional) Click + Add Criteria to add any further criteria.

ヒント
Learn more about best practices for creating conditions.
Step 5 | Choose an action
After choosing the trigger, decide what action you want your site to take in response to that trigger. For example, if your trigger was 'Client checks in', you might want to send that visitor an automatic thank you email.
To choose an action:
- Click your chosen action in the Action section.
Note: The actions available will differ based on your trigger choice.
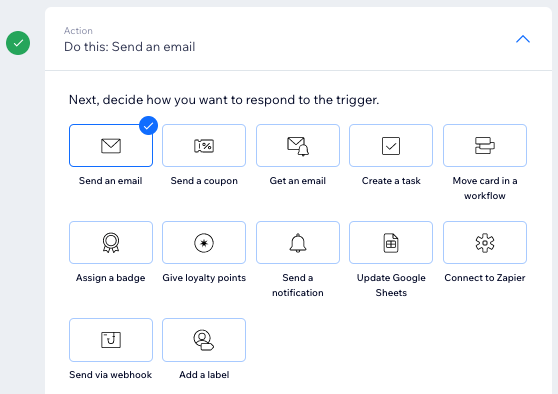
- Set up the action using the available options. Click the relevant action below to learn how:
Send an email


Send a chat message

Create a task

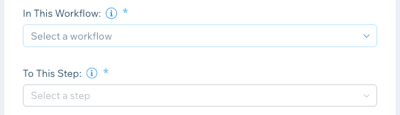
Move a workflow card
Invite to a group
Update Google Sheets
Connect to Zapier
Send via webhook
Get an email

Assign a badge

Send a coupon

Send a push notification
Request payment

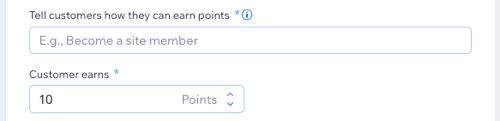
Give loyalty points
Add a label

3. (Optional) Click + Add an Action to include more than one action in the automation following the steps above.
Step 6 | Activate the automation
Click Activate to save and activate the automation. It now appears on your Automations page where you can edit, deactivate or delete according to your needs.
もっと知りたい?
Check out courses in Wix Learn to learn more about using automations to manage customer relationships.
これは役に立ったか?
|