Wix Invoices: Creating an Invoice
9分で読める
Don't have a Wix account?
Create invoices quickly and easily with the Wix Invoice Generator. Using this tool is completely free of charge and doesn't require any registration.
Use Wix Invoices to streamline your billing process. Generate, send, and track invoices, and process the payments through Wix. You can personalize your invoices with discounts, deposits, taxes, etc., and email them to customers who can view and pay them through a custom link.
重要だ:
This article refers to the Wix Invoices feature. If you are looking for your invoices for payments you made to Wix, click here.
始める前に
In order to accept payments from clients in Wix Invoices, you must set up a payment method. If you've already set up a payment method (e.g. for Wix Stores, Wix Bookings or Wix Events) you do not need to set one up again.
To set up a payment method, go to Invoices in your site's dashboard, click More Actions at the top right and click Accept payments.
Creating an invoice
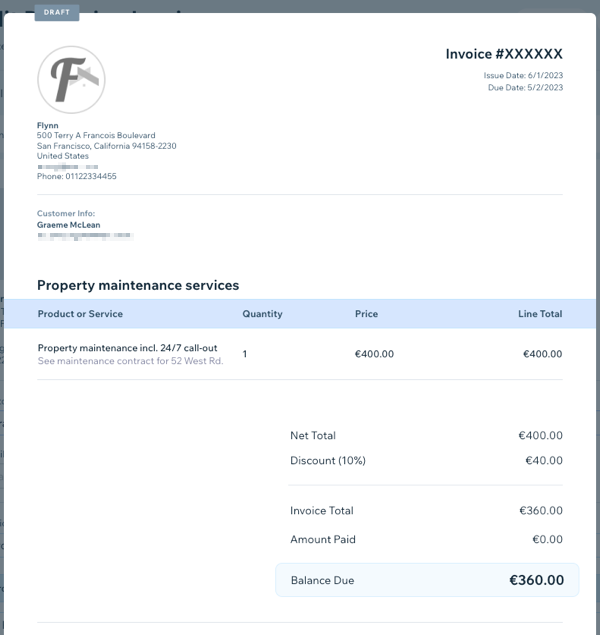
Create an invoice from your site's dashboard or directly from your phone with the Wix app. The invoice should include all the information your client needs to make a payment.
Set up your basic business info:
Your basic business info (e.g. business name, email and logo) appears on every invoice that you send. If you're creating an invoice for the first time, you'll be asked to start by entering this info. You can always customize this info again at a later stage.
Dashboard
Wixアプリ
- Go to Invoices in your site's dashboard.
- (First time only) Provide your basic business info, as you want it to appear on your invoices:
- クリック スタート and enter:
- (Optional) Business name: Enter the name of your business.
- Business email address: Enter your business email address.
- (Optional) Your logo: Upload your business logo.
- Click Add & Continue.
- クリック スタート and enter:
- Click Create New at the top right and select Invoice.
Note: Click Invoice & Order to automatically generate a Wix Stores order when the invoice is paid. - Enter the general details for this invoice:
- Issue Date: Select the issue date you'd like to include.
- Due Date: Select the date payment is due by.
- Customer: Click the drop-down to select a contact from your Contact List.
- Invoice Title: Enter a title to clearly summarize the reason for payment.
- Enter the product/service details for this invoice:
- Click the Add an item drop-down and select the relevant product or service.
Tip: Select + Add New if you need to create an invoice for a new item. Then enter the details and click Save & Add. - (Optional) Enter a description in the Write a description field.
- (Optional) Click + Add Line Item to add another product or service.
- Click the Add an item drop-down and select the relevant product or service.

- Enter the cost details for this invoice:
- Quantity: Enter the quantity of the product or service.
- Price: Enter the price per unit.
- (Optional) Click + Add Tax to add tax.
注: You can create a new tax rate or add an existing one.- Hover over the tooltip next to Taxes をクリックしてください。 Set tax calculations here.

- Then select whether you want to Exclude tax from item price or Include tax in the item's price.
- クリック セーブ.

- Repeat steps i-iii above for each item on the new invoice.
- Hover over the tooltip next to Taxes をクリックしてください。 Set tax calculations here.
- (Optional) Click + Add Discount to apply a percentage discount to the total amount.
- (Optional) Click + Request Deposit to request a partial payment up front. Learn more about requesting a deposit.
- (Optional) Enter any notes or terms you'd like your customer to be aware of in the Notes and Terms fields.
- Choose to preview, save or send your invoice:
- Preview: をクリックする。 プレビュー アイコン
 at the top right to see the invoice your customer will receive.
 - Save: Click Save & Close at the top right to save the invoice to send at a later time.
- Send: Click Send Invoice at the top right to first review or edit the content of the email your customer will receive. Click Send when you're ready to send.
- Preview: をクリックする。 プレビュー アイコン
ヒント
You can also convert price quotes into invoices rather than creating an invoice from scratch.
よくある質問(FAQ)
Can I set up recurring invoices?
Does Wix invoices work with other Wix apps?
Can I automate my invoicing process?
How are invoice numbers sequenced?
Can I create a tax-exempt invoice for specific customers?

Can I add a VAT ID to an invoice?
Can I send an invoice to more than one customer?
Can I customize the design of my invoice?
Can I edit an invoice after I've sent it?
 next to the relevant invoice.
Can I delete an invoice?
I followed the steps above, but I was unable to create an invoice
Customers are not receiving invoices I send
もっと知りたい?
Check out courses in Wix Learn to learn more about creating price quotes and invoices and using these in your online store.
これは役に立ったか?
|