Wix Forum: Creating a Category
4 min read
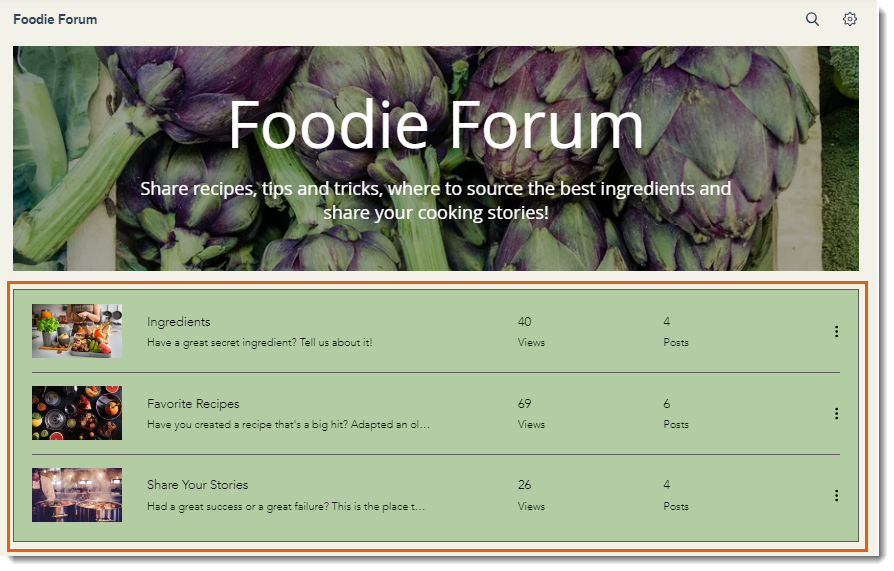
Create categories in Wix Forum to organize discussions and keep your community engaged. This is useful when you have a lot of different topics in your forum.
By grouping similar topics together, you make it easier for visitors to find and participate in conversations that interest them. For example, if you run a fitness blog, you can create categories like "Workouts," "Nutrition," and "Wellness Tips," streamlining discussions and enhancing the experience for your audience.
Step 1 | Create a category in your forum
Structure your forum by adding some categories from your site's dashboard.
To create a category in your forum:
- Go to Forum in your site's dashboard.
- Click Categories on the left.
- Click Add Category at the top right.
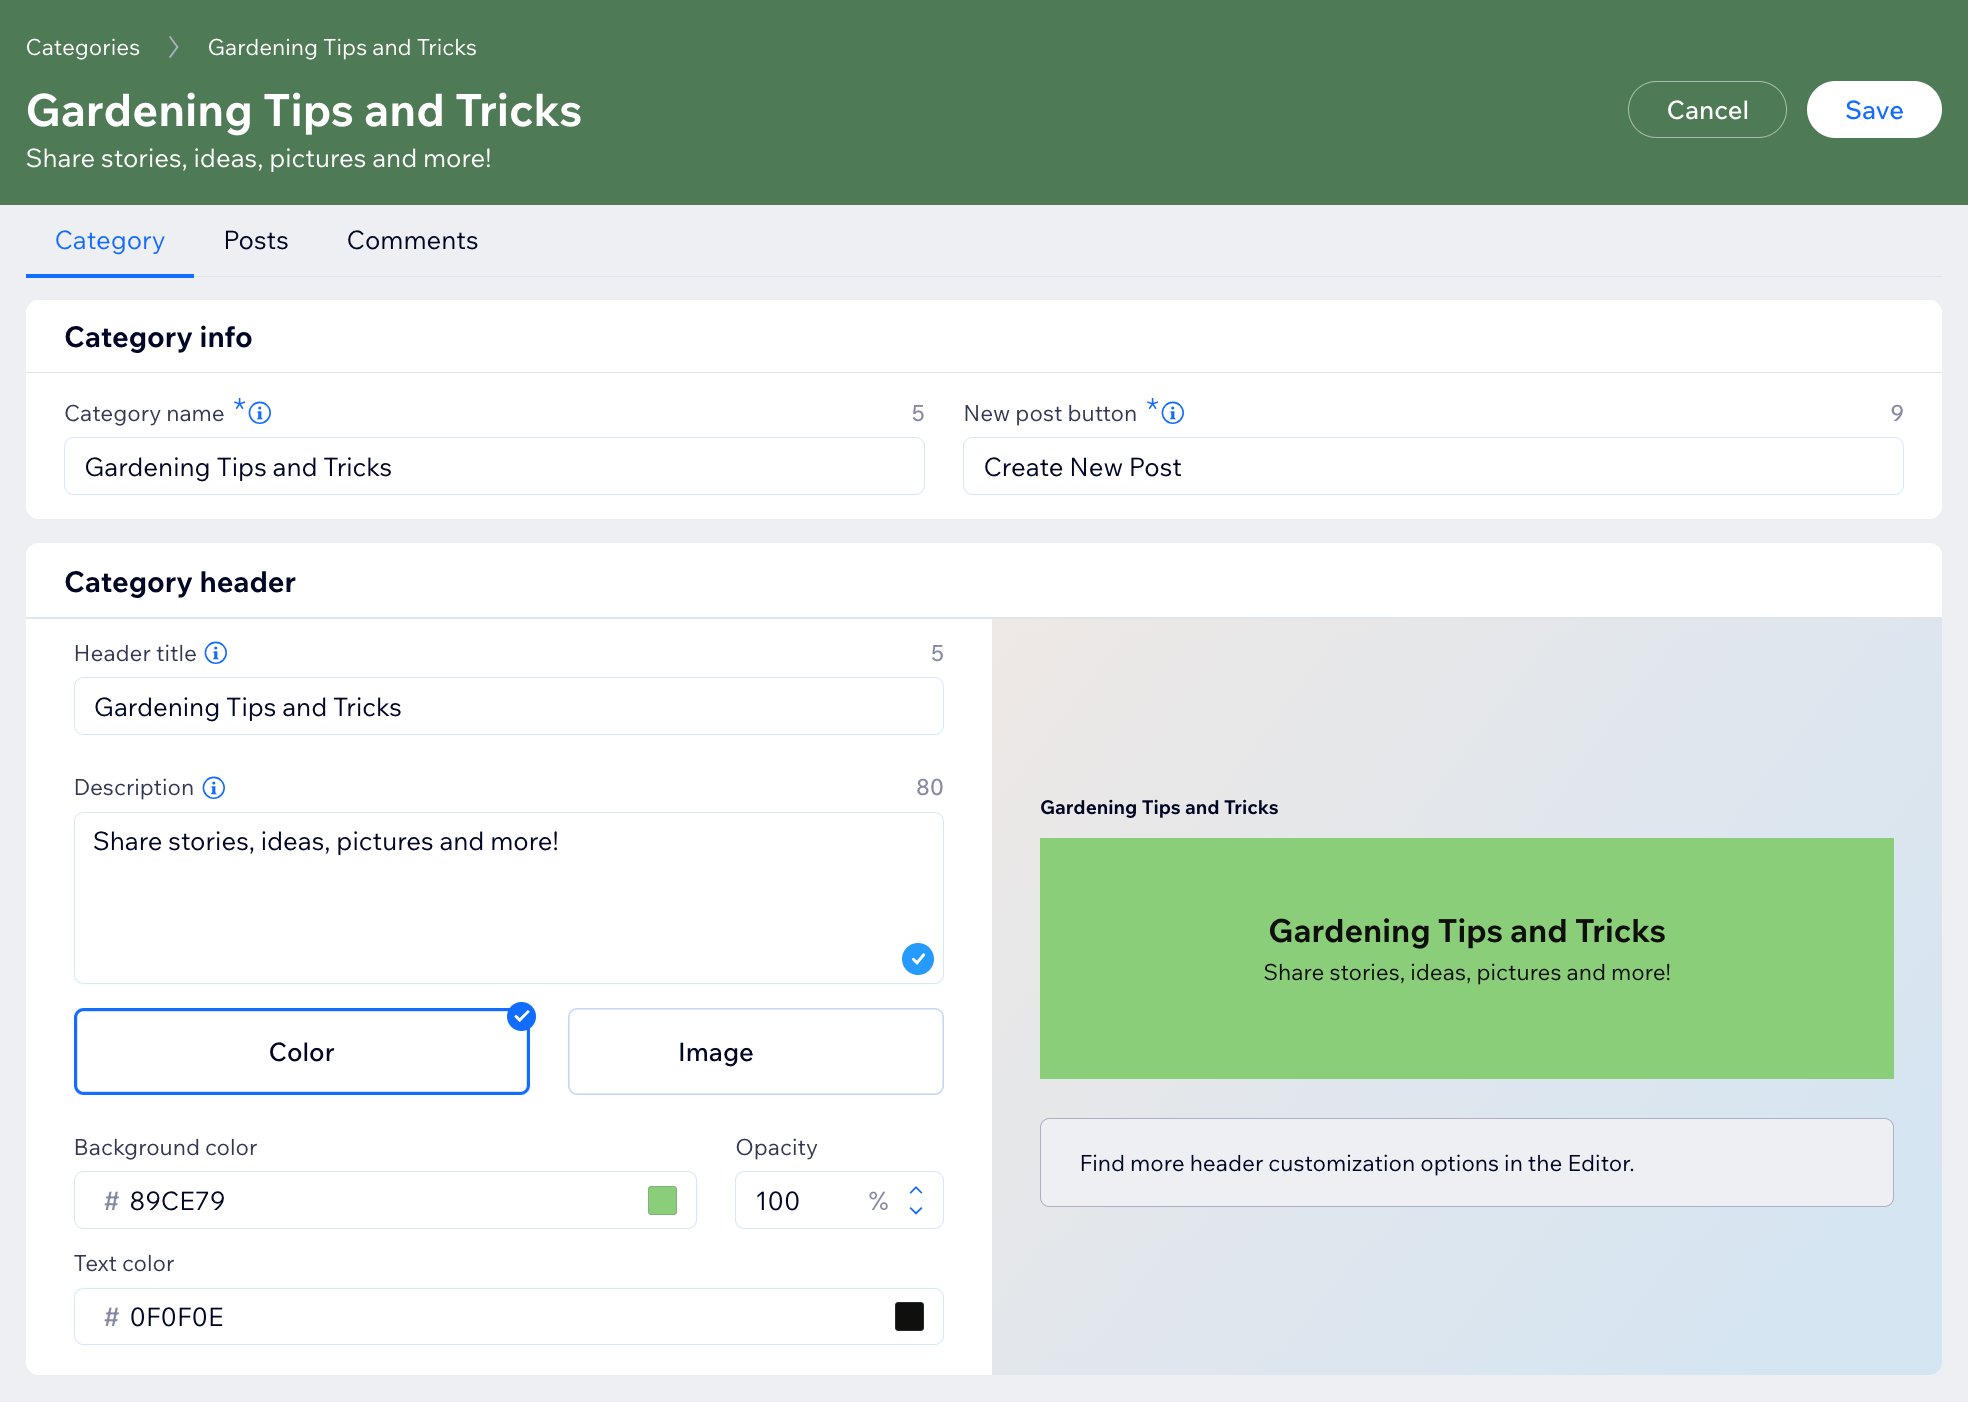
- Enter a name in the Category Name field (appears in the navigation menu).
- Customize the New Post button text.
- Enter a name in the Category Header Title field (appears in the header).
- Enter a short description of what your category is about in the Category Header Subtitle field (maximum 65 characters).
- Choose a background for your category header:
- Color:
- Click the Background color field to choose a color for your header background.
- Click the Opacity field to increase or decrease the level of opacity of your header.
- Click the Text color field to choose the color of your header text.
- Image:
- をクリックする。 追加 アイコン
 to add an image to your header.
 - Click the Overlay color field to choose the color for your image overlay.
- Click the Opacity field to increase or decrease the level of opacity on your image.
- をクリックする。 追加 アイコン
- Color:
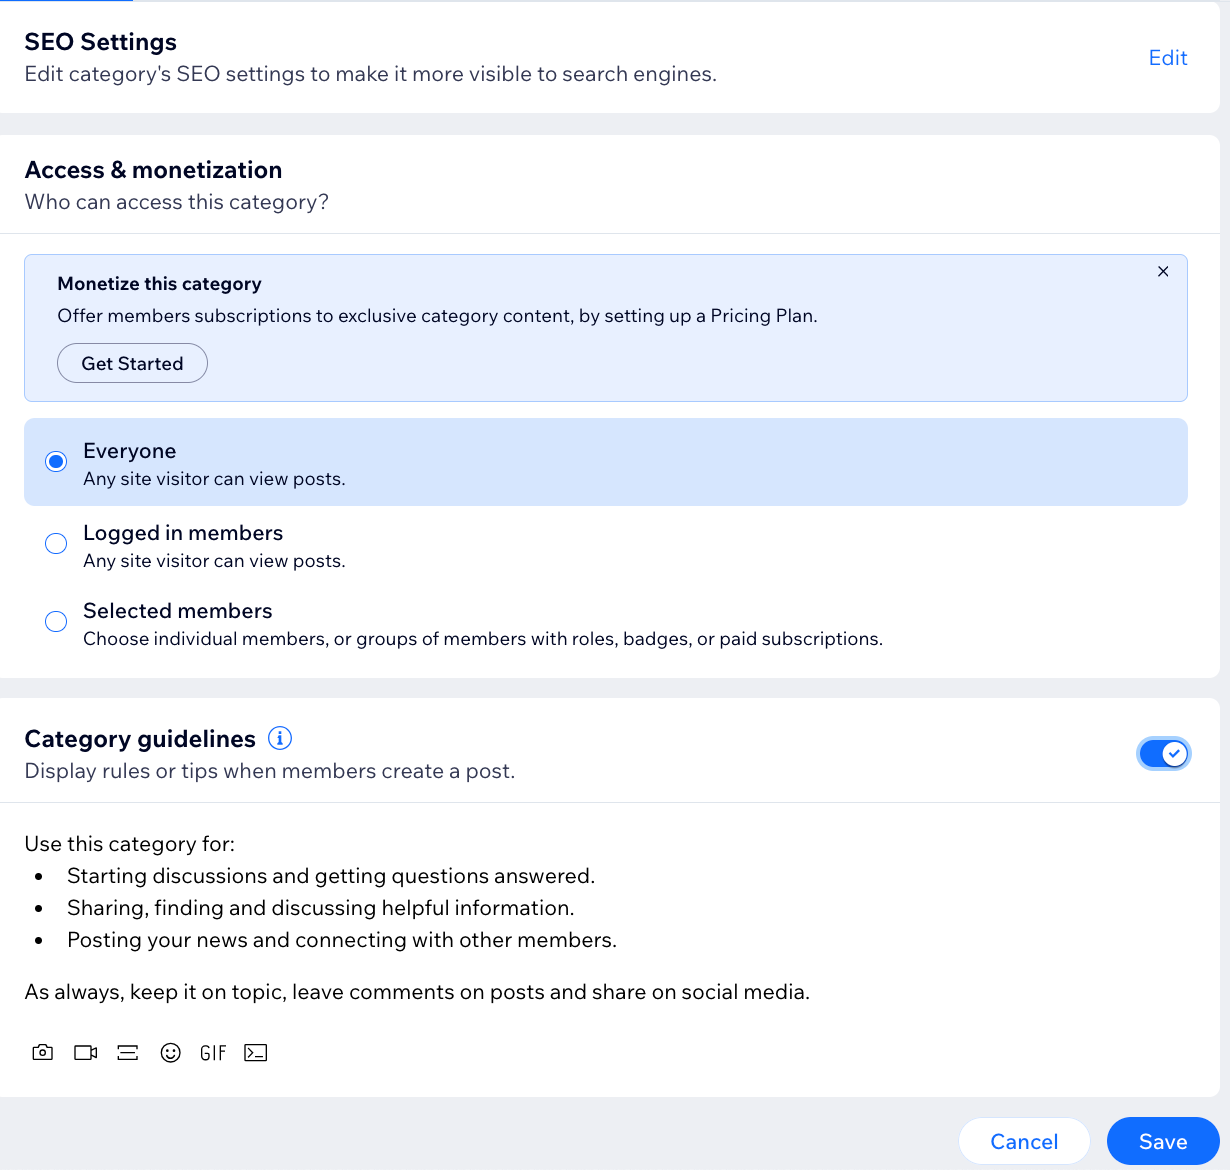
- Click Edit next to SEO to customize your category SEO.
- Choose who has access to the category and its content:
- Everyone: Any member can access this category.
- Logged in members: Only members that are logged in can access this category
- Selected members: Only specific members, with certain roles, badges, or subscriptions can access this category.
- をクリックする。 Category guidelines toggle to enable or disable it:
- Enabled: A set of guidelines created by you are added to the category. These can include asking all members to stay within the topic of the category, etc.
- Disabled: Guidelines do not appear on your category.
- 保存をクリックする。
ヒント
Wix Forum comes with a sample category. Don't forget to either rename and customize the sample category, or delete it altogether.
Step 2 | Set up your category posts
Once you've created your category, you can then move on to setting up your category posts. Choose if you want post reactions and decide who has permission to create posts in this category.
To set up your category posts:
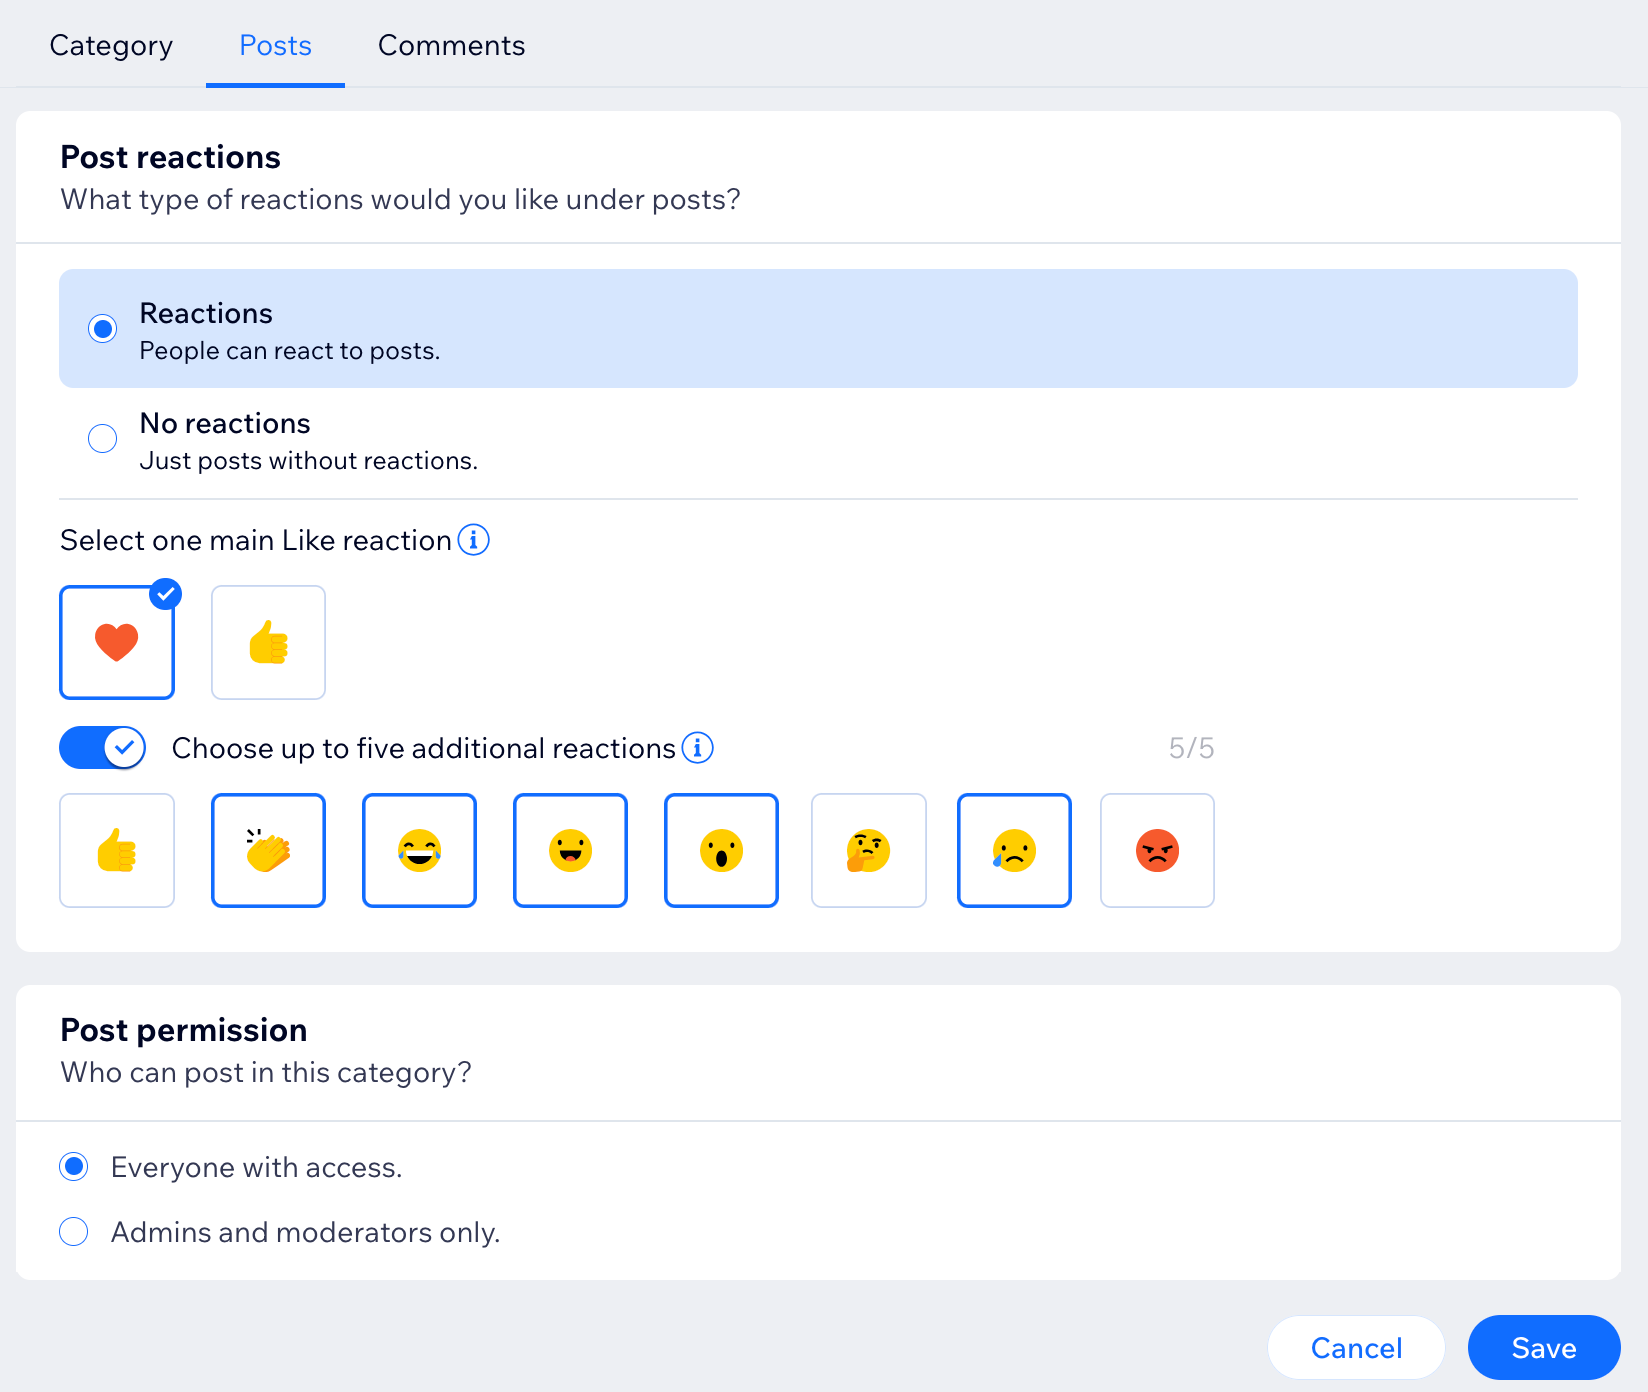
- Click the Posts tab at the top.
- Select what type of reactions you would like under posts.
- Select one main Like reaction.
- Enable the toggle to add 5 more reactions.
- Choose who can post in this category:
- Everyone with access: All members that have access to the category can write posts in this category.
- Admins and moderators only: Only admins and moderators can write posts in this category.
- 保存をクリックする。
Step 3 | Set up your category comments
Next, set up your category comments. You can customize the comment section labels and decide if you want post reactions under each comment.
To set up your category comments:
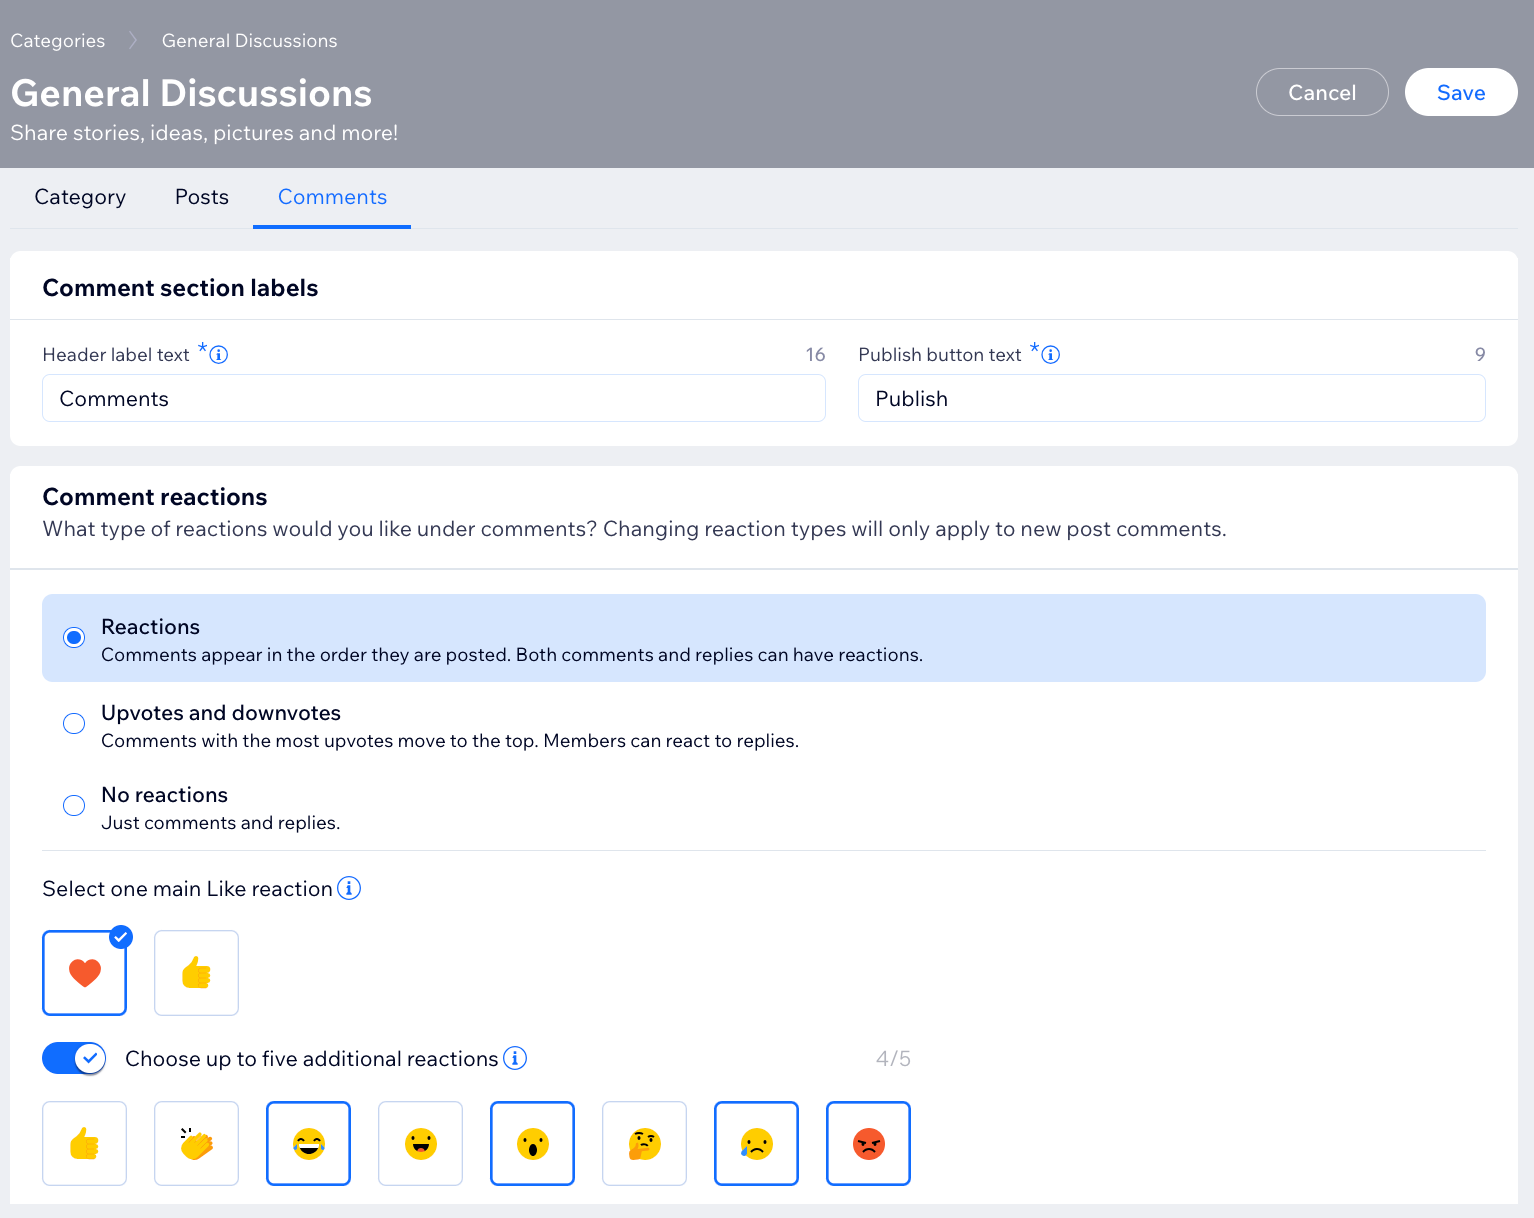
- Click the Comments tab at the top.
- Enter the text for your comments header in the Header label text field.
- Enter the button text in the Publish button text field.
- Select what type of reactions you would like under posts.
- Select one main Like reaction.
- Enable the toggle to add 5 more reactions.
- Click the Allow comments toggle to enable or disable comments.
- Click the Allow comment reactions toggle to enable or disable comment reactions.
- Select how your comments are sorted, Newest, Oldest, or Most reactions.
- Click the Label text drop-down and select from the available options or add custom text.
- Select a label icon for your marked comments.
- Click the Enable comment replies toggle to enable or disable it.
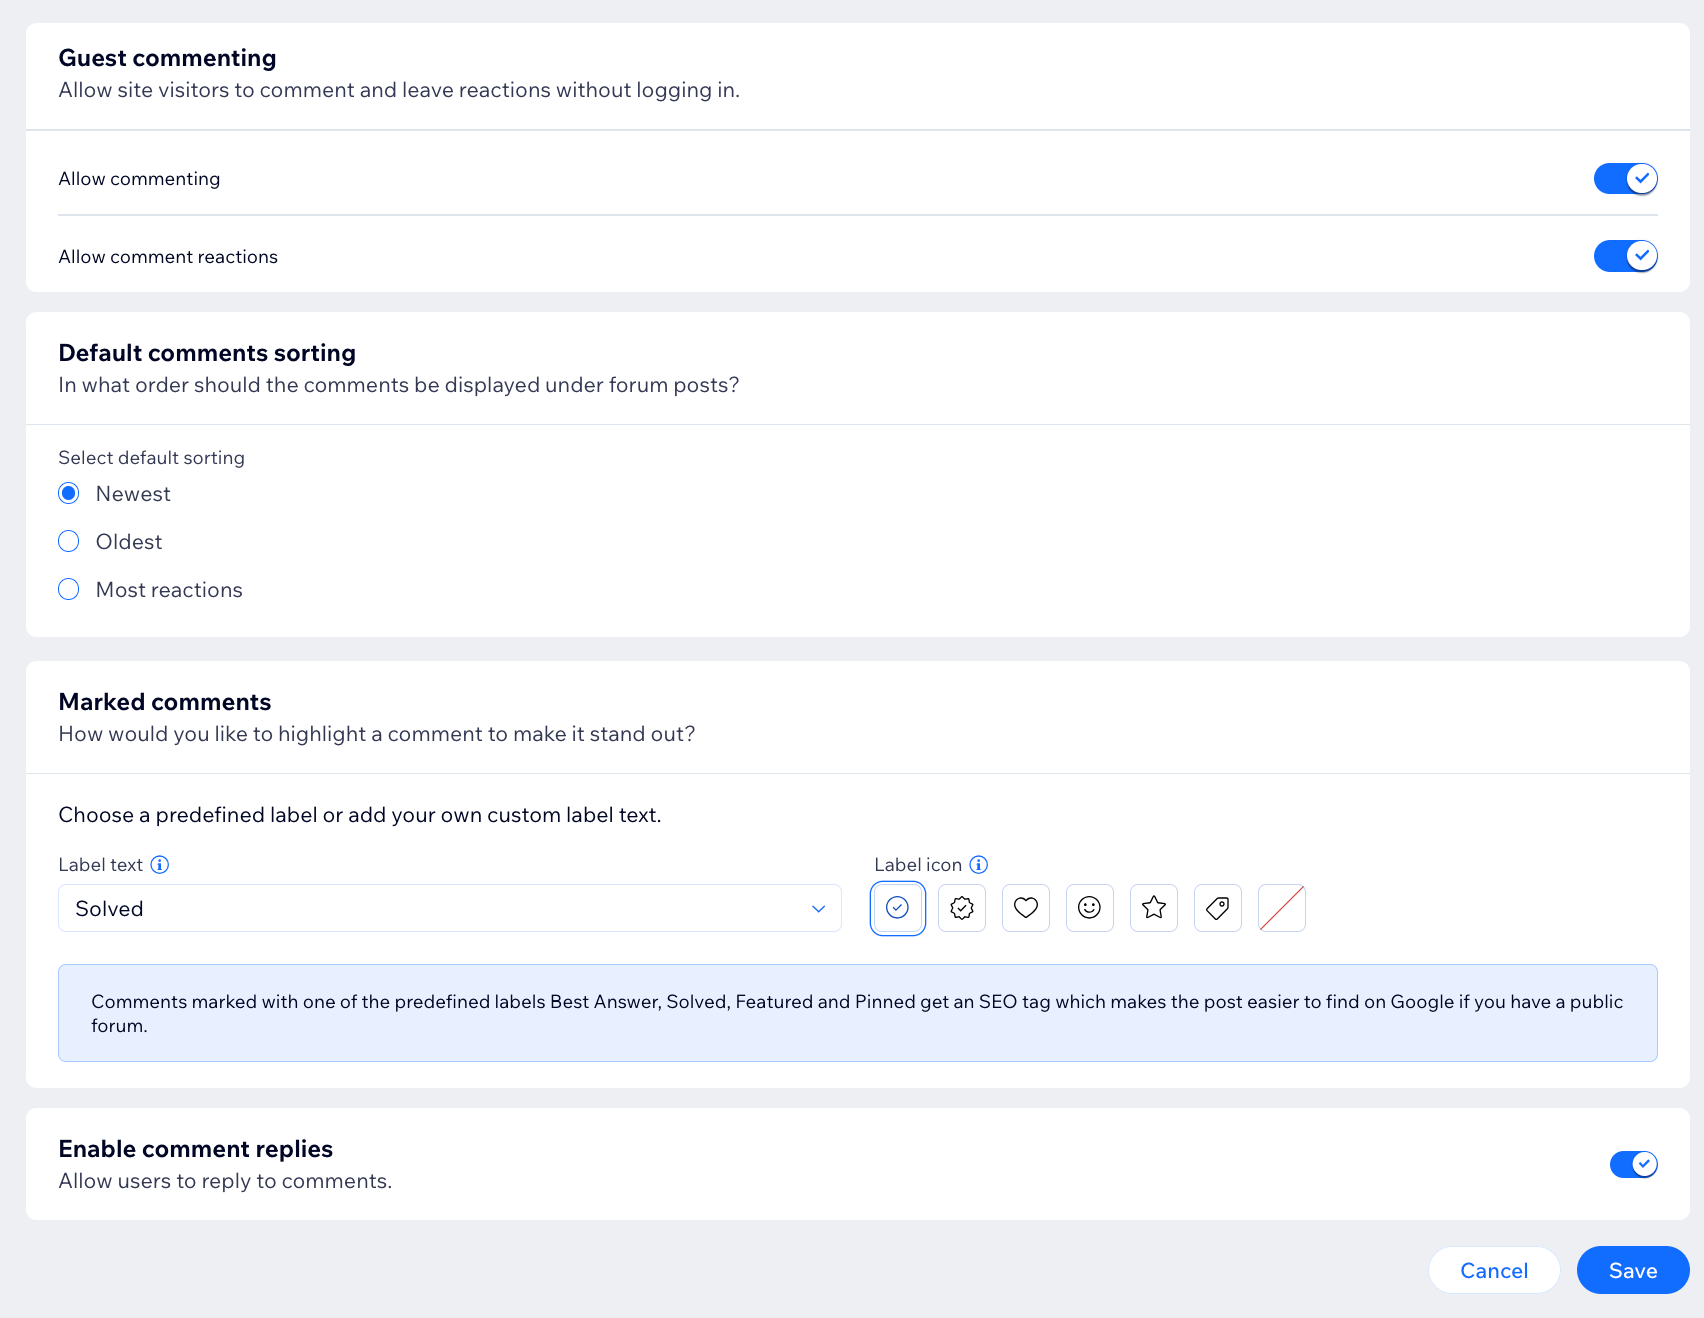
- Click Save.
よくある質問
下の質問をクリックして詳細をご覧ください。
Can I create subcategories?
How can I edit my forum name and description?
Can I earn money from my forum?
Can anyone create a category in my forum?
これは役に立ったか?
|