Adding and Setting Up the File Share App
9分で読める
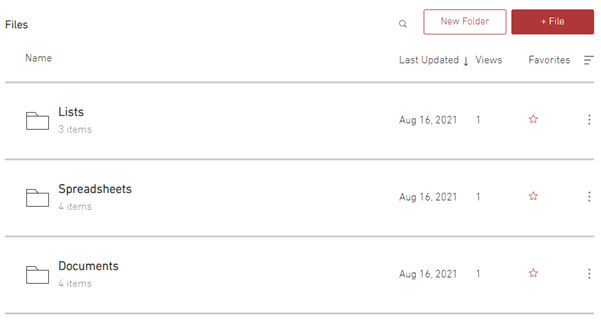
With the File Share app, you can create a file sharing library where people can exchange ideas and collaborate on projects. After you've added the app to your site, you can customize its appearance and decide how your site visitors can interact with it.
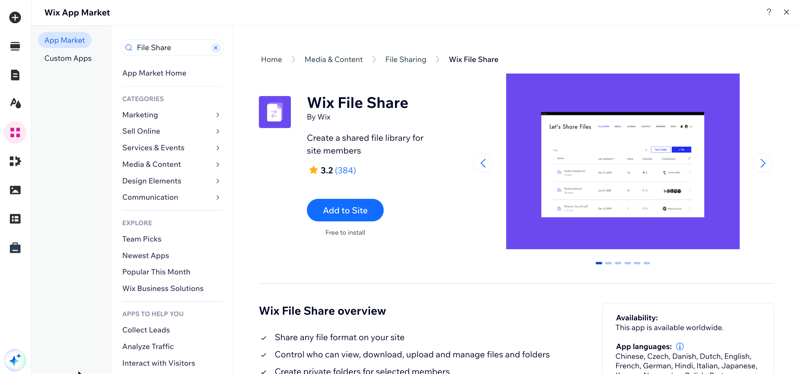
Step 1 | Add the File Share app to your site
First, you need to add the File Share app to your site from the Wix App Market.
Wixエディター
スタジオエディター
- クリック Add Apps
 エディターの左側にある
 - Search for the File Share app in the search bar.
- Click Add to Site.
Step 2 | Customize the permissions and member settings
After you've added the app, you can set permissions for who can perform actions in the File Share app.
To customize permissions and member settings:
- Click the app in your editor.
- 設定をクリックします。
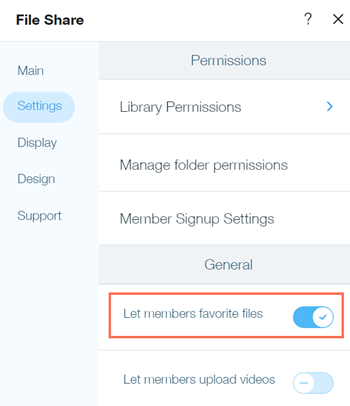
- Click the Settings tab.
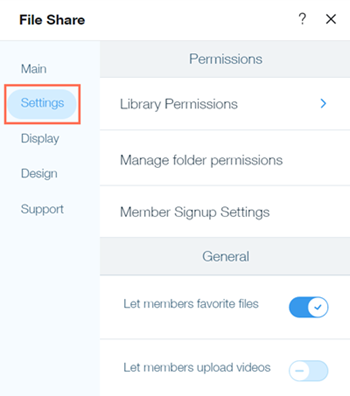
- Choose the permissions you want to customize:
Library permissions
 under Who can upload files? to select who has upload permissions.
  under Who can manage the library? to choose who has manage permissions.
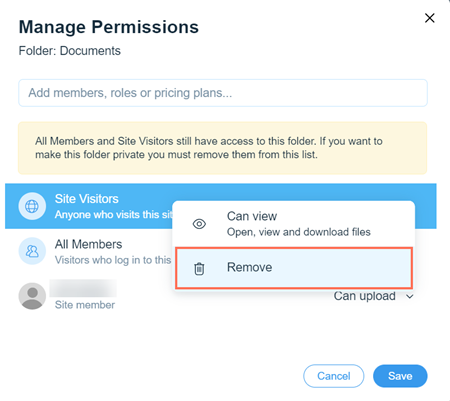
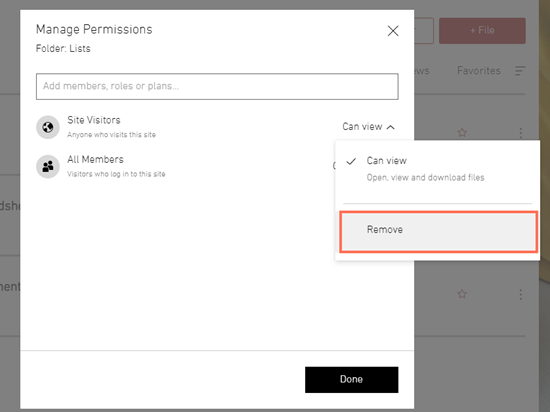
 Folder permissions
 next to the relevant folder.
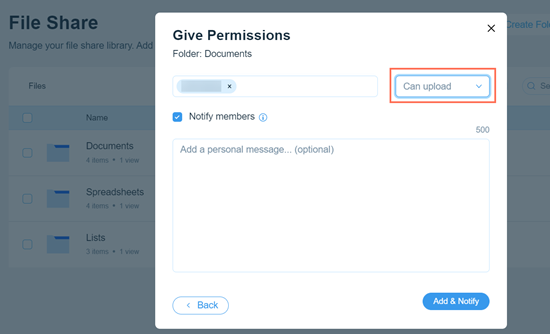
 to open the File Share app on your live site.
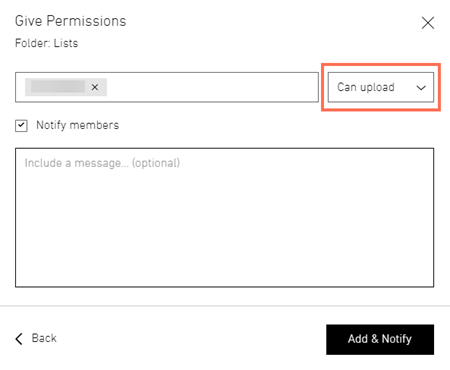
Member Signup Settings

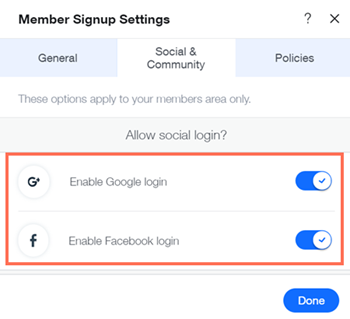
 and select the page containing your Terms of Use.
 and select the page containing your Privacy Policy.
 and select the page containing your Code of Conduct Policy.
 5. Customize the general settings of the app under General.
どうすればいいか教えて
Step 3 | Design your app
You're nearly ready to publish the File Share app to your site! The last step is to customize how the app looks so that it matches your live site.
To customize the design:
- Click the Display tab to choose the information you want to display in the File Share app.
どうすればいいか教えて
2. Click the Design tab to customize the icons, buttons and more.
Files and Folder Icons
Buttons and Actions
Table and Background
これは役に立ったか?
|