Wix Stores: Customizing the Category Page
9分で読める
重要だ:
The Category Page is not yet available to all users.
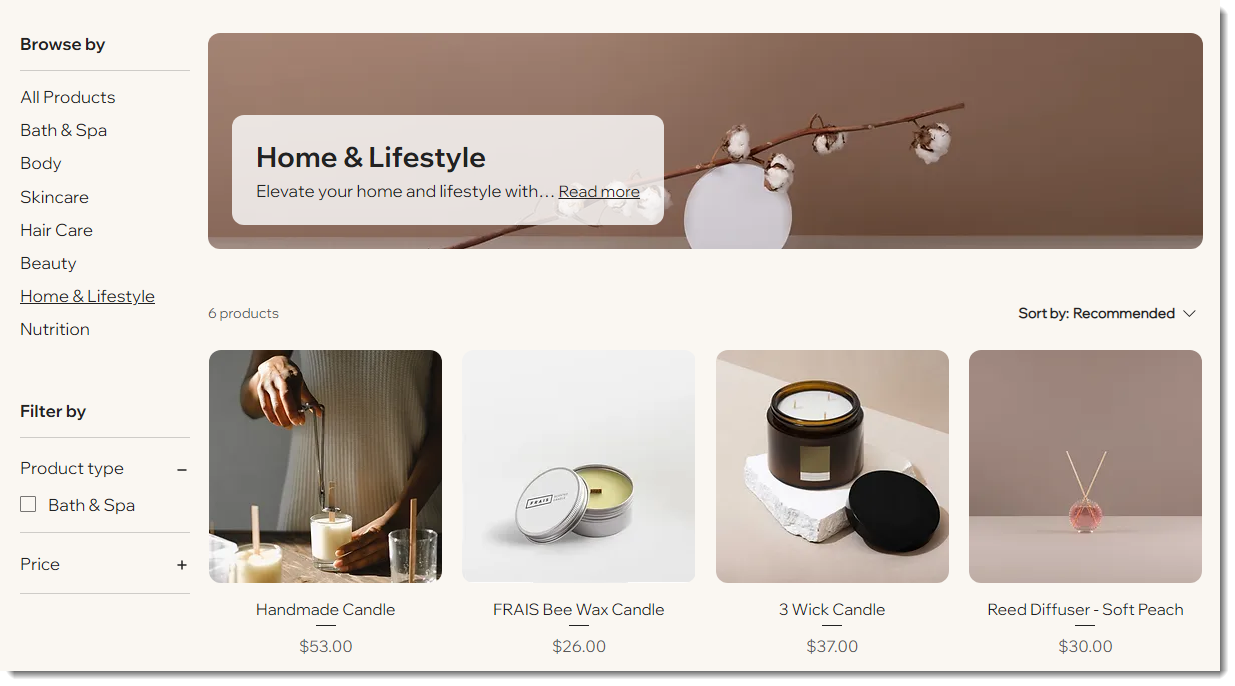
The Category Page is your main shop page. You can design every part of the page, choose your preferred layout, decide what information to show and much more.
Show me how to access the Category Page settings.
 エディターの左側にある
In this article, learn how to:
ヒント
- You only need to customize the Category Page once. Your customizations automatically apply to each category.
- Use the category preview selector at the top right to choose a category and preview it.
Choose which page elements to display
The Display tab is the place to choose which elements you want to show on the Category Page, and where you can hide the rest.
To show or hide Category Page elements:
- Click the Display tab.
- Select the checkboxes next to elements you want to show.
ヒント
You can also:
- Go to the List tab to hide the Category List in the sidebar.
- Go to the Filters tab to hide filters from the sidebar.
- Go to the Sorting tab to hide the sorting option.
Adjusting the Category Page settings
In the Settings tab, you can decide how visitors view more products when they get to the end of the page (e.g. clicking a "Load More" button), choose what happens when customers hover over product images, and more.
To select Category Page settings:
- Click the Settings tab.
- Customize any of the following:
- Scroll behavior:
- Select what happens when customers scroll to the bottom of the page. Learn more
- Enable the Sticky sidebar toggle to keep filters visible while scrolling. If enabled, customize the sidebar's distance from the top.
- Image hover effect: Set what happens when a customer moves their mouse over a product.
- Add to Cart Button: If you enabled the button in the Display tab, customize what happens when the button is clicked:
- Show success pop-up: A pop-up notification appears.
- Open side cart: Side Cart (Mini Cart) opens on the side of the screen.
- Go to cart page: Customers are taken directly to the cart page.
- Stay on current page: Customers stay on the same page. The button displays a checkmark to indicate that the product was successfully added.
- Scroll behavior:
ヒント
- If you selected the "Load More" button or pagination scroll behavior option, go to the Design tab to customize the design.
- Each page has a separate URL to help improve your Product Gallery's SEO. For example:
- First page URL: https://www.mystunningwebsite.com/shop
- Second page URL: https://www.mystunningwebsite.com/shop?page=2
Choosing the Category Page layout
Choose your preferred layout for both the header (if displayed) and the product display.
To choose layout options:
- レイアウトタブを クリックする。
- Customize any of the following:
- Breadcrumbs: Align the breadcrumbs left, right, or center.
- Header section:
- Header position: Select Inline or Top.
Tip: If you select Top, we suggest hiding the Category List. Otherwise, categories give the appearance of subcategories of the selected category. - Category info placement: Display the category description above, in front, or below image.
- Category info alignment: Align the header text to the left, right, or center.
- Category image height: Drag the slider to set the category image height.
- Spacing between title & description: Drag the slider to set the desired spacing.
- Description text appearance: If long, customers click to view the whole message.
- Header position: Select Inline or Top.
- Product grid:
- Grid behavior:
Note: Customizations vary depending on whether you choose Fixed or Responsive.- Fixed: All visitors see the same amount of rows and columns in the gallery.
- Responsive: The number of products displayed adjusts according to your visitor's screen size.
Note: The responsive setting is available only if you stretch the gallery to full width.
- Grid behavior:
- Product images:
- Image placement: Place the image above or beside the product text.
- Image resizing: Select a resizing option:
- Crop: Crops all images to the same size.
- Fit: Maintains the images' aspect ratios.
- Image ratio: Select a height-to-width ratio.
- Image side padding: Adjust the padding to the left and right of the image.
- Image top and bottom padding: Adjust the padding above and below the image.
- Add to Cart button: Choose where the button is placed.
Note: If the button is on the image, it replaces the Quick View button. - Product info: Choose a product card layout option and customize it.
- Product options: Enable to limit the product option display to color choices.
- Ribbons: Choose where to display the ribbon and customize the padding.
ヒント
To stretch the Category Page to full width in, click the Category Page in the Editor, select the Stretch アイコン  and then click the toggle to enable it.
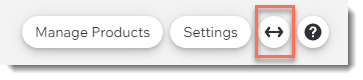
and then click the toggle to enable it.Editing the text on the Category Page
In the Text tab, edit any of the available text so it matches your voice and tone. You can personalize the text appearing on buttons across the page (e.g. add to cart, pre-order) and the message that appears when a product is out of stock.
ヒント
If you choose to hide elements, the option to edit the text in that element doesn't appear.
To edit text:
- テキスト」タブをクリックする。
- Edit any of the available text options.
Designing the Category Page
Customize your Category Page to match your brand's overall design.
To design the Category Page:
- Click the Design tab.
- Follow the steps below to design every part of the Category Page.
一般

Header section
Category list & filters

Product cards
Product info
Quantity & product options
Ribbons
Name & price divider
Add to Cart button
Load More/Previous Buttons or Pagination
Quick View button

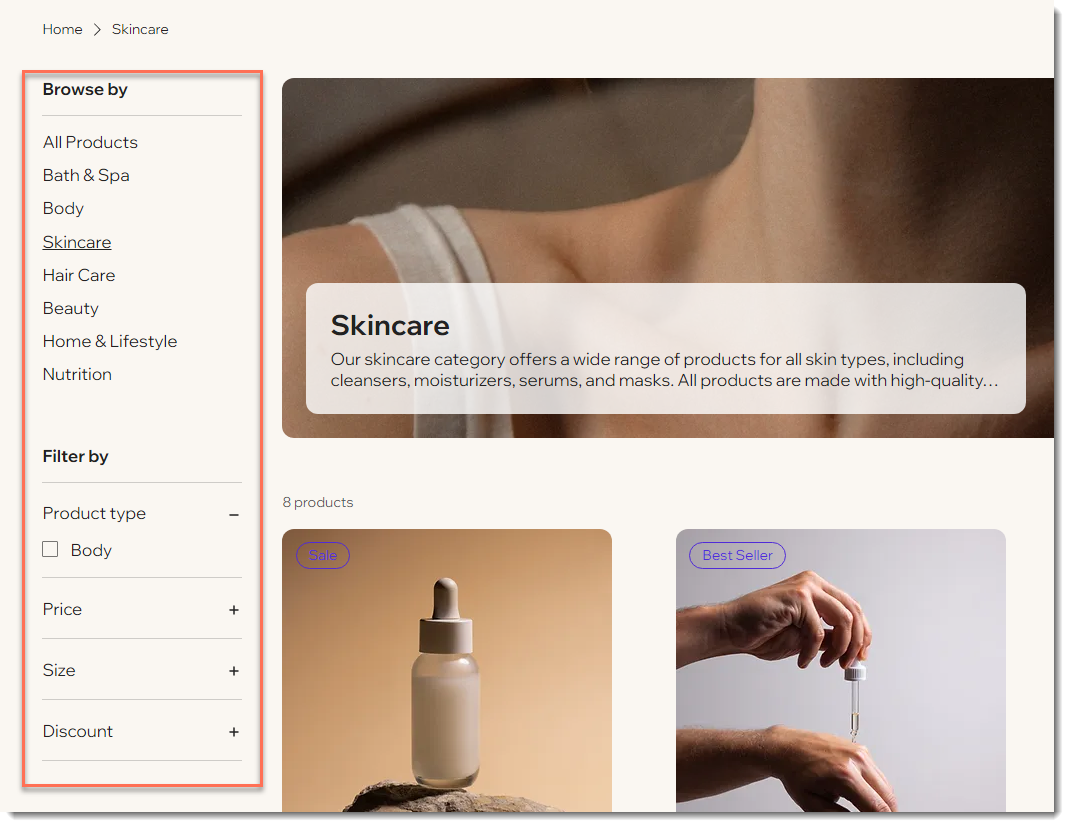
Customizing the sidebar
The category sidebar has 2 components: the category list and filters. You can display one or both, or hide the sidebar entirely.
重要だ:
The category list does not appear on mobile. Adding your categories to the site menu is the best way to give your customers easy access to them.
Any active category you create automatically appears in the category list, but you can hide categories you don't want to display. You can also reorder the categories you do decide to show.
These are the filters your customers can use to find the products they need. Your site's filters automatically adjust according to the category a site visitor is viewing.
ヒント
You can use category filters to allow customers to select subcategories. For example, when viewing the womenswear category, customers can select any filter that has products in other categories and womenswear.
To customize the sidebar:
- Click the List tab.
- Customize any of the following list options:
- Show category list: Click the Show category list toggle to show or hide it.
- Show category list title: Deselect the checkbox to hide the title. If selected, you can edit the title text.
- How do you want to manage this list:
- Sync all my categories automatically: Every active category is automatically displayed in the order it was added.
- Customize & reorder the list manually: Gives you the option of hiding certain categories and reordering the list.
- Deselect the checkboxes next to the categories you want to hide.
- Reorder the categories using drag and drop.
- Click the Filters tab.
- Customize any of the following filter options:
- Show filters: Click the toggle to show or hide all filters.
- Show filters title: Deselect the checkbox to hide the "Filter by" title.
- Filters title: If you display the title, you can edit the title text.
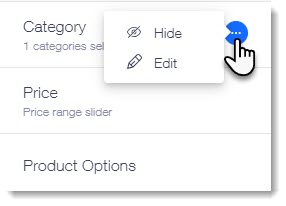
- Let customers filter by: Hover over a filter and click the More Actions icon
 to hide or edit it.
- Category: You can hide the category filter or click Edit to select which categories to display.
- Price: You can hide the price filter or click Edit to edit the filter title.
- Product Options: Hide the product options filter. Tip: If you display product options, relevant options are displayed for each page.
- Discount: You can hide or delete this option. If you display this option, you can select categories to which sales are applied.
Customizing the sorting options
Your Category Page comes with sorting options to make it easier for customers to view relevant products. You can disable any of the options or hide sorting completely.
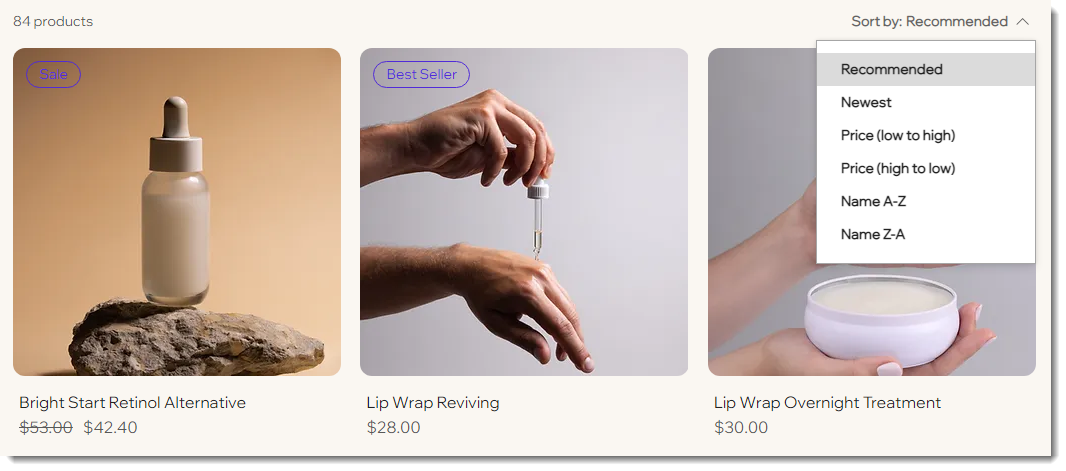
To customize product sorting:
- Click the Sorting tab.
- Select the order your products are displayed from the Order products by drop-down. If you allow customers to sort products, they can override this setting.
Note: By default, the order of products in a category depends on the order you set in the dashboard. - Customize any of the following settings:
- Click the Show "Sort by" options toggle to enable or disable it.
- Edit the "Sort by" label.
- Deselect the checkbox next to any sorting option you want to hide.
Customizing the Quick View
The quick view option lets customers view product details in a pop-up without leaving your category page.

Learn how to enable or disable Quick View and customize it.
これは役に立ったか?
|