Wix Logo: Customizing Your Logo in the Wix Logo Maker
10分で読める
While creating your logo, the Wix Logo Maker gives you full control over customization. Make it match your brand by switching up the color scheme, choosing a different font, adding icons, images and more.
ヒント
Before you get started customizing your logo, we recommend that you take time to review our Logo Maker best practices. This can really help avoid any potential design issues in the long run.
To customize your logo:
ヒント
If you just started designing your logo, skip to step 2.
- Go to the Wix Logo Maker.
Note: This will take you to the Brand Studio of the most recent brand you were working on. - Click the My Brands drop-down at the top.
- Select the relevant brand.
- Click Edit Logo.
- Click the options on the left to customize the following aspects of your logo:
テンプレート
Not sure about the style of your logo? Browse through our suggestions and change the template to something completely different.
To change your template:
- をクリックする。 テンプレート アイコン
 to change your logo's template.
 - Scroll through the template suggestions and select the one you like best.

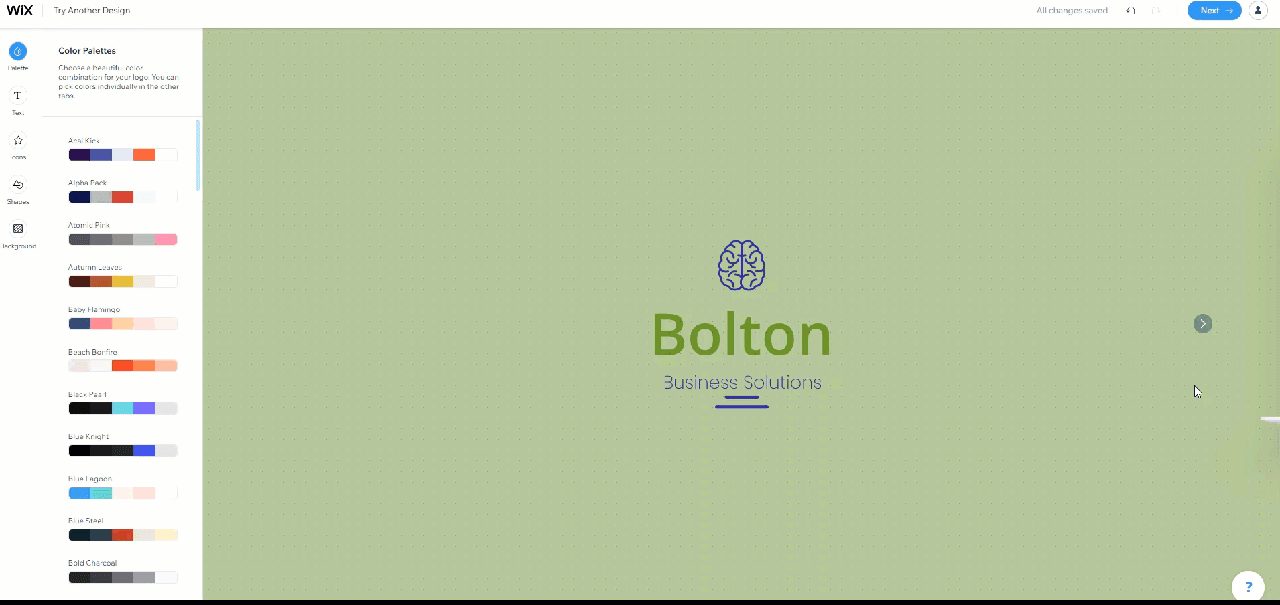
Palette
The color palette is the combination of colors that make up your logo. If you like the style of your logo but not sure about the colors, try a different palette and see if it works better for your brand.
To change the color palette:
- をクリックする。 Palette アイコン
 to change the logo's color palette.
 - Scroll through the available color palettes and select the one you like best.

テキスト
Add more text to your logo, or design your existing text from this tab. Change the font, color, opacity, alignment and much more.
To add new text to your logo:
- をクリックする。 テキスト アイコン
 左側
左側 - Click + Add Text.
- Enter your text under Edit text and customize it as needed.
To customize existing text:
- Click the existing text on your logo.
- Customize the text using the following options:
- Edit text: Click the text field to replace the text.
- Font: Click Change Font to select a new font. Choose from the available fonts, or upload your own.
- Alignment: Select your text's alignment (left, center, right).
- Text color: Click the color box to change the text's color. Choose from the colors based on your color palette or add a new color.
- Text opacity: Drag the slider to adjust the transparency of the text.
- Outline width: Drag the slider to increase or decrease the outline around your text.
- Outline color: Click the color box to choose the color of your text's outline or enter a HEX code.
- Size: Drag the slider to change the text's size (between 1 and 400 pixels)
- Letter spacing: Drag the slider adjust the space between the letters.
- Flip: Click the relevant icon to flip the text horizontally or vertically.
- Rotate: Drag the slider to rotate the text.
- Text Curve: Drag the slider to bend the text into a curve.
- Horizontal position: Drag the slider to move the text left or right.
- Vertical position: Drag the slider to move the text up or down.
- Shadow: Click the toggle to enable a shadow behind the icon and customize it using the options.
- Blur: Click the toggle to enable blurring. Drag the slider to adjust the blurriness of the text.

Note: Under Wix Logo Terms of Use, every logo is required to have a business name. It is not possible to have a logo with an icon only.
Symbols
Need to add a decorative element to your logo? We have many symbols you can choose from depending on your style and the brand you're creating. You can add as many of these as needed and customize their settings.
To add a symbol to your logo:
- をクリックする。 Symbols アイコン
 左側
左側 - Click + Add Symbol.
- Select a symbol to add to your logo.
Tip: You can use the search bar to look for something specific, or browse through our categories.
To customize an existing symbol:
- Select an existing symbol on your logo.
- Customize your symbol using the following options:
- Icon: Click Change icon to replace the existing icon.
- Icon Fill: Choose to fill your icon with a solid color or a pattern:
- Solid Color: Click the color box and choose your icon's color.
- Pattern: Click Customize below the Icon Fill drop-down to personalize your pattern. Learn more about adding and customizing patterns
- Opacity: Drag the slider to adjust the transparency of the icon.
- Size: Drag the slider to change the icon's size (between 1 and 800 pixels).
- Flip: Click the relevant icon to flip the icon horizontally or vertically.
- Rotate: Drag the slider to rotate the icon.
- Horizontal position: Drag the slider to move the icon left or right.
- Vertical position: Drag the slider to move the icon up or down.
- Shadow: Click the toggle to enable a shadow behind the icon and customize it using the options.
- Blur: Click the toggle to enable blurring. Drag the slider to adjust the blurriness of the icon.

Note: Currently, it is not possible to hide a part of an element in the Logo Maker. If this is something you'd like to see in the future, vote for that feature.
Shapes, symbols, images and text are always visible in white, black, monochrome, grayscale and transparent files of the logo. We do not recommend using them to cover parts of the elements in your logo. Check out our logo best practices
Shapes
In addition to the symbols available in the Wix Logo Maker, you can also add a shape to your logo to give it a defined frame.
To add a shape to your logo:
- をクリックする。 Shapes
 icon on the left.
 - Click + Add Shape.
- Choose your preferred shape and start customizing it.
To customize an existing shape:
- Access your shape in one of the following ways:
- Click an existing shape on your logo design.
- をクリックする。 Shapes icon on the left. Then, hover over the shape and click Customize.
- Customize the shape by using the following options:
- Shape: Choose between a square and a circle shape.
- Fill color: Click the toggle to enable color inside the shape's border then choose from the following options:
- Shape Fill: Enable the Fill color toggle and customize the fill settings:
- Shape Fill: Click the drop-down and select an option:
- Solid Color: Click the color box and choose your icon's color.
- Pattern: Click Customize below the Shape Fill drop-down to personalize your pattern. Learn more about adding and customizing patterns
- Opacity: Drag the slider to adjust the transparency of the shape's color.
- Shape Fill: Click the drop-down and select an option:
- Shape Fill: Enable the Fill color toggle and customize the fill settings:
- Border: Click the toggle to display a border around your shape and set the following:
- Border width: Drag the slider to adjust the width of your shape's border.
- Border color: Click the color box to select the shape's border color.
- Border opacity: Drag the slider adjust the border's opacity.
- Width: Drag the slider to increase or decrease the shape's width.
- Height: Drag the slider to increase or decrease the shape's height.
- Flip: Flip your shape left or right, or up or down.
- Rotate: Drag the slider to rotate the shape.
- Horizontal position: Drag the slider to move the shape left or right.
- Vertical position: Drag the slider to move the shape up or down.
- Shadow: Click the toggle to enable a shadow behind the shape and customize it using the options.
- Blur: Enable the toggle to add blurring. Drag the slider to adjust the blurriness of the shape.

ヒント Narrow down your search for your shape using the filter option in the Add Shape panel. 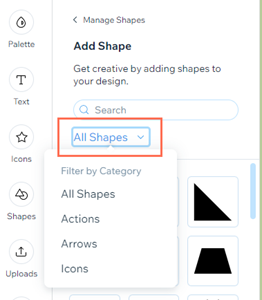
画像
- Click the Images icon
 左側
左側 - Click Upload Image.
- Upload an image or select an image from your Media Manager Site Files.
- Upload an image:
- Click + Upload Media.
- Select the location you want to upload your image from (from your computer or a social network).
- Click the image(s) you want to upload.
- Click Upload Selection.
- Click Add to Logo.
- Use a site file:
- Select the image you want to add to your logo.
- Click Add to Logo.
- Upload an image:
- Customize your image using the following options:
- Size: Drag the slider to increase or decrease the size of your image.
- Image opacity: Drag the slider to increase or decrease the transparency of your image.
- Flip: Flip your image horizontally or vertically.
- Rotate: Drag the slider to rotate your image.
- Horizontal position: Drag the slider to move your image left or right.
- Vertical position: Drag the slider to move your image up or down.
- Shadow: Click the toggle to enable a shadow around your image and customize it using the options.
- Blur: Drag the slider to increase or decrease the blurriness of your image.
Tip: The Wix Photo Studio also allows you to enhance and completely overhaul your image. Edit your image using the Photo Studio prior to making the changes to your image in the Logo Maker. Edits made to your image in the Photo Studio will be saved as a new image, and will need to be uploaded a new to your logo. Learn More
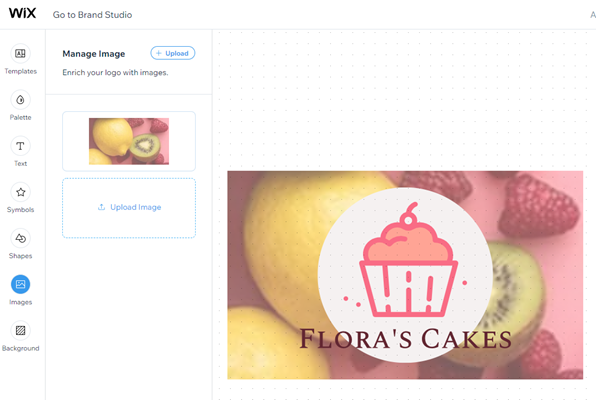
Note: Currently, you can only upload images to your logo. It is not possible to add images from the Wix Library to your logo.
背景
- をクリックする。 背景 アイコン
 左側
左側 - Click the color box to change the background color. Choose from the suggested colors or select your own.

注釈
- The dotted background of the Logo Maker editor is a watermark and will not be visible in your purchased logo files.
- Currently, it is not possible to fill the entire logo's background with an uploaded image. If this is a feature you'd like to see in the future, vote for that feature.
3. When you're ready to download, click Next at the top right.
ヒント
- Resize all your logo elements at the same time by pressing Ctrl+A or Cmd+A (if you're using a Mac) and use the drag handles to increase or decrease their size.
- You can view all your logo elements in a list by clicking on an empty part of the Logo Maker Editor canvas. The All Elements list will open on the left.
これは役に立ったか?
|