Wix Forms: Creating Automated Responses for Form Submissions
読了目安: 3分
Create automations for each form submission on your site. Send "thank you" emails to your visitors who submit a form, create a new task for yourself or a team member, send a chat message and much more.
Wix Forms automatically comes with recommended automations you can activate or customize to fit your needs.
注:
When creating or editing an automation, you'll see 2 Wix Forms triggers. The blue icon represents the new Wix Forms; The red icon is for old Wix Forms. Learn about old and new Wix Forms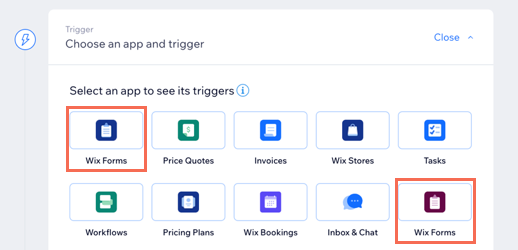
To create an automation for your form:
New Forms
Old Forms
- Go to Automations in your site's dashboard.
- Click + New Automation.
- Click + Start from Scratch.
Note: To use a suggested automation, search for a keyword (e.g. "forms") and select from the relevant options. You can edit the trigger and actions of a suggested automation. - Click the title to give your automation a name.
- の中で Trigger section, click Wixフォーム (blue icon).

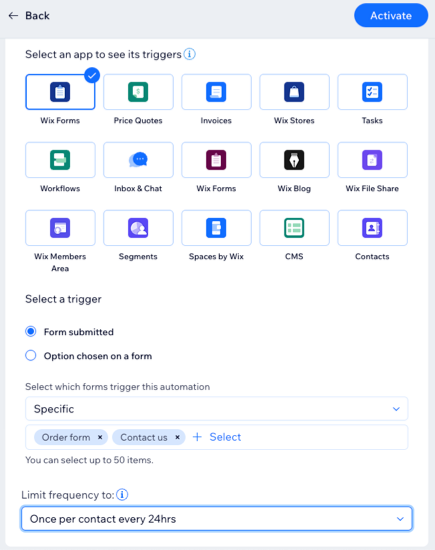
- Select an option under Select a trigger:
- Option chosen on a form: The automation is triggered when a specific option within a form is chosen before being submitted.
- Click + Select under Select a form. Only forms with choice fields will appear.
- Click + Select under Select a field. The choice fields that appear include single choice, multi-choice, dropdown, and checkbox.
- Form submitted: The automation is triggered after a form on your site is submitted. Choose the relevant option under Select which forms trigger this automation:
- Any: All forms trigger this automation.
- Specific: Select which form(s) will trigger this automation.
- Option chosen on a form: The automation is triggered when a specific option within a form is chosen before being submitted.
- をクリックする。 Limit frequency to drop-down to set trigger frequency:
- Don't limit (trigger every time): Your action will take place every time it is triggered.
- Once per contact: Your action will take place only once per contact.
- Once per contact every 24hrs: Your action will take place only once per contact in any 24hr period.
- (Optional) Add a delay between a trigger and its action, to have the action occur after a certain amount of time passes.
- (Optional) Add a condition to make the automation occur when certain conditions are met.
- Choose an action and decide how you want to respond to the trigger. For example, send an email, a chat message, or a push notification.
- (Optional) Add a chain of follow-up actions from the initial action.
- Click Activate to save and activate the automation.
ヒント
You can send an automated email when a site visitor submits a form, and customize the sender details, email template, and email type. Learn more about sending automated emails.
これは役に立ったか?
|