Wix Forms: Adding and Setting Up a Standalone Form
9分で読める
Standalone forms are great for customer feedback on your products or services, collecting necessary health information with a waiver, or polling your community. Create a standalone form directly from your site's dashboard and share it with anyone using a unique URL.
始める前に
- You must have Wix Forms on your site.
- Make sure your form has a submissions table. This is where all your form data will be saved.
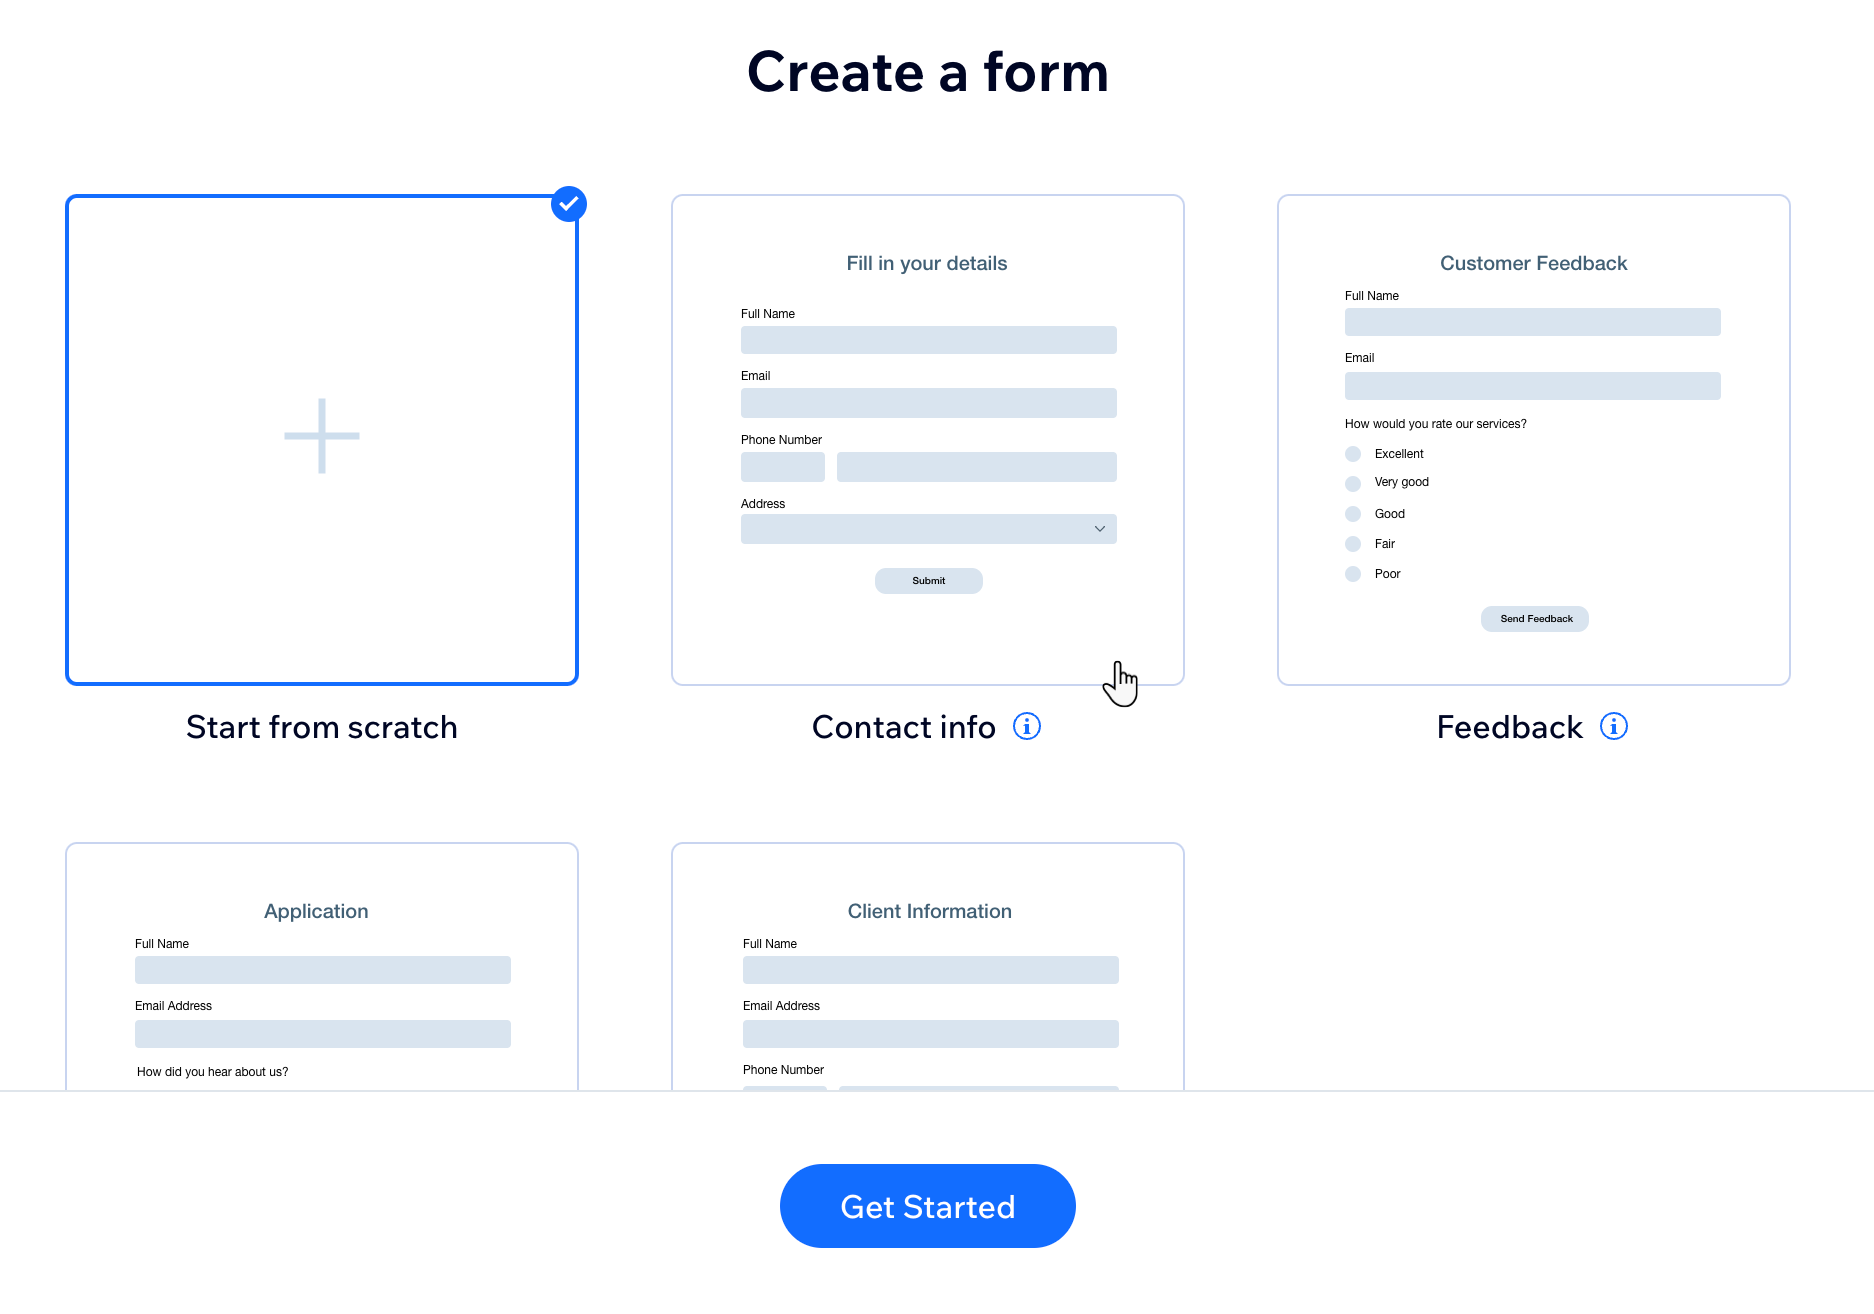
Step 1 | Create a form and choose a template
When you add a new form, you have the option to create a site or standalone form. Standalone forms come with different templates or you can create your own.
To create a standalone form:
- Go to Forms & Submissions in your site's dashboard.
- Click the Old Forms tab.
- Click + Create Standalone Form.
- Pick a template for your standalone form or click Start from scratch.
Tip: Templates have pre-existing fields that you can customize. We offer form templates for collecting contact details, client info, feedback and applications. - Click Get Started to start customizing your standalone form.
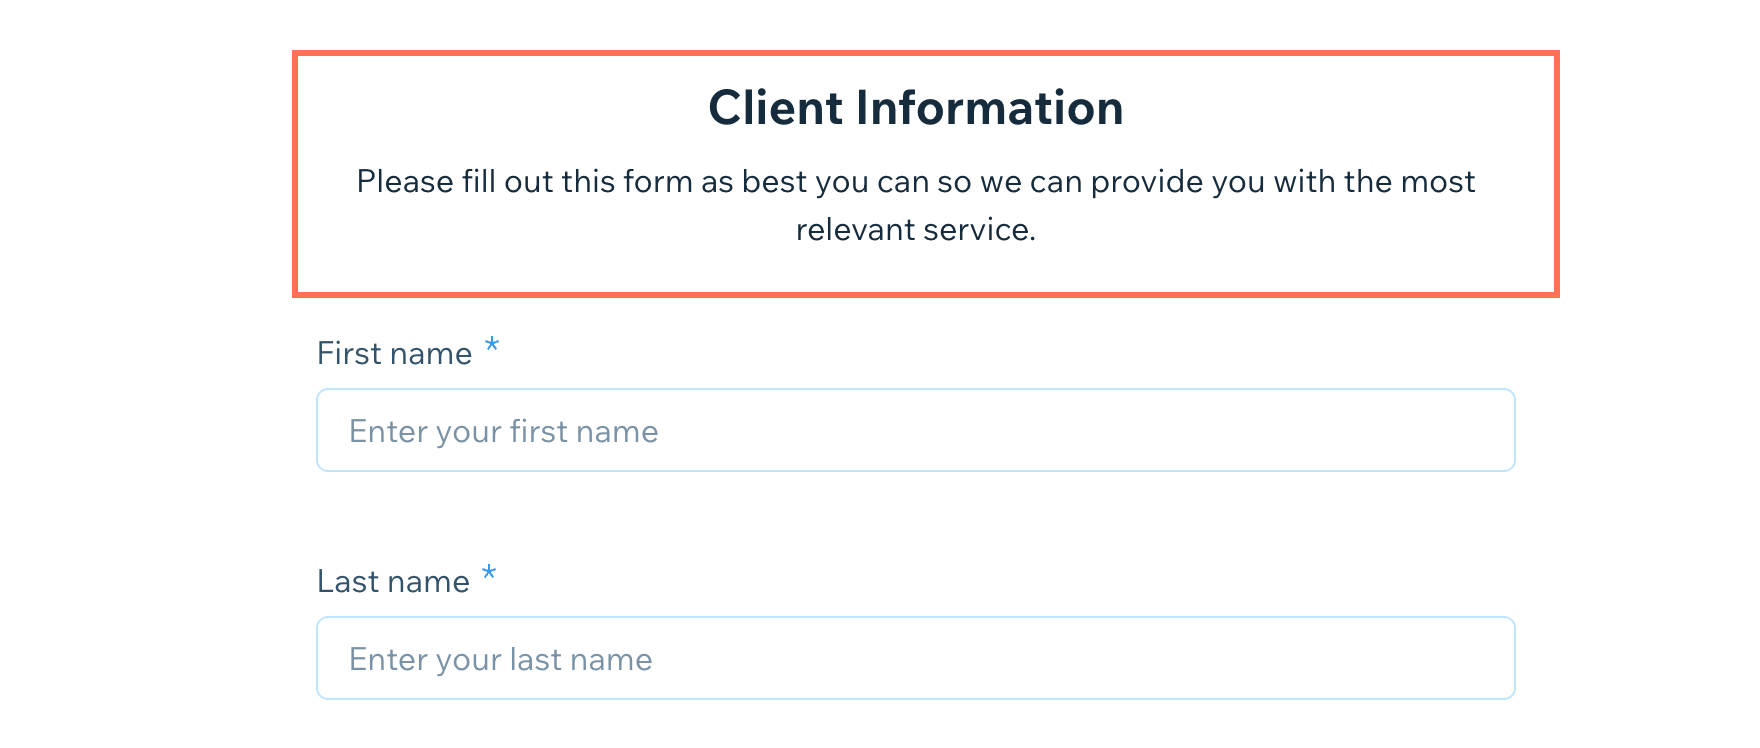
Step 2 | Add a form title and description
Give your form a title and description to give people more information about what they're filling out and what happens once a form is submitted.
To add a form title and description:
- Add the title of your form under Form title.
Note: This is mandatory and appears at the top of the form for visitors to see. - Add a description under Form description that tells visitors what the form is about. You can also include any tips for filling out the form (e.g. average time to complete).
Tip: If you don't want to add a form description, click Remove.
Step 3 | Add form fields and manage your form
Choose from contact fields or basic fields. Contact fields include info like name and email. If a visitor fills out a contact field, the data is automatically saved in your contacts. Basic fields include all the common types of fields such as text fields, number fields, date fields, and selection fields.
Learn more about the different field types.
To add form fields and manage your form:
- Hover over a field under Add form fields and click Add.
Note: If the Add form fields window doesn't appear at first, click + Add Field at the bottom of the form to open it.
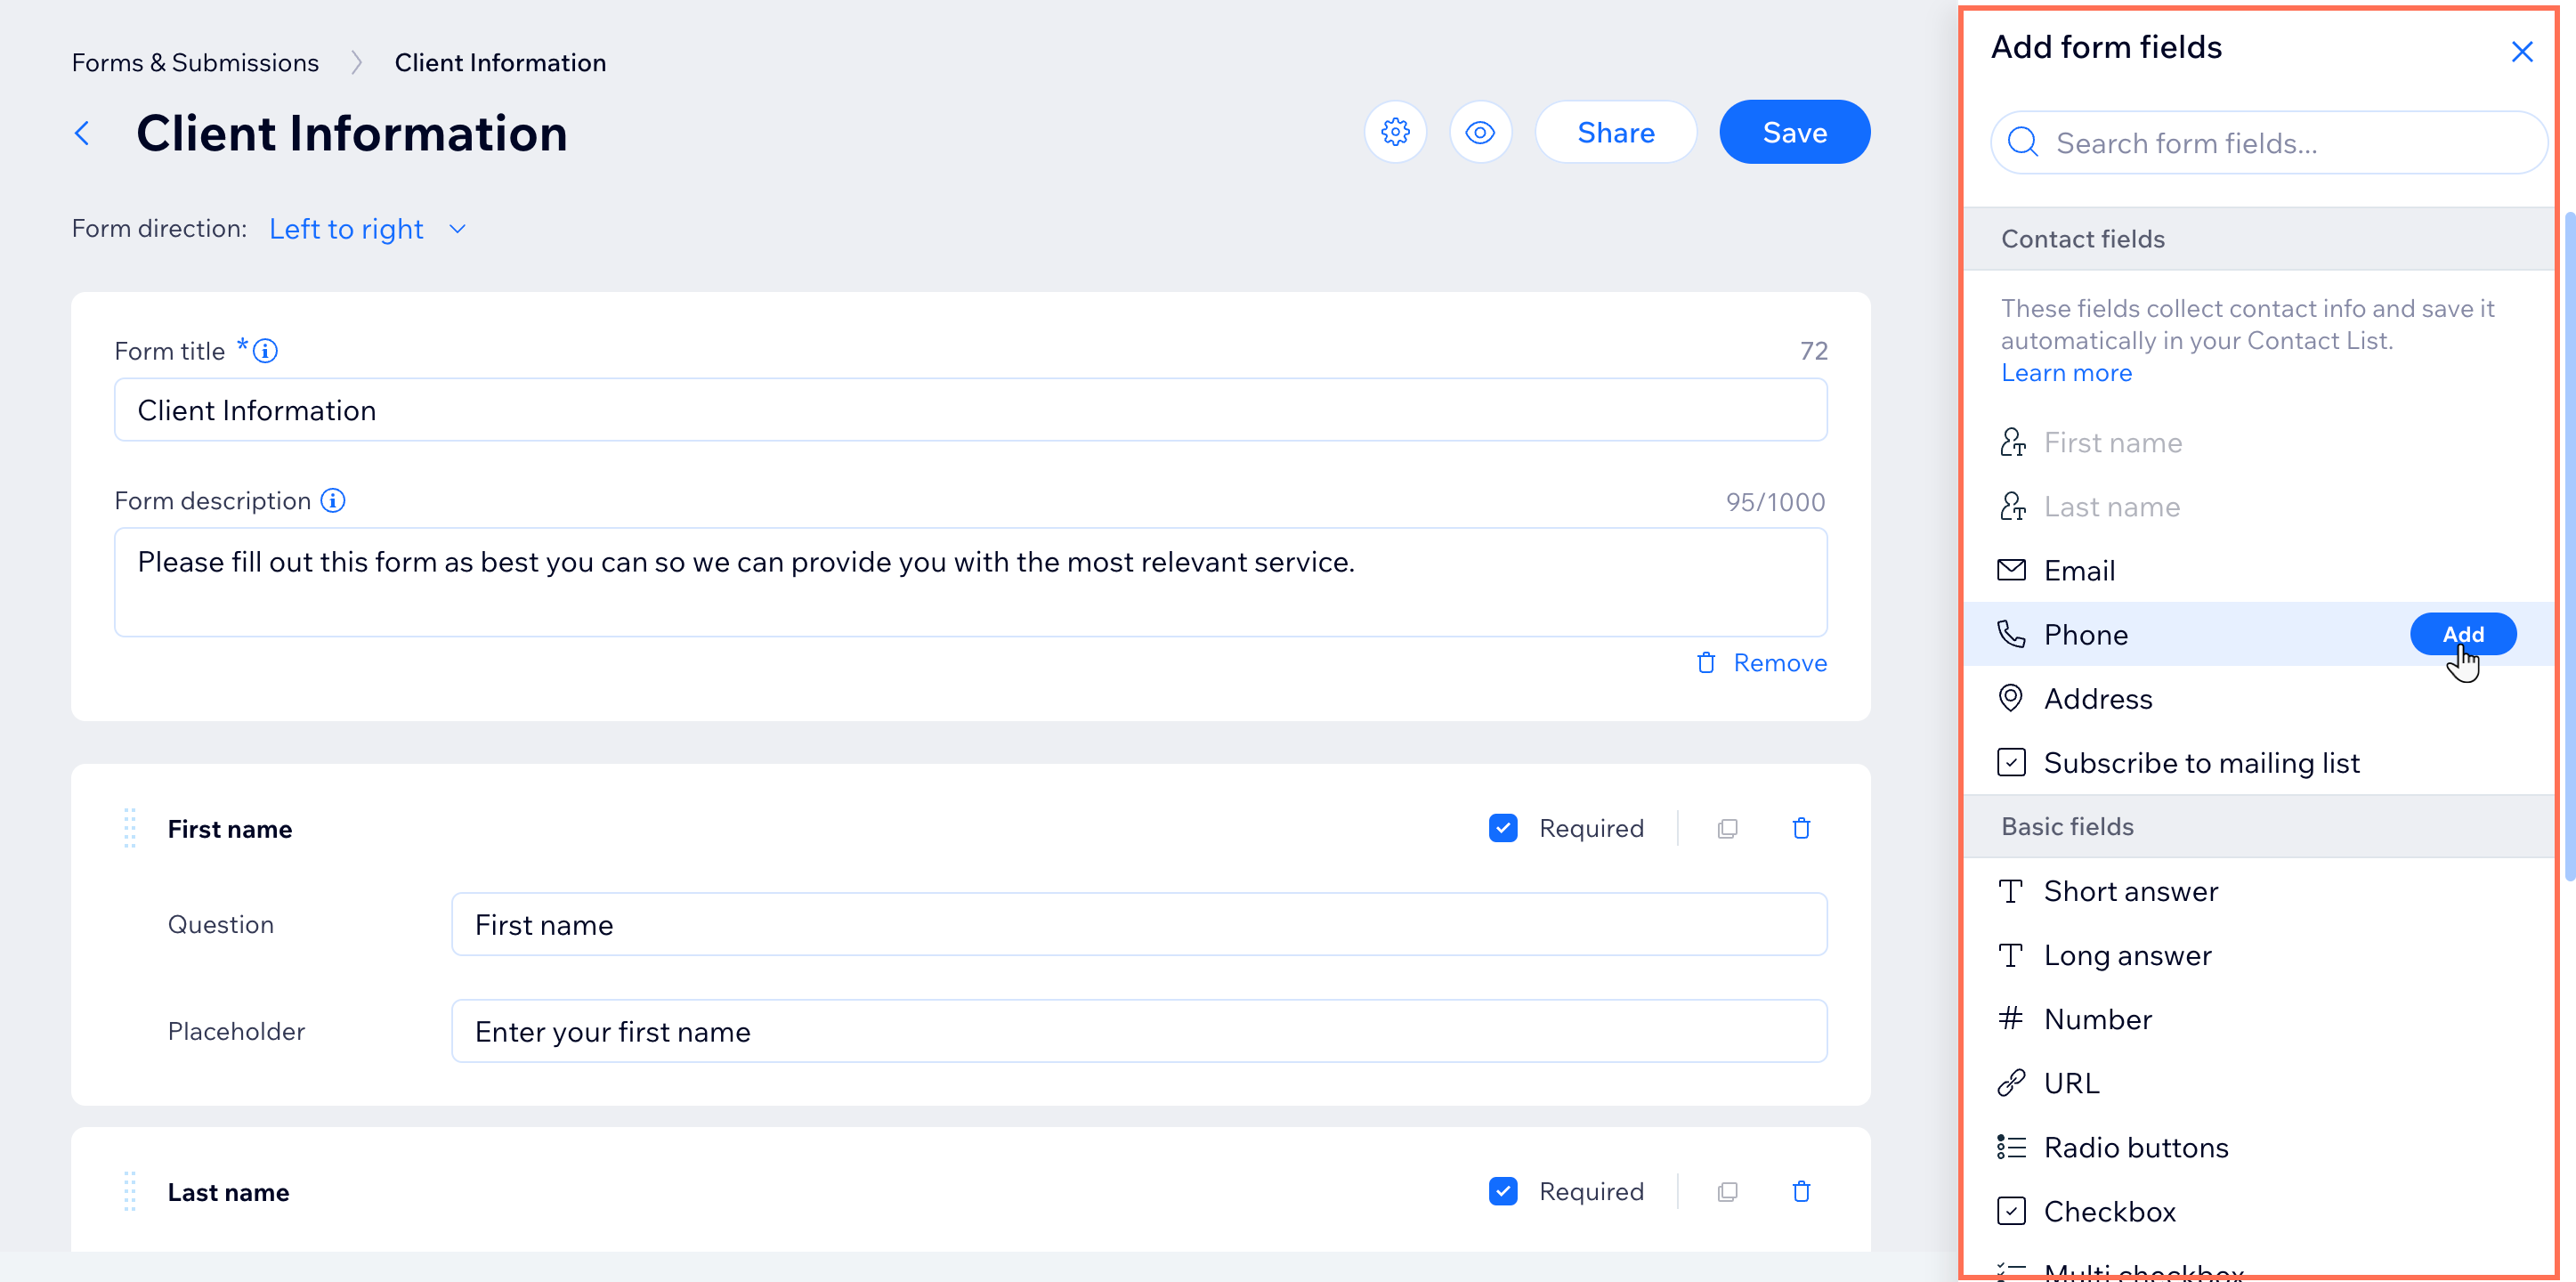
- Fill in the question and placeholder text for your new field:
- Question: Add the exact question that should appear on the form (e.g. "What is your phone number?").
- Placeholder: This is the placeholder text inside the answer field in the form. Once a visitor adds an answer the placeholder text disappears.

- Click + Add Field at the bottom and repeat steps 1-2 to add more fields.
Tip: Different fields have different information. For example, a paragraph field allows you to set a character limit for responses. - (Optional) Add a section of explainer text above or below a field by clicking Header / Paragraph under Other elements. For example, add your terms and conditions as description text next to a Signature or Upload file field.
Tip: With the Paragraph element you can also stylize the text. - Once you're done adding form fields, manage your form fields with the following options:
- Make a question required: Click the Required checkbox at the right of a field to make that question mandatory for visitors to answer.
- Duplicate a field: をクリックする。 コピー アイコン
 to create a copy of that field and its content directly below the first.
注: Some contact fields, such as First Name and Last Name, can only be added once to a form. - Delete a field: をクリックする。 Trash アイコン
 to delete a field from your form.
 - Rearrange a field: Click and drag the top left of a field to move it up and down the question order.
Note: You cannot move the submission button and thank you message at the bottom of the form.
Step 4 | Add submission text and save your form
At the end of your form is a submit button that visitors click to send their finished form to you. You can edit the button text and personalize the thank you message that follows.
To add submission text and save:
- Edit the text that appears inside the form's submit button under Submit Button Text.
Note: There is a 22 character limit since the buttons are small.

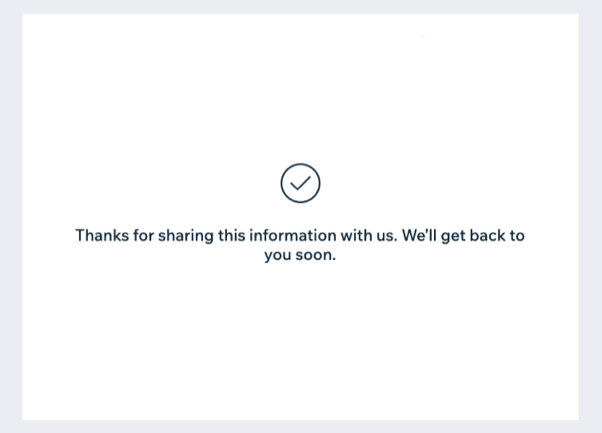
- Edit the thank you text that appears after visitors submit the form (e.g. 'Thanks for submitting!').
Tip: The message is shown on a new page. - Click Save at the top right to save your new form.
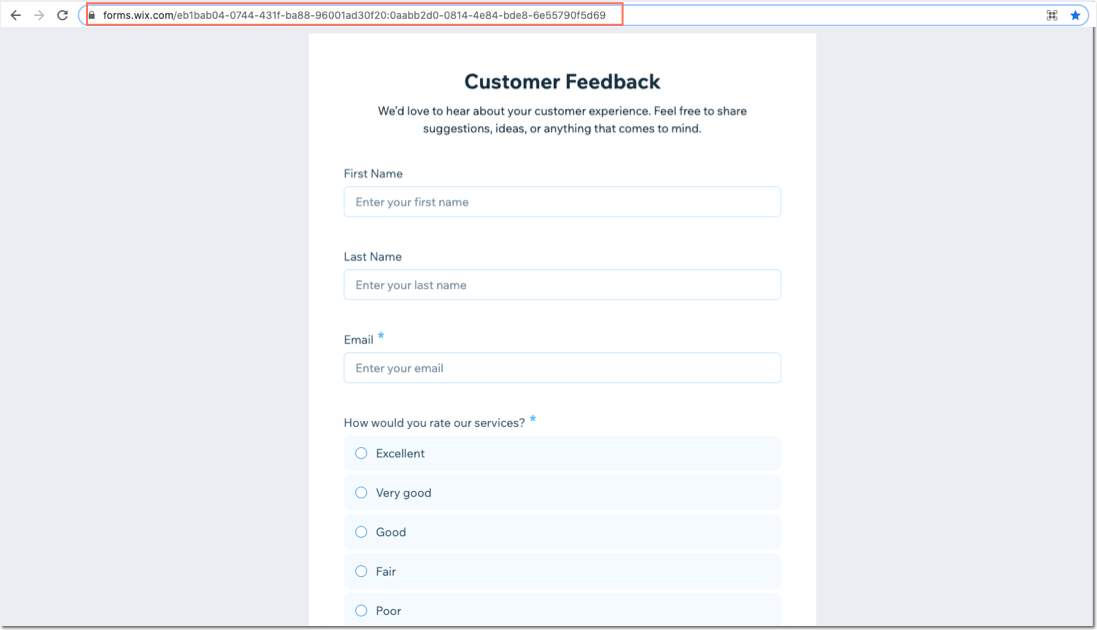
Step 5 | View your live form and share it
Once your form is finished, view it live to see how it looks for visitors. Then copy the unique URL to share it and begin receiving responses. When visitors submit the form via the shared URL, the data is saved in your form submissions dashboard.
ヒント
If you're sending an email marketing campaign to subscribers, you can link a standalone form to the call-to-action button to encourage recipients to fill out a form.
To view and share your form:
- をクリックする。 Open live form アイコン
 at the top right of the form builder.
ヒント You can also view the live form at any time from the Forms dashboard. - Share your form's direct link or post it on social media:
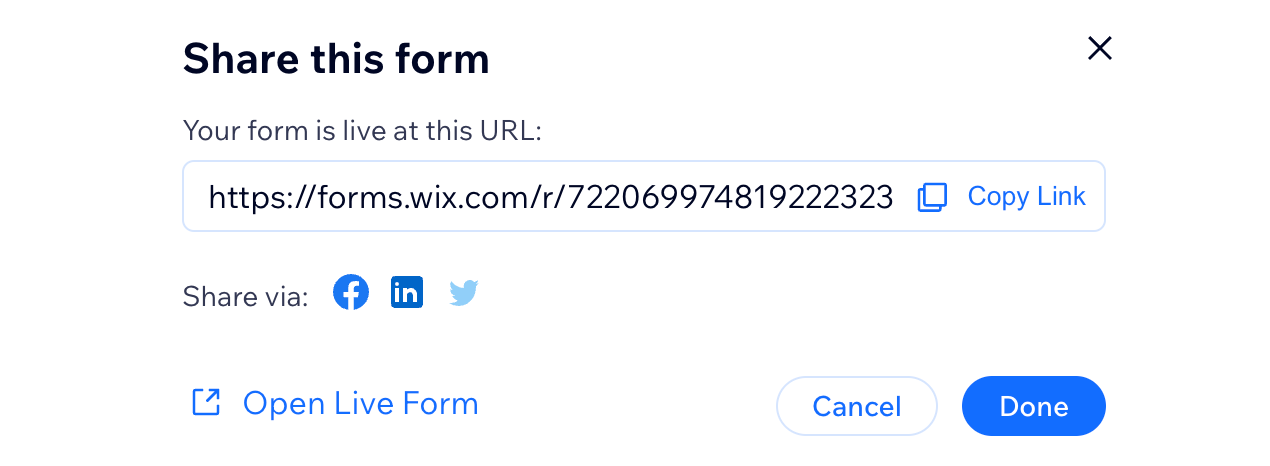
- Click Share at the top right of the form builder.
- Choose what to do next:
- Click Copy Link to copy the link to your clipboard. You cannot edit this unique URL.
- Click a social media icon to share the form directly to Facebook, LinkedIn, or X (Formerly Twitter).
- Click Open Live Form to view the live form in a separate tab. You can also copy the share URL from here.
- 完了をクリックする。
Step 6 | Manage your standalone forms
Edit and manage all standalone forms and their settings directly from your Forms & Submissions dashboard. When you're on the go, view your standalone form submissions and easily share the form from your mobile app.
To manage your standalone forms:
Dashboard
Wixアプリ
- Go to Forms & Submissions in your site's dashboard.
- Click the Old Forms tab.
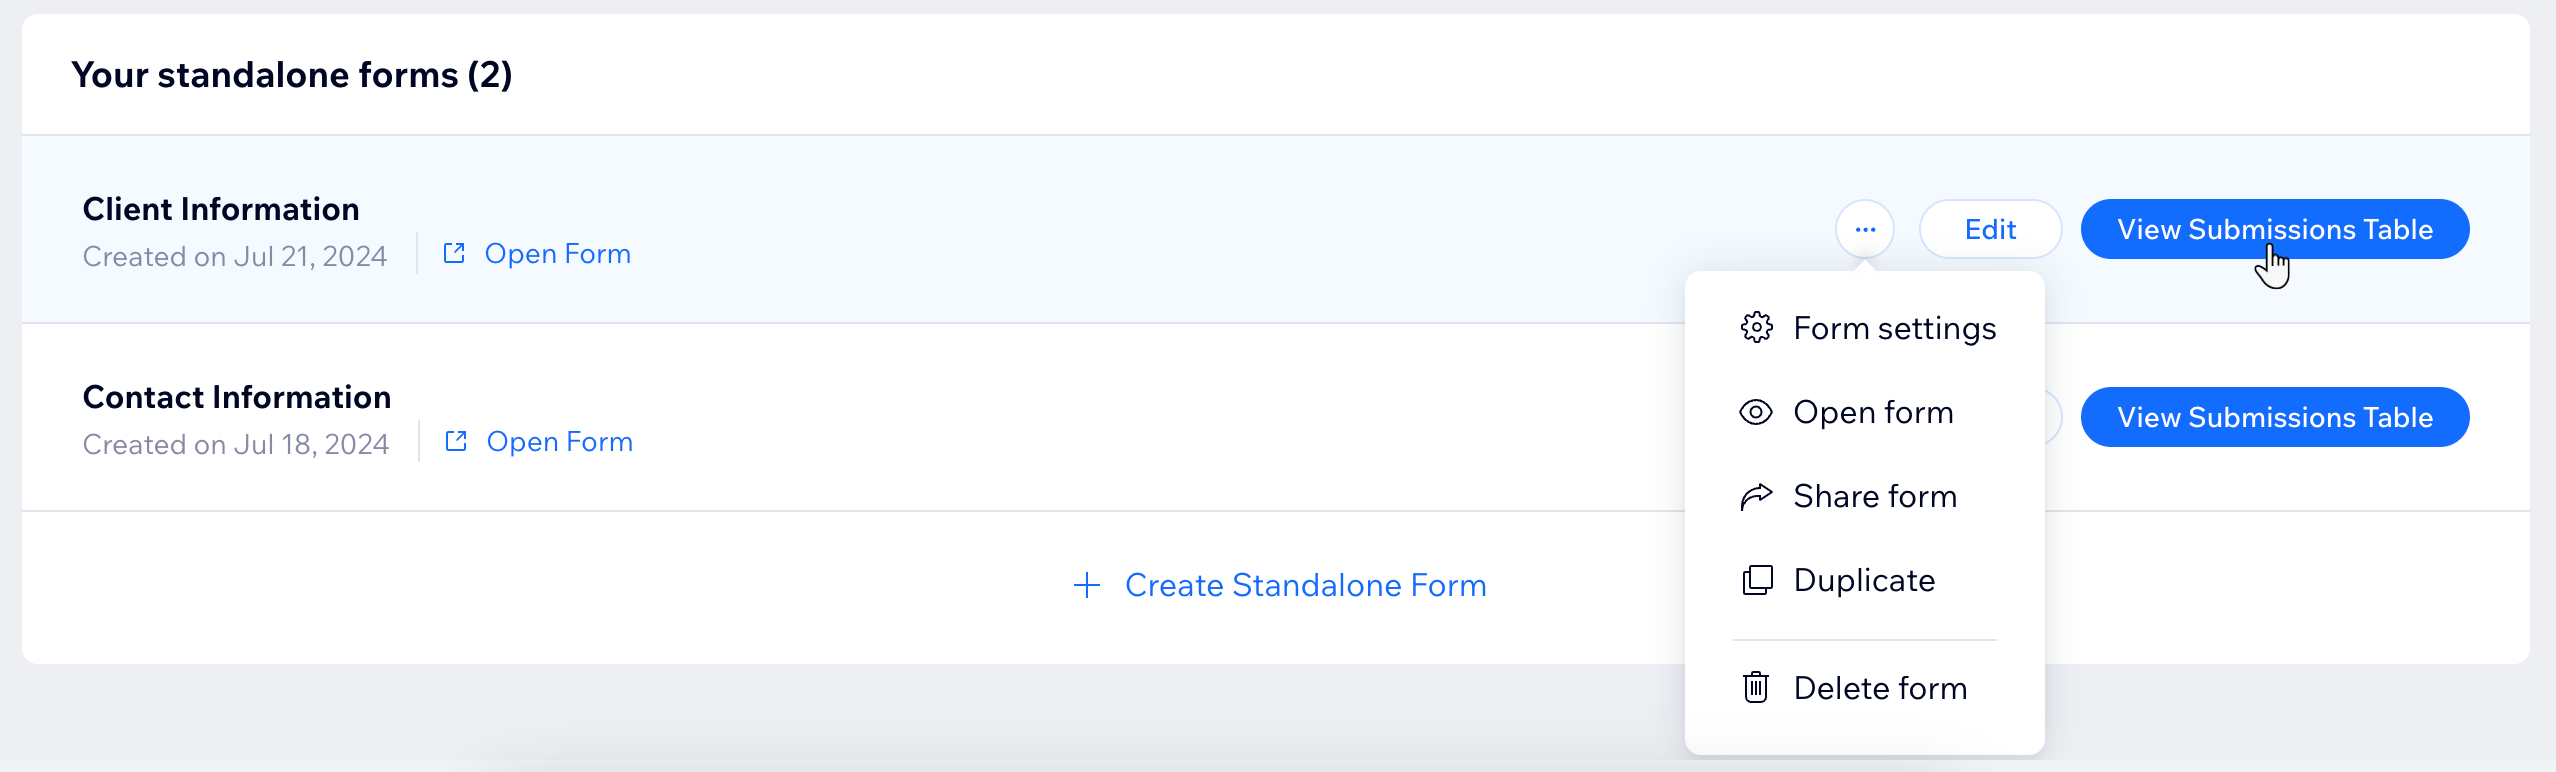
- All your standalone forms appear under Your standalone forms. Manage them using the available options:
View a live form
Edit a form
Manage a form's settings
 to the right of a form.
Share a form
View a submissions table
Delete a form
注:
The top of the form submissions dashboard shows you how many forms you can currently create. To add more forms to your plan, click Upgrade. Learn more about upgrading Wix Forms.
これは役に立ったか?
|