Enterprise Solution: Adding and Setting Up Security Headers
読了目安: 6分
Security headers are a set of instructions or rules configured to your website or web server, that fortify websites against cyber threats, protecting sensitive data and fostering site visitor trust.
With Wix Studio for enterprise, you can add and configure your organization's custom security headers for each site. You can also duplicate security header policies across sites to speed up securing your organization's online assets.
重要だ:
Security headers work on an individual site level, not on an account level. This allows you to choose the relevant security headers for each of the organization's sites.
この記事では、その詳細について説明する:
Custom security header types
The following security headers are currently available with Wix Studio for enterprise:
Permissions-Policy
X-Frame-Options
Referrer-Policy
Strict-Transport-Security (HSTS)
Content-Security-Policy (CSP)
X-Content-Type-Options
Adding and configuring security headers
Add and configure the relevant custom security headers for your organization's sites to protect against cyberattacks. Add, and then configure each security header before saving and testing on your site. After a successful test, you can then activate your custom security headers.
重要だ:
Only click Save at the top when you are finished configuring all the relevant headers, or you will have to start again from scratch.
To add security headers to a site:
- Go to Security Headers in your enterprise dashboard.
- Click + Add Headers at the top right.
- Click the relevant site.
- Click Select.
- Select the checkbox next to the security headers you want to add and configure.
- Configure the relevant security headers according to your needs, following the instructions below:
Permissions-Policy

X-Frame-Options

Referrer-Policy

Strict-Transport-Security (HSTS)

Content-Security-Policy (CSP)

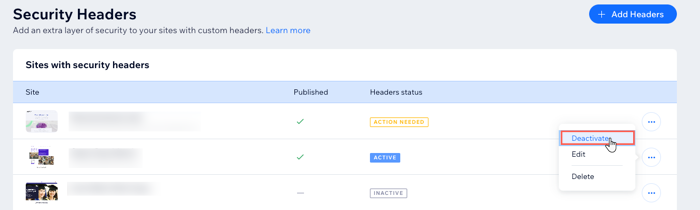
Deactivating security headers
You can temporarily deactivate a security header on a site if your organization is making changes to the site and you need to test certain features. However, it's crucial to reactivate the security header afterward to maintain protection against cyber threats.
To deactivate a security header:
- Go to Security Headers in your enterprise dashboard.
- をクリックする。 その他のアクション アイコン
 next to the security header you want to deactivate on a site.
 - Click Deactivate.
- Click Deactivate again to confirm.
Deleting security headers
You can delete any security header policy on any of your sites at any time.
重要だ:
Deleting a policy is permanent and you cannot undo this action. You can deactivate a policy instead, if you prefer.
To remove a security header from a site:
- Go to Security Headers in your enterprise dashboard.
- をクリックする。 その他のアクション アイコン next to the security header you want to remove from a site.
- Click Delete.
- Click Delete Policy to confirm.

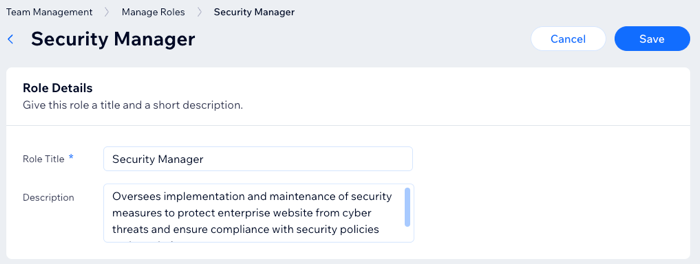
Granting access to manage security headers
By default, only an account owner and co-owner can add, set up and manage security headers. You can, however, create a custom role for your account to grant security header access to your security manager, for example.
To grant access to manage security headers:
- Go to Team in your enterprise dashboard.
- Click More Actions at the top.
- Click Manage Roles.
- Click + Create New Role.
- Enter the Role Title and Description.
- Scroll down, and click to expand Sites.
- Select the Manage Folders checkbox.
- Scroll down, and click to expand Enterprise Dashboard.
- Select the Manage Security Headers checkbox.
- 保存をクリックする。
これは役に立ったか?
|