Desktop POS Solutions: Setting Up the Dashboard Card Reader
読了目安: 5分
Using a card reader, you can collect payment using either of our Desktop POS Solutions:
First, connect to Wix Payments and purchase the BBPOS WisePOS E card reader. Then, follow the steps below to set the reader up and start collecting payment using your computer.
Step 1 | Connect to Wix Payments
Wix Dashboard Card Reader works with the Wix Payments payment provider. Start by connecting to Wix Payments.
Step 2 | Get the card reader
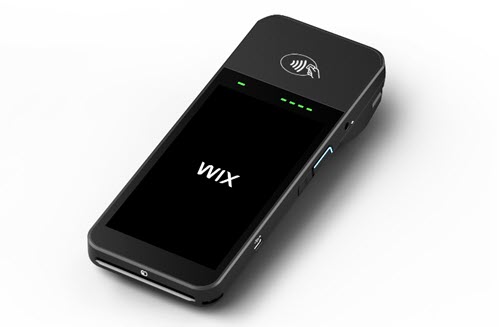
Once your Wix Payments account is set up, you can order the card reader. This solution works with the BBPOS WisePOS E card reader which you can purchase anywhere these readers are sold or from the Wix POS shop.
Step 3 | Unbox and charge your card reader
Now that you have the card reader, you can unbox your reader and charge it.
To start setting up your reader:
- Unbox your card reader.
- Insert the battery.
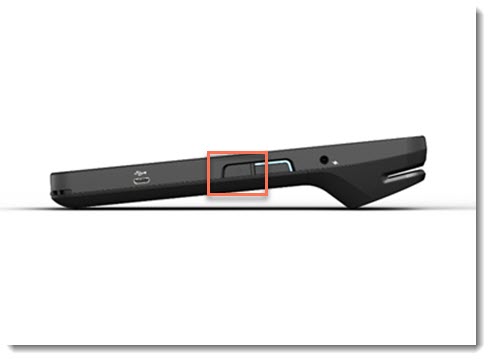
- Press the power button to turn the reader on.
- If required, charge your reader.
Step 4 | Connect your reader to WiFi
Before you move onto the next step, you need to connect the card reader to WiFi.
重要だ:
To use the reader with your dashboard, your computer and reader need to be connected to the same WiFi network.
To connect your reader to WiFi:
- Go back to Point of Sale Settings in your site's dashboard.
- If you haven't already done so, click +Pair New Reader.

- Select an option:
- WiFi networks are displayed: Connect to the relevant network.
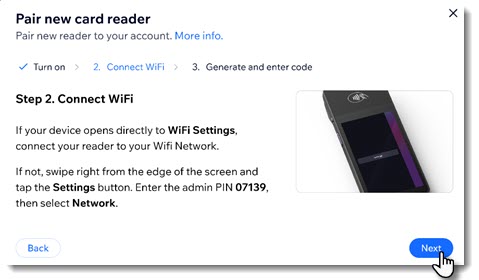
- WiFi networks not displayed:
- Swipe right on your card reader screen.
- Tap the Settings button.
- Enter 07139 as the PIN code.
- Select Network.
- Connect to the relevant network.
- Return to the popup and tap Next.
Step 5 | Generate and enter your code
After connecting to WiFi, a code should appear automatically. If it does not, you can go into the setting to generate a code.
ヒント
If you're planning on pairing more than one reader, give them names that will help tell them apart.
To generate and enter your code:
- Go back to the popup on your computer.
- Select an option:
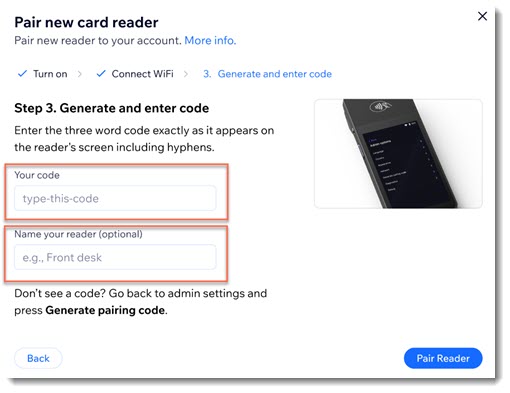
- Code is displayed: Enter the three-word code in the pop-up, including the hyphens.
- Code not displayed: Generate a code and enter it:
- Swipe right on your card reader screen.
- Tap the Settings button.
- Select Generate pairing code.
- Enter the three word code in the pop-up, including the hyphens.
- (Optional) Give your card reader a name.
Note: If you plan on using more than one reader, this will help you manage them. - Click Pair Reader
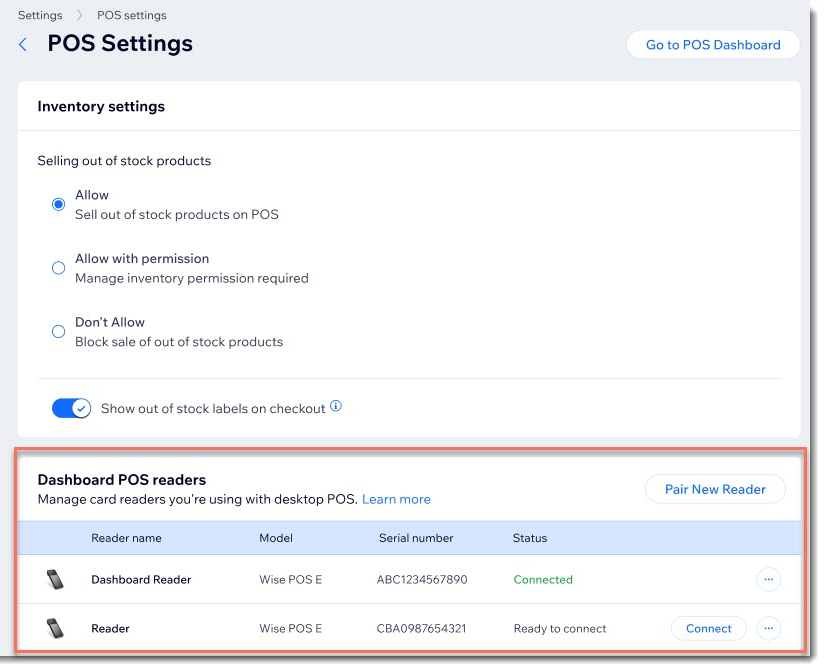
After a reader is paired, you'll see it listed in your POS settings.
Next steps:
Learn how to:
Step 6 | Enable POS in Accepting Payments
Now you can go to Accept Payments and enable Wix Point of Sale to so you can start collecting payment.
To enable POS:
- Go to Accept Payments in your site's dashboard.
- Scroll down and click Accept or click the toggle next to Wix Point of Sale to enable it.

Troubleshooting
If you are experiencing any issues setting up card reader, click a question below.
Why can't I pair the card reader to my computer?
How can I reconnect the card reader after my computer crashed in the middle of a sale?
 next to the relevant reader.
これは役に立ったか?
|