Wix Blog: Customizing Your Blog Post Page
7分で読める
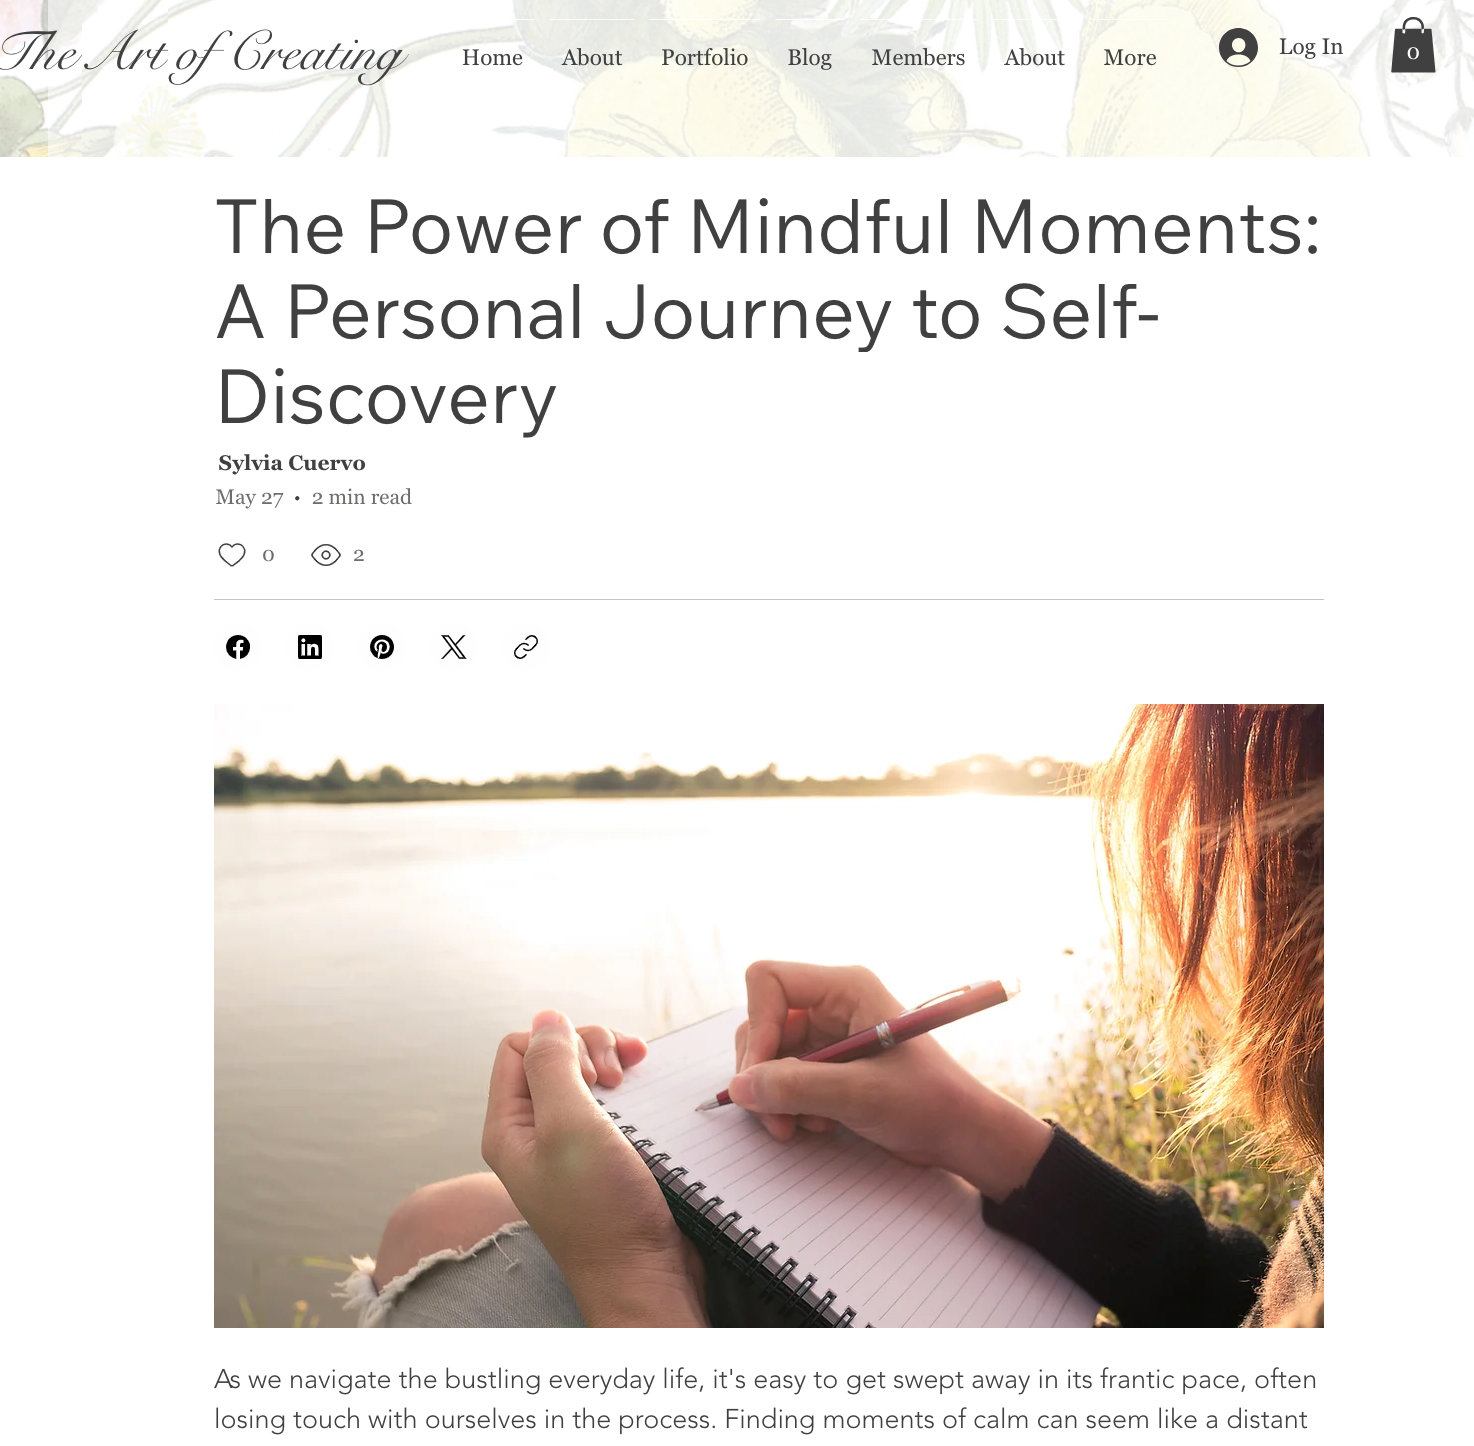
When readers select a post from your blog feed, it opens up the Post page. This is a dynamic page, meaning the content changes according to the post selected, while the design remains the same.
重要だ:
We released a new version of the Post page in November 2023. All blogs installed before this date have the old Post page experience. We will gradually migrate all blogs over to the new Post page over the coming months.
Step 1 | Access the Blog Post page
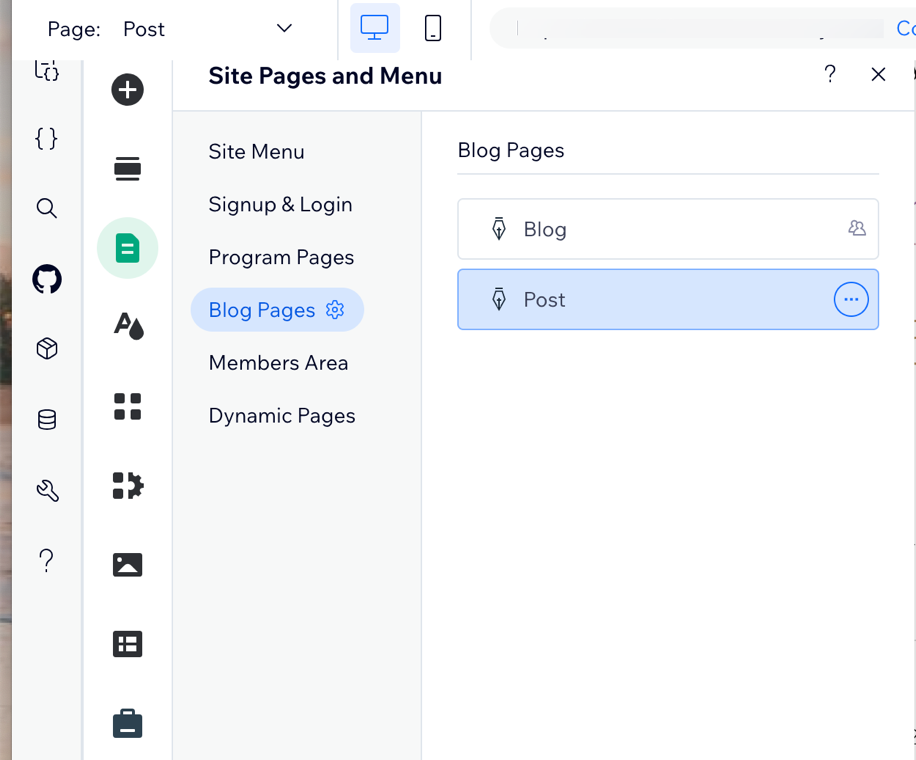
You can access the Post page directly from your editor.
Wixエディター
スタジオエディター
- 編集者のところに行ってください。
- Go to your Post page:
- クリック ページ&メニュー
 エディターの左側にある
 - Click Blog Pages.
- Click Post.
- クリック ページ&メニュー
Step 2 | Customize the elements displayed on the page
The Post page has a variety of small elements built into it to help optimize your blog content. Each of these elements are fully customizable with their own individual settings. When you are editing your Post page, it's important to click around on every element, and on the space outside of the elements.
To customize the elements on your Post page:
- 編集者のところに行ってください。
- Go to your Post page.
- Click the page to locate Change Presets.
- Click Change Presets.
Note: A Preset is a predesigned template for your page. It helps identify the overall look and feel of your Post page. - Choose a Preset from the options available.
- Start clicking on some of the elements available.
Tip: Start from the top and work your way down. - Choose what you want to customize:
ヘッダー
 icon.
icon.  icon.
icon. Metadata
Counters
Divider
Share Buttons
Rich Content
タグ
 icon.
icon. フッター
関連記事
よくある質問
Click a question to find out more information.
I'm clicking on the page but I can't find what I'm looking for.
What are Presets?
How can I access the dashboard from the editor to manage my posts?

 logo at the top left.
  icon that appears on hover.
 これは役に立ったか?
|