Wix Blog: Adding Managed Writers to Your Blog
読了目安: 3分
You can add managed writers to your blog to attribute them to a specific post on a one time basis. Managed writers have no permissions on your site and cannot post themselves or customize their profile.
ヒント
You can also add permanent blog collaborators to your blog if you need to. Learn more about adding writers and editors
この記事では、その詳細について説明する:
Adding a managed writer from the post composer
You can add a managed writer to an individual post directly from the post composer in your site's dashboard.
To add a managed writer:
- Go to Blog in your site's dashboard.
- Select the post that you want to add a managed writer to.
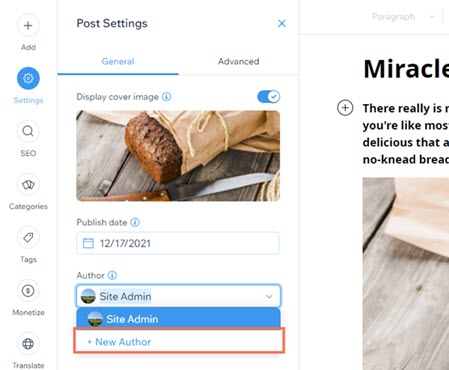
- Click Settings on the left side of the post composer.
- Scroll down and click the Author drop-down menu.
- Click +New Author.
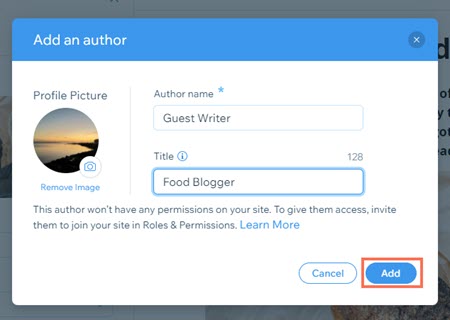
- Enter a name for the managed writer under Author Name.
- (Optional) Add a profile picture and title for the managed writer.
- Click Add.
- Click Publish.
Deleting writers
You can delete a writer at anytime. Go to the Writers page in your dashboard, click the もっと見る アイコン  next to the writer's name you want to delete, and click 削除. Learn more about managing writers
next to the writer's name you want to delete, and click 削除. Learn more about managing writersAdding a managed writer from the Writers page
You can add a managed writer to your blog in your site's dashboard. After you've added them, you can add them to specific posts.
To add a managed writer:
- Go to Blog in your site's dashboard.
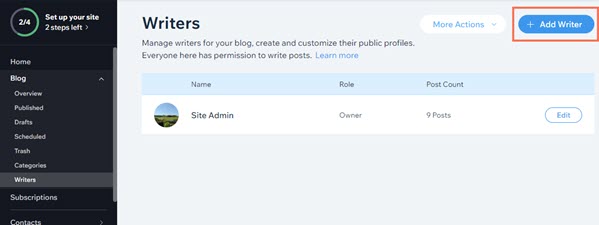
- Click Writers.
- Click +Add Writer.
- Click Create a managed writer.
- 続行」をクリックする。
- Add profile information like a name, profile picture, and any other additional information for the writer.
- 保存をクリックする。
- Select the post that you want to add the new managed writer to.
- Click Settings on the left side of the post composer.
- Scroll down and click the Author drop-down menu.
- Select the new managed writer.
- Click Publish.
Deleting writers
You can delete an writer at anytime. Click the もっと見る アイコン next to the writer's name you want to delete and click 削除. Learn more about managing writers
next to the writer's name you want to delete and click 削除. Learn more about managing writersこれは役に立ったか?
|