Studio Editor: Adding, Creating and Uploading Images
4 min read
Add images to enhance branding, display products, or just to elevate the site's look and content. As well as uploading your client's images, you can also select from thousands of stock images, available from a range of sources.
In this article, learn how to:
Adding an image to a site
After uploading an image, you can easily add it to the site you're working on.
As well as using your own images, you can also choose from a range of stock photos. Select a free, professional image from Wix or Unsplash, or purchase beautiful images from Shutterstock.
To add an image:
- クリック エレメントの追加
 エディターの左側にある
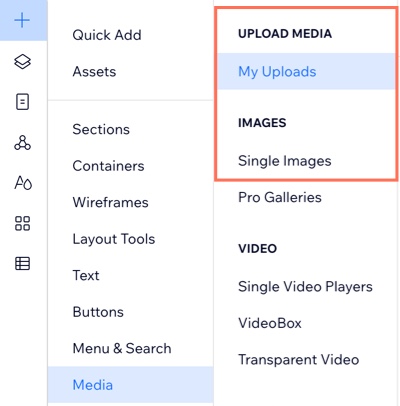
 - Click Media.
- Choose one of the options:
- My Uploads: Select an image you have uploaded.
- Single Images: Add an image in the shape you want, then click Change Image to access the Media Manager.
Tip: Click the Media from Wix tab to choose from thousands of professional photos and illustrations, free of charge.
Uploading an image
You can upload your own images to the site's Media Manager at any time. Choose from your computer, other Wix sites or external platforms. Once you upload an image, you can use it anywhere on the site.
Uploading an SVG file?
If you want to change the image colors after uploading the SVG, export the file as Fill. When exporting an SVG as Stroke, the file is automatically imported as vector art (instead of a basic shape), which you can't design.
To upload an image:
- クリック メディア
 エディターの左側にある
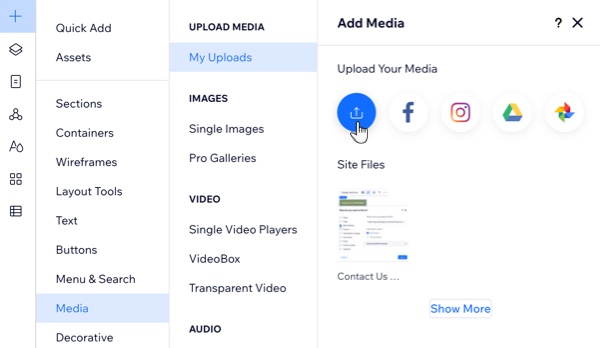
 - (In the Media Manager) Click + Upload Media.
- Select where you want to add the media from:
- Your computer: Drag and drop files into the Media Manager or click Upload from Computer.
- Your other Wix sites:
- クリック My Wix Account
 左側
左側 - Select the site folder.
- Select the files you want to upload.
- Click Upload Selection.
- クリック My Wix Account
- External platforms (e.g. Facebook, Google Drive):
- Click the relevant platform on the left.
- 接続をクリックする。
- Select the files you want to upload.
- Click Upload Selection.
- A URL:
- をクリックする。 リンク アイコン
 on the left side.
 - Paste the URL link and click Import.
- をクリックする。 リンク アイコン
- (Optional) Select the file you just uploaded and click Add to Page.
Create an image using AI
With the Wix AI Image Creator, you can create high-quality, personalized image content quickly and cost-effectively. By writing well-structured prompts and applying your preferred image style, you can generate multiple versions of an image and add it to the site.
To use the AI Image Creator:
- Access the AI Image Creator:
- クリック メディア エディターの左側にある
- (In the Media Manager) Click AI Image Creator on the left.
- クリック メディア
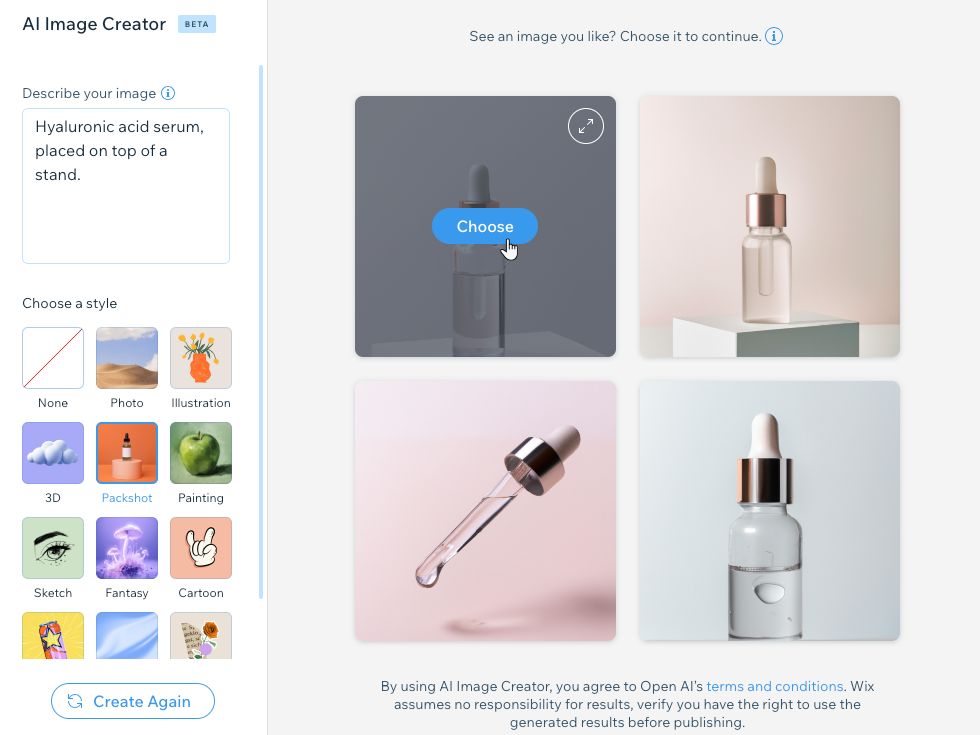
- Enter your prompt under Describe your image.
- Click a style to select it.
- Click Create Images.
- (If necessary) Click Create Again to generate another set of images.
- Hover over the image you like best and click Choose.
- (Optional) Edit the image further if needed.
- Click Save to add the image to the site's Media Manager.
これは役に立ったか?
|