Studio Editor: Adding and Customizing a Slideshow Repeater
読了目安: 5分
Using a slideshow repeater, you can create interactive slideshows much faster for your client's site. The design and layout repeat across slides, but the content varies on each slide. This helps maintain a consistent look across the slideshow, without having to design every slide from scratch.
What exactly repeats across slides?

この記事では、その詳細について説明する:
Adding and setting up a slideshow repeater
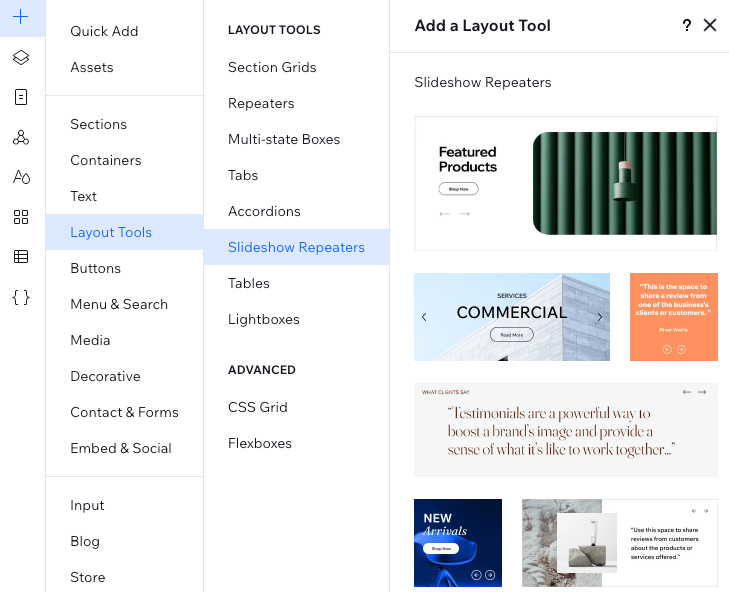
Choose from our various slideshow designs to get started. After adding one of the slideshows onto the page, feel free to add, move or remove elements as needed.
注:
When adding or removing elements from one slide, it affects the other slides as well.
To add and set up a slideshow repeater:
- クリック エレメントの追加
 エディターの左側にある
 - Click Layout Tools.
- Click Slideshow Repeater.
- Drag a design you like onto the page.
- Customize the slideshow's content to your client's needs:
- Click elements (e.g. text, images) to customize them.
- Add more elements to the slides.
- Delete elements you don't need.
- Connect the elements to the CMS (Content Management System).
Managing the slides
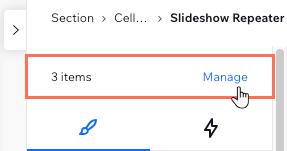
At the top of the Inspector panel, you can see the current number of items (slides) and the option to manage them individually.
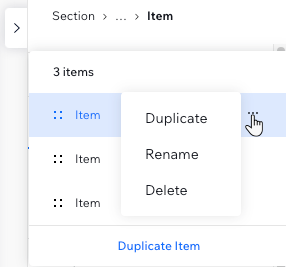
You can duplicate items to add more slides or remove those with irrelevant content.
To manage the slides:
- Select the slideshow repeater.
- をクリックする。 Open Inspector アイコン
 at the top right of the editor.

- Click Manage at the top of the Inspector.
- Hover over the relevant item (slide) and click the その他のアクション アイコン
 .
. - Choose what to do next: Duplicate, Rename or Delete.
Tip: Renaming one slide automatically renames the other slides in this slideshow.
Adjusting the slideshow settings
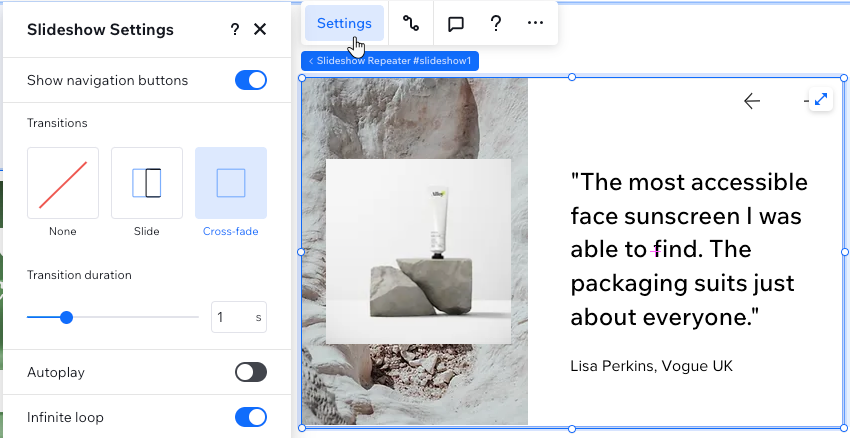
Make the slideshow behave exactly as you need. You can show or hide the navigation buttons, set the slideshow to play automatically, add a transition between slides and more.
To adjust the slideshow settings:
- Select the slideshow repeater.
- 設定をクリックします。
- Choose what to do next:
- Show navigation buttons: Click the toggle to show or hide the navigation buttons.
- Transitions: Choose whether or not to apply a transition effect between slides.
- Autoplay: Enable the toggle to make the slideshow play automatically, no visitor interaction needed.
- Time on each item: Decide how long to show a slide before the slideshow automatically moves on to the next.
- Pause on hover: Enable this toggle to make the slideshow stop when a visitor hovers over. This allows them to focus on the content.
- Infinite loop: When this toggle is enabled, the slideshow does not have an "end". It goes right back to the beginning.
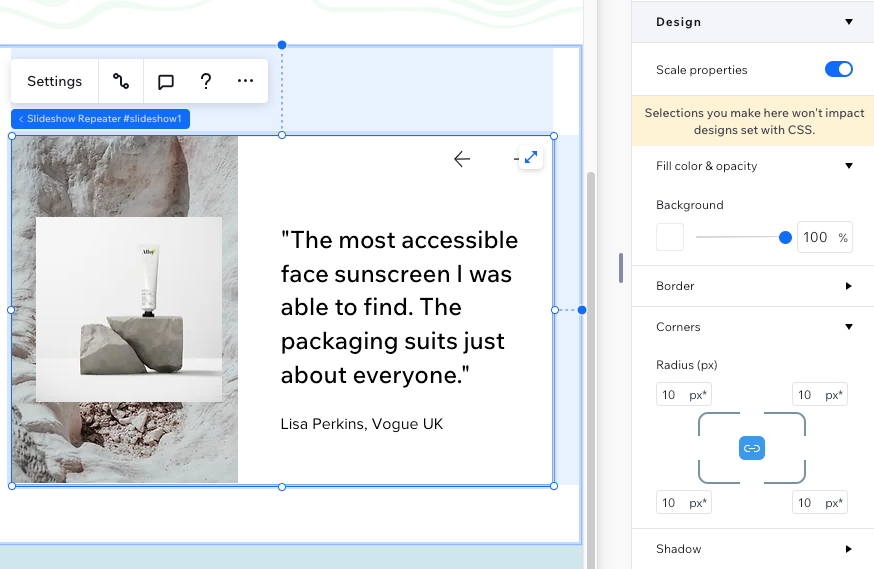
Designing the slideshow repeater
Personalize the look of the slideshow repeater so it fits your client's style. You can add a background color to the slides, frame the slideshow with a border, and apply shadow to make it stand out.
To design the slideshow repeater:
- Select the slideshow repeater.
- をクリックする。 Open Inspector アイコン at the top right of the editor.
- Choose what to do next:
- Select a background color for the slides and set its opacity.
- Add a border to frame the slideshow.
- Make the slideshow corners more round or rectangular.
- Add a shadow behind the slideshow.
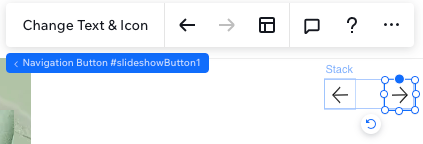
Customizing the navigation buttons
Repeater slideshows come with 2 built-in buttons, allowing visitors to navigate between slides. You can replace the icons, adjust their size and add helpful text next to the buttons (e.g. "Previous", "Next").
You can also remove the buttons completely so visitors don't have the option to go back or skip ahead. Go to the Slideshow Settings panel to hide them.
To customize the navigation buttons:
- Select the slideshow repeater.
- Select a navigation button.
Tip: It does not matter what slide you're on, as the settings apply to all slides. - Click Change Text & Icon to replace the icon and add text to the button.
これは役に立ったか?
|