Editor X: Adding and Customizing a Social Bar
4 min read
エディターXは、代理店およびフリーランサー向けの新しいプラットフォーム、Wix Studioに移行します。Wix Studioについてさらに詳しく
A social bar encourages visitors to engage with your business by following your social media accounts. Add links to your pages on Facebook, Instagram, Pinterest or any other relevant platform.

Learn how to:
Adding a Social Bar
Place your social bar in a location that visitors can easily notice. For example, add it to the master header or footer to ensure it's always visible.
To add a social bar:
- クリック 追加
 at the top left of the Editor.
 - Click Menu.
- Click Social Bar.
- Drag a social bar to the desired location on your site.
What's next?
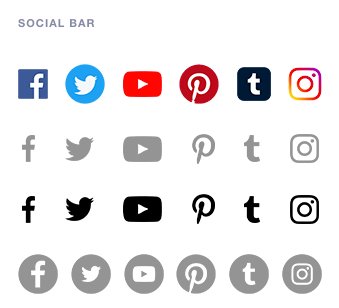
The social bar features default icons that you can customize to your needs (see Setting Social Links below).
ヒント
Add a Fixed scroll effect to your social bar so it's always shown on screen. Learn How
Setting Social Links
After adding a social bar to your site, choose the relevant icons to display based on your social media accounts. If needed, you can always change the links by following the instructions below.
To set the social bar links:
- Select the social bar in your Editor.
- Click Set Social Links.
- Set up your links by doing one of the following:
Change a social media link
Replace an icon
Add a new icon and link
Remove an icon
 to delete it.
Customizing the Layout of the Social Bar
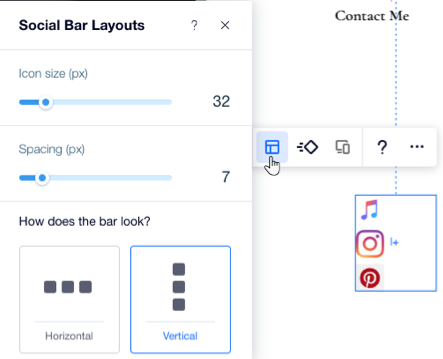
Customize the layout and appearance of your social bar. You can change the size of your social media icons, adjust the spacing between them and display them horizontally or vertically.
To customize the layout:
- Select the social bar in your Editor.
- をクリックする。 レイアウト アイコン
 .
. - Customize the layout by doing the following:
- Drag the slider under Icon sizes (px) to make the icons bigger or smaller.
- Drag the slider to under Spacing (px) to adjust the space between icons.
- Choose whether to display your social bar horizontally or vertically.
Need to flip or rotate the icons?
Flip or rotate the icons from the Inspector panel  by entering a different angle (e.g., 180) next to 回転.
by entering a different angle (e.g., 180) next to 回転. これは役に立ったか?
|