Customizing the Cart Icon
読了目安: 6分
重要だ:
This article is relevant for Wix Stores, Wix Bookings, and Wix Restaurants Orders (New).
The Cart Icon appears in your site's header. When a customer wants to make a purchase, the number of items is shown in the Cart Icon. When they're ready to complete the order, the customer can click the icon to start the checkout process.

この記事では、その詳細について説明する:
Enabling cart checkout (Wix Bookings only)
ヒント
You can also enable the ability to book multi-service appointments, (e.g. one appointment that includes 2 services, such as a manicure and a pedicure).
To enable cart checkout:
- Go to Booking Settings in your site's dashboard.
- Click Cart checkout.
- Click the Active toggle to enable it.
- 保存をクリックする。
Re-Adding the Cart Icon
When you add Wix Stores, Wix Bookings, or the new Wix Restaurants Orders to your site, the Cart Icon is automatically added. You can re-add the Cart Icon if it was deleted.
注:
- The same Cart Icon is used for stores, bookings, and the new restaurant orders.
- You can re-add the Cart Icon through Wix Stores or Wix Bookings, but not directly though Wix Restaurant Orders. The instructions below show how to add it through Wix Stores, but they work for all 3 business solutions.
Wixエディター
エディターX
スタジオエディター
- 編集者のところに行ってください。
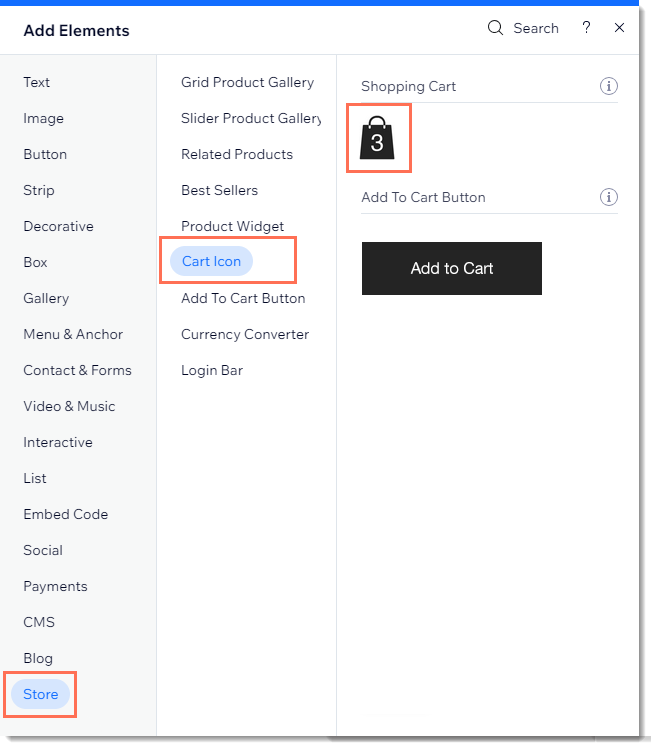
- クリック エレメントの追加
 エディターの左側にある
 - Click Store.
- Click Cart Icon.
- Drag the cart to your site's header.
Accessing the Cart Icon settings
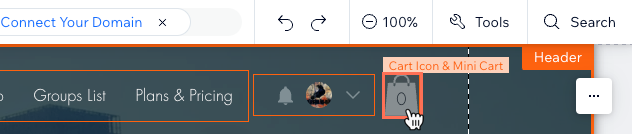
The Cart Icon can usually be found in your site's header. Click the icon to access the settings.
ヒント
The Mini Cart settings can also be accessed through the Cart Icon.
Wixエディター
エディターX
スタジオエディター
Customizing the Cart Icon design
Select your favorite cart design and then customize the font and colors to get the perfect look. You can choose from cart designs that have only an image, those with the word "Cart", or designs that have both.
To customize the design of the cart icon:
- Click the Cart Icon in your editor.
- Click Settings.
- Select the Cart Icon tab.
- Click to select an icon design.
- Customize the icon's colors, font, or text.
Tip: Available options vary depending on the icon you select.
Customizing the Cart Icon behavior
Decide what happen when customers click the Cart Icon. They can go directly to the Cart Page.

Alternatively, you can set up the cart so that when it is clicked, the Mini Cart open on the side. From there, customers can view items and then either keep on browsing or click View Cart to go to the Cart Page.

To set what happens when the cart icon is clicked:
- Click the Cart Icon in your editor.
- Click Settings.
- Click the Settings tab
- Select what happens when customers click the Cart Icon.
よくある質問
Can customers add different types of items to the cart (store products, bookings services, restaurant items)?
How can my Wix Stores customers go straight to checkout, bypassing the Cart Icon and Cart Page altogether?

How can my Wix Bookings customers go straight to checkout, bypassing the Cart Icon and Cart Page altogether?

これは役に立ったか?
|