Wix Contacts: Creating and Using Contact Labels
読了目安時間: 2分
Labels help you group contacts based on their relationship with you and your business. For example, you could create labels for 'leads', 'important clients' or 'service providers'. You can use labels to filter your contacts, send email marketing campaigns to multiple contacts at once and more.
重要だ:
We're working on releasing the latest version of the Contacts panel, which is not yet available in all Wix accounts.
この記事では、その詳細について説明する:
Creating contact labels
Add a label in Contacts in your site's dashboard so you can later assign it to any contact.
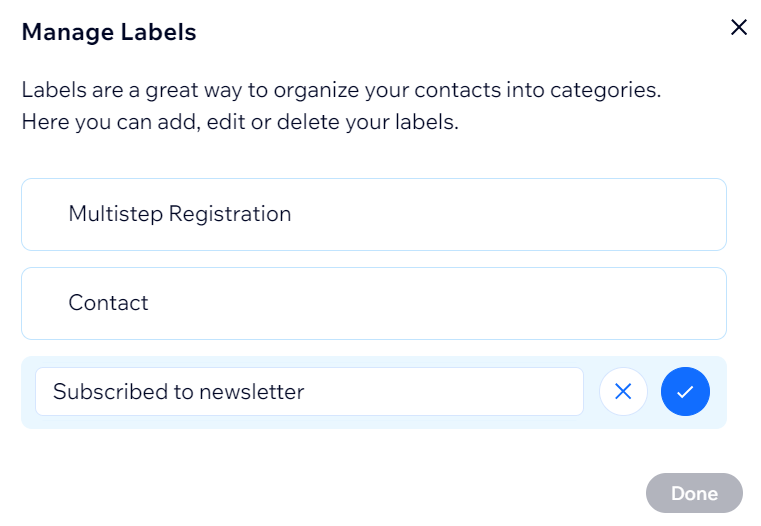
To create a contact label:
- Go to Contacts in your site's dashboard.
- をクリックする。 その他のアクション アイコン
 at the top right.
 - Click Labels.
- Click + Add Label.
- Enter the name of the label.
- Click the checkmark.
- 完了をクリックする。
Adding labels to contacts
Select a specific contact to add a label from their contact panel. You can select multiple contacts on the contact list to add labels in bulk.
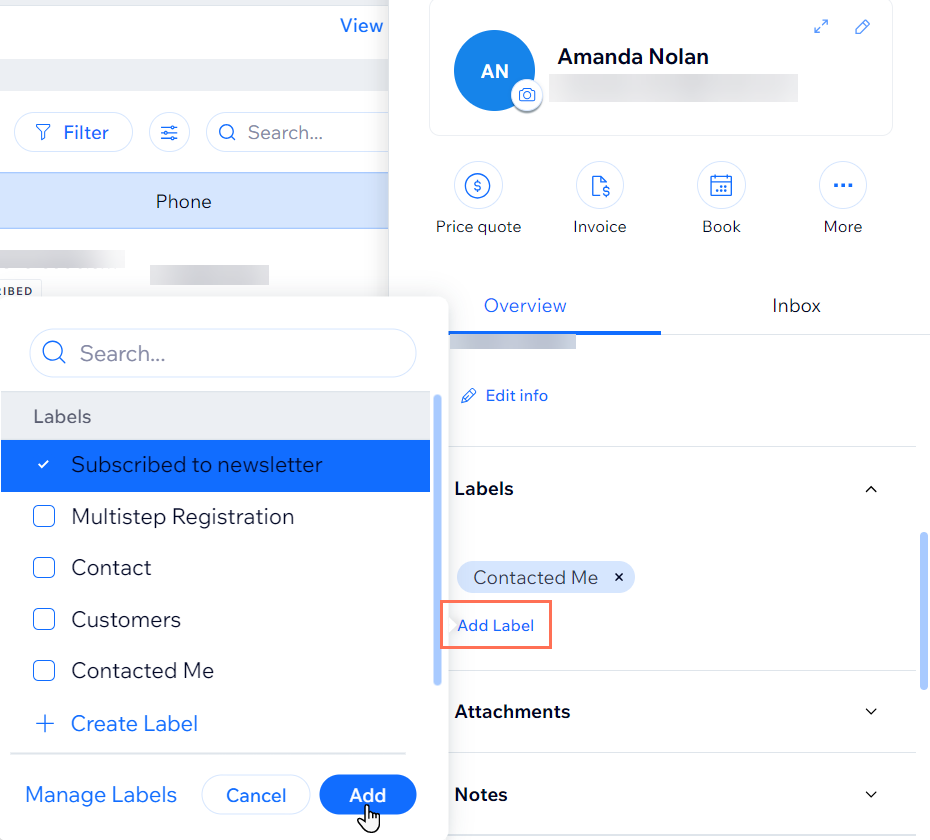
To add a label to a contact:
- Go to Contacts in your site's dashboard.
- Select the relevant contact.
- In the contact panel, click Labels.
- Click + Add Label.
- Select an existing label or click + Create Label to add a new one.
- Click Add.
Adding labels to multiple contacts?
- Select multiple contacts in your contact list and click Add Labels at the top of the list to label them all at once.
- You can also automate the process of adding a label by creating a new automation.
よくある質問
Click a question below to learn more about contact labels:
Why do my site visitors already have labels assigned to them?
What is the difference between a contact label and a segment?
これは役に立ったか?
|