CMS: Creating Custom Roles and Permissions
読了目安時間: 2分
Choose what your teammates and collaborators can access within the CMS (Content Management System) by creating custom roles for them. You can grant access to viewing content, adding and editing content, managing backups and more.
Important differences between permission types:
- CMS roles & permissions: The roles and permissions you assign to collaborators determine what they can do from within the CMS itself. This differs from collection permissions, which determine what collaborators can do from your live site.
- Collection permissions: Determine who can access the CMS collection content from your live site and what they can do with the content (e.g. view, add items, update existing content, delete content). Usually, this is done with input elements, but can also be done with the Data API. Collaborators are always considered 'admins' in collection permissions that control what people can do from the live site.
To create a custom CMS role:
- Go to Roles & Permissions in your site's dashboard.
- Click Manage Roles at the top.
- Click + Create New Role.
- Enter the Role Title and Description in the relevant fields.
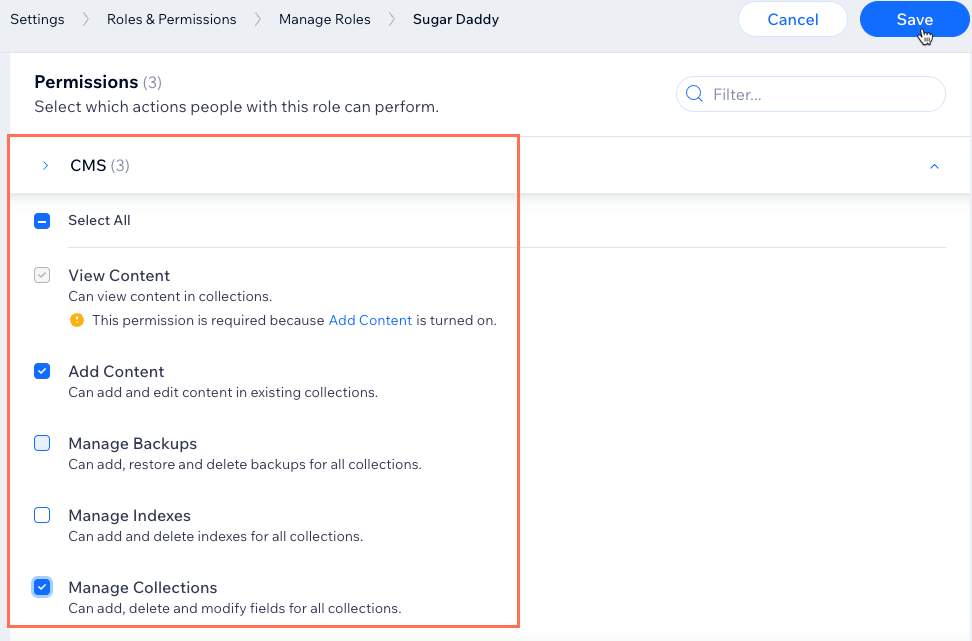
- Click CMS in the Permissions section.
- Select the checkboxes next to the permissions you want to assign to the role:
- View Content: Can view content in collections but cannot edit the content.
- Add Content: Can add and edit content in existing collections.
- Manage Backups: Can add, restore and delete backups for all collections.
- Manage Indexes: Can add and delete indexes for all collections.
- Manage Collections: Can create new collections, delete collections, and add, delete, or edit fields in collections.
- (Optional) Select more permissions from other areas (e.g. Editor, Sites, Stores) to add them to the role.
- 保存をクリックする。
これは役に立ったか?
|