CMS: Setting Up the Radio Buttons Input Element
18分
The Radio Buttons input element allows you to create interactive and user-friendly forms or filters on your website. You can use it to filter CMS content displayed in repeaters, galleries or tables so visitors can easily find what they are looking for. Or, use radio buttons to collect specific responses from visitors, such as survey answers or product preferences, helping you gather valuable data.
Using Radio Buttons to filter content on your live site
Connect your Radio Buttons input element to the same dataset as your repeater, gallery, or table and set it to filter content. Then choose the collection field you want to use as the filter and the condition for applying the filter. The values from the field will appear as radio buttons that your visitors can click to filter items displayed in the repeater, gallery or table.
Wixエディター
スタジオエディター
- 編集者のところに行ってください。
- Add the Radio Buttons input element:
- Go to the page where you want visitors to use radio buttons to filter live site content.
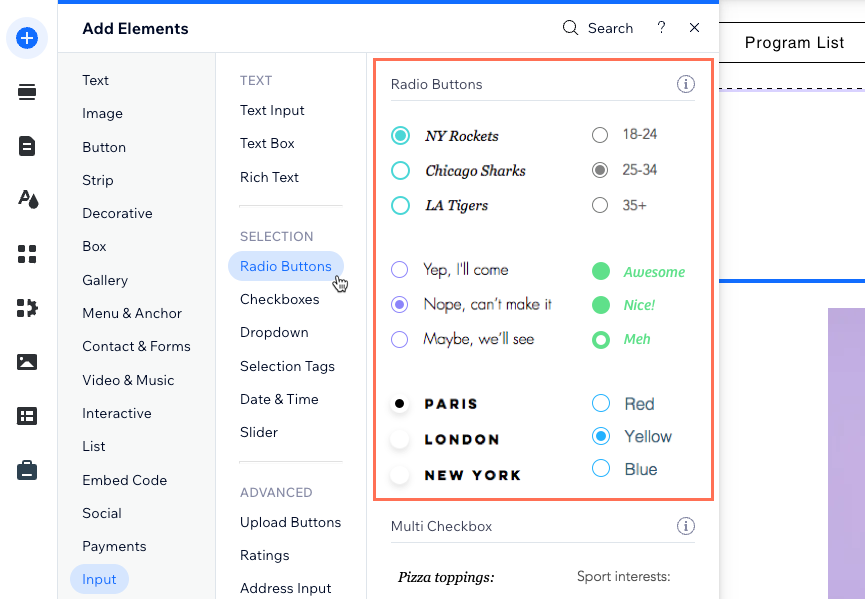
- クリック エレメントの追加
 エディターの左側にある
 - Click Input.
- Click Radio Buttons.
- Click and drag the relevant Radio Buttons input element onto the page.
- Connect the Radio Buttons element to the CMS:
- をクリックする。 CMSへの接続 アイコン
 on the Radio Buttons element.
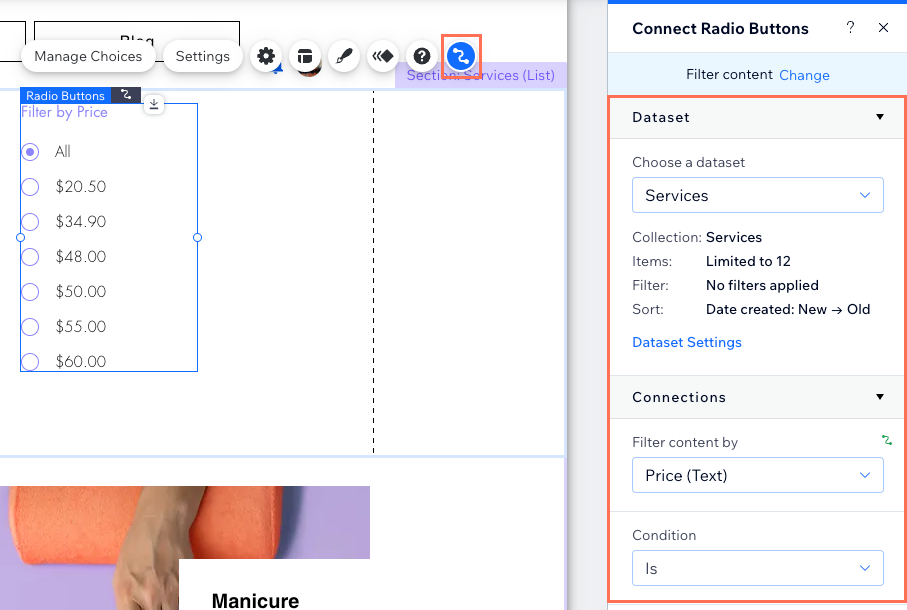
 - Select Filter content in the panel on the right.
Tip: If you haven't added a dataset to the page yet, add a dataset first (see the next step) then select Filter content. - Click the Choose a dataset drop-down and select the same dataset that connects to the elements (e.g. repeater, gallery, table) that you want visitors to filter.
- Click the Filter content by drop-down and choose the collection field that visitors will use to filter the content. You can connect the following field types: Text, Number, Tags, Reference
Tip: To add a new field to your collection and use it for filtering content, select Add new field, enter the field name, select the field type, and click Add. You can add values to the field in your CMS collection later. - Click the Condition drop-down and choose an operator that controls how the filter is applied (e.g. Is, Equals, Includes).
Note: The conditions vary depending on the connected field type.
- をクリックする。 CMSへの接続 アイコン
- Customize the Radio Buttons input element:
- をクリックする。 設定 アイコン
 to edit the field title that lets visitors know what the radio buttons do.
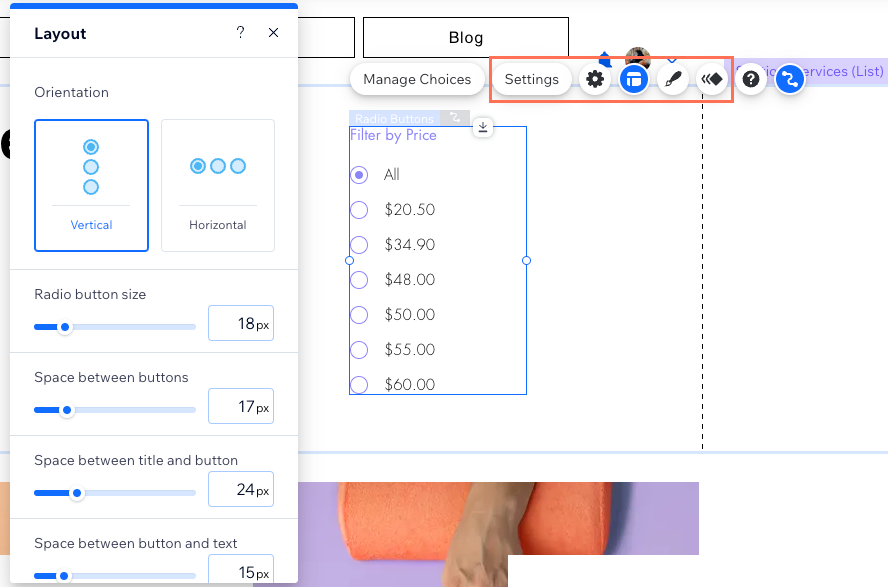
 - をクリックする。 レイアウト アイコン
 to choose a horizontal orientation or adjust the sizing, spacing, formatting, alignment or text direction.
 - をクリックする。 Design アイコン
 to choose a preset design and customize it further.
 - をクリックする。 Animation アイコン
 to choose and customize an animation effect.
- をクリックする。 設定 アイコン
- Click Preview to test your Radio Buttons element.
- 変更を公開する準備ができたら、「公開」をクリックします。
Using Radio Buttons to collect responses from site visitors
Set the Radio Buttons input element to collect content. Then connect it to a dataset that binds to a collection where you will store the responses. Set up the choices that visitors can select from in the radio buttons. When visitors click your submit button, their responses are saved to the connected collection field.
Wixエディター
スタジオエディター
- 編集者のところに行ってください。
- Add the Radio Buttons input element:
- Go to the page where you want visitors to click radio buttons to submit responses.
- クリック エレメントの追加 エディターの左側にある
- Click Input.
- Click Radio Buttons.
- Click and drag the relevant Radio Buttons input element onto the page.
- Connect the Radio Buttons element to the CMS collection where you will store the submissions:
- をクリックする。 CMSへの接続 アイコン on the Radio Buttons element.
- Select Collect content in the panel on the right.
Tip: If you haven't added a dataset to the page yet, add a dataset first (see the next step) then select Collect content. - Click the Choose a dataset drop-down and select a dataset that connects to the collection where you will store the submissions.
- Click the Value connects to drop-down and choose the field that will store the submissions. You can connect the following field types: Text, Number, URL, Date, Date and Time
Tip: To add a new field for storing submissions, select Add new field, then enter the field name and click Add. - Set the dataset mode and collection permissions:
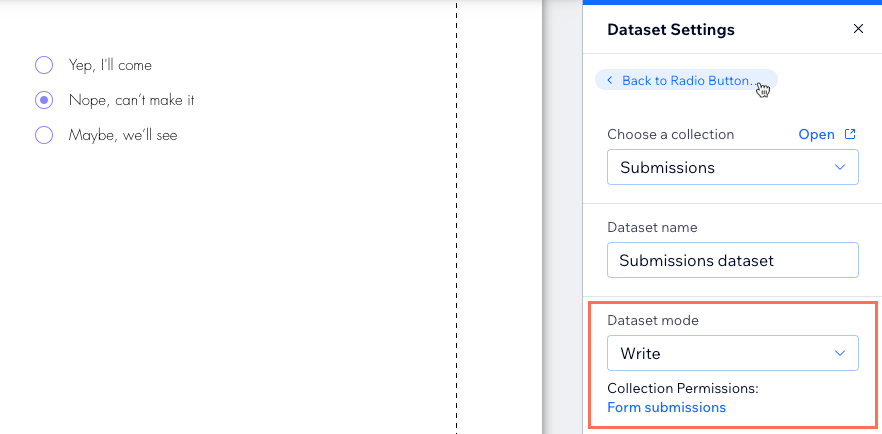
- Click Dataset Settings.
- Click the Dataset mode drop-down and select Write or Read & Write.
- (If necessary) Click the permissions type next to Collection Permissions and select Form submissions in the 1st drop-down. You can click the additional drop-downs to refine the permissions. Click Save once you're done setting the permissions.
- Click Back to Radio Buttons at the top of the Dataset Settings panel.
- をクリックする。 CMSへの接続 アイコン
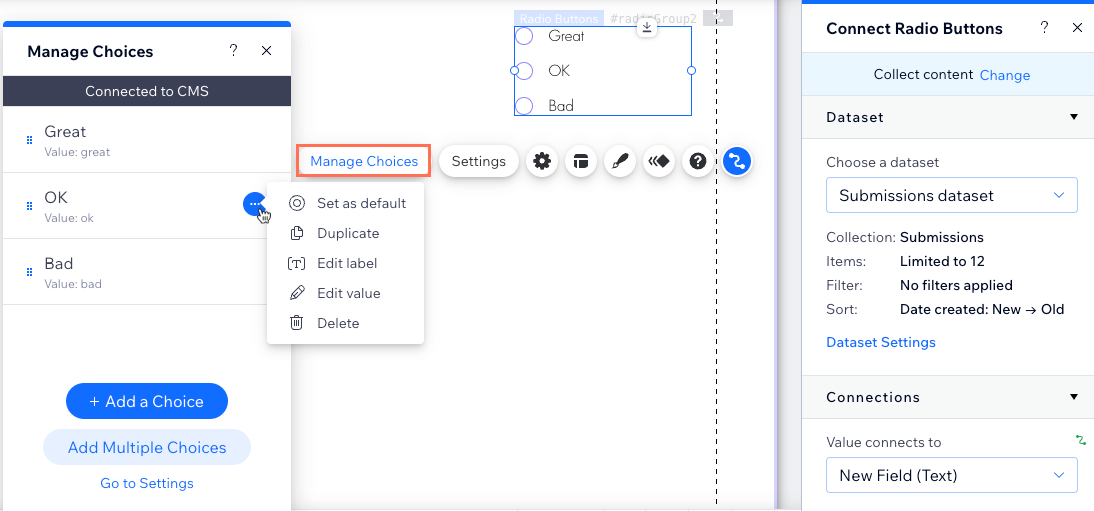
- クリック Manage Choices and choose how you want to set up the choices that appear as radio buttons:
- Bulk add or remove choices: クリック Add Multiple Choices and enter all the choices with each separated by a comma. Then click the バック アイコン
 to return to the choices.
 - Add a choice: Click + Add a Choice, then use the options to customize it.
- Edit a choice label: The label is the text visitors see next to the choice's radio button. Double-click the relevant choice to edit its label.
- Edit a choice value: (Velo only) The value is the text that is saved to your collection field when visitors submit their response. Hover over the relevant choice, click the その他のアクション アイコン
 and select Edit value.
 - Remove a choice: Hover over the relevant choice, click the その他のアクション アイコン and select 削除.
- Reorder choices: をクリックする。 Reorder アイコン
 next to the relevant choice and drag it up or down in the list of choices.
 - Set a choice as selected by default: Hover over the relevant choice, click the その他のアクション アイコン and select Set as default.
- Duplicate a choice: Hover over the relevant choice, click the その他のアクション アイコン and select Duplicate.
- Bulk add or remove choices: クリック Add Multiple Choices and enter all the choices with each separated by a comma. Then click the バック アイコン
- Customize the settings layout and design of the Radio Buttons element:
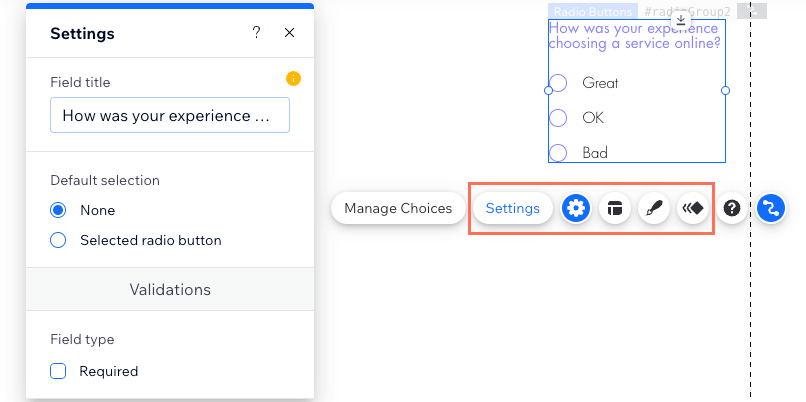
- をクリックする。 設定 アイコン to edit the following:
- Field title: Edit the title text that lets visitors know what the radio buttons do.
- Default selection: Choose which radio button is selected by default:
- None: None of the radio buttons are pre-selected.
- Selected radio button: Choose which radio button choice appears pre-selected by default.
- Field type: Select the Required checkbox to make it mandatory that at least one radio button is selected before the response can be submitted to your collection.
- をクリックする。 レイアウト アイコン to choose a horizontal orientation or adjust the sizing, spacing, formatting, alignment or text direction.
- をクリックする。 Design アイコン to choose a preset design and customize it further.
- をクリックする。 Animation アイコン to choose and customize an animation effect.
- をクリックする。 設定 アイコン
- Add a 'Submit' button for visitors to click to send their submissions.
- Click Preview to test your connections.
- 変更を公開する準備ができたら、「公開」をクリックします。
よくある質問
Click below for answers to common questions about Radio Buttons.
Is it possible to pre-select a radio button for visitors?
Can I collect multiple radio button responses in one form?
Which collection fields can I connect the Radio Buttons element to?
Why can't I connect the radio buttons to my collection fields?
これは役に立ったか?
|