Apps Made by Wix: Adding and Setting Up the Dropbox Folder App
4 min read
A great option for sharing docs and files (e.g. photos or videos) on your site is using the Dropbox Folder app. Add the app to your site, then connect it to your Dropbox account (or create a new Dropbox account). Once you've connected your account, you can customize how the app looks.
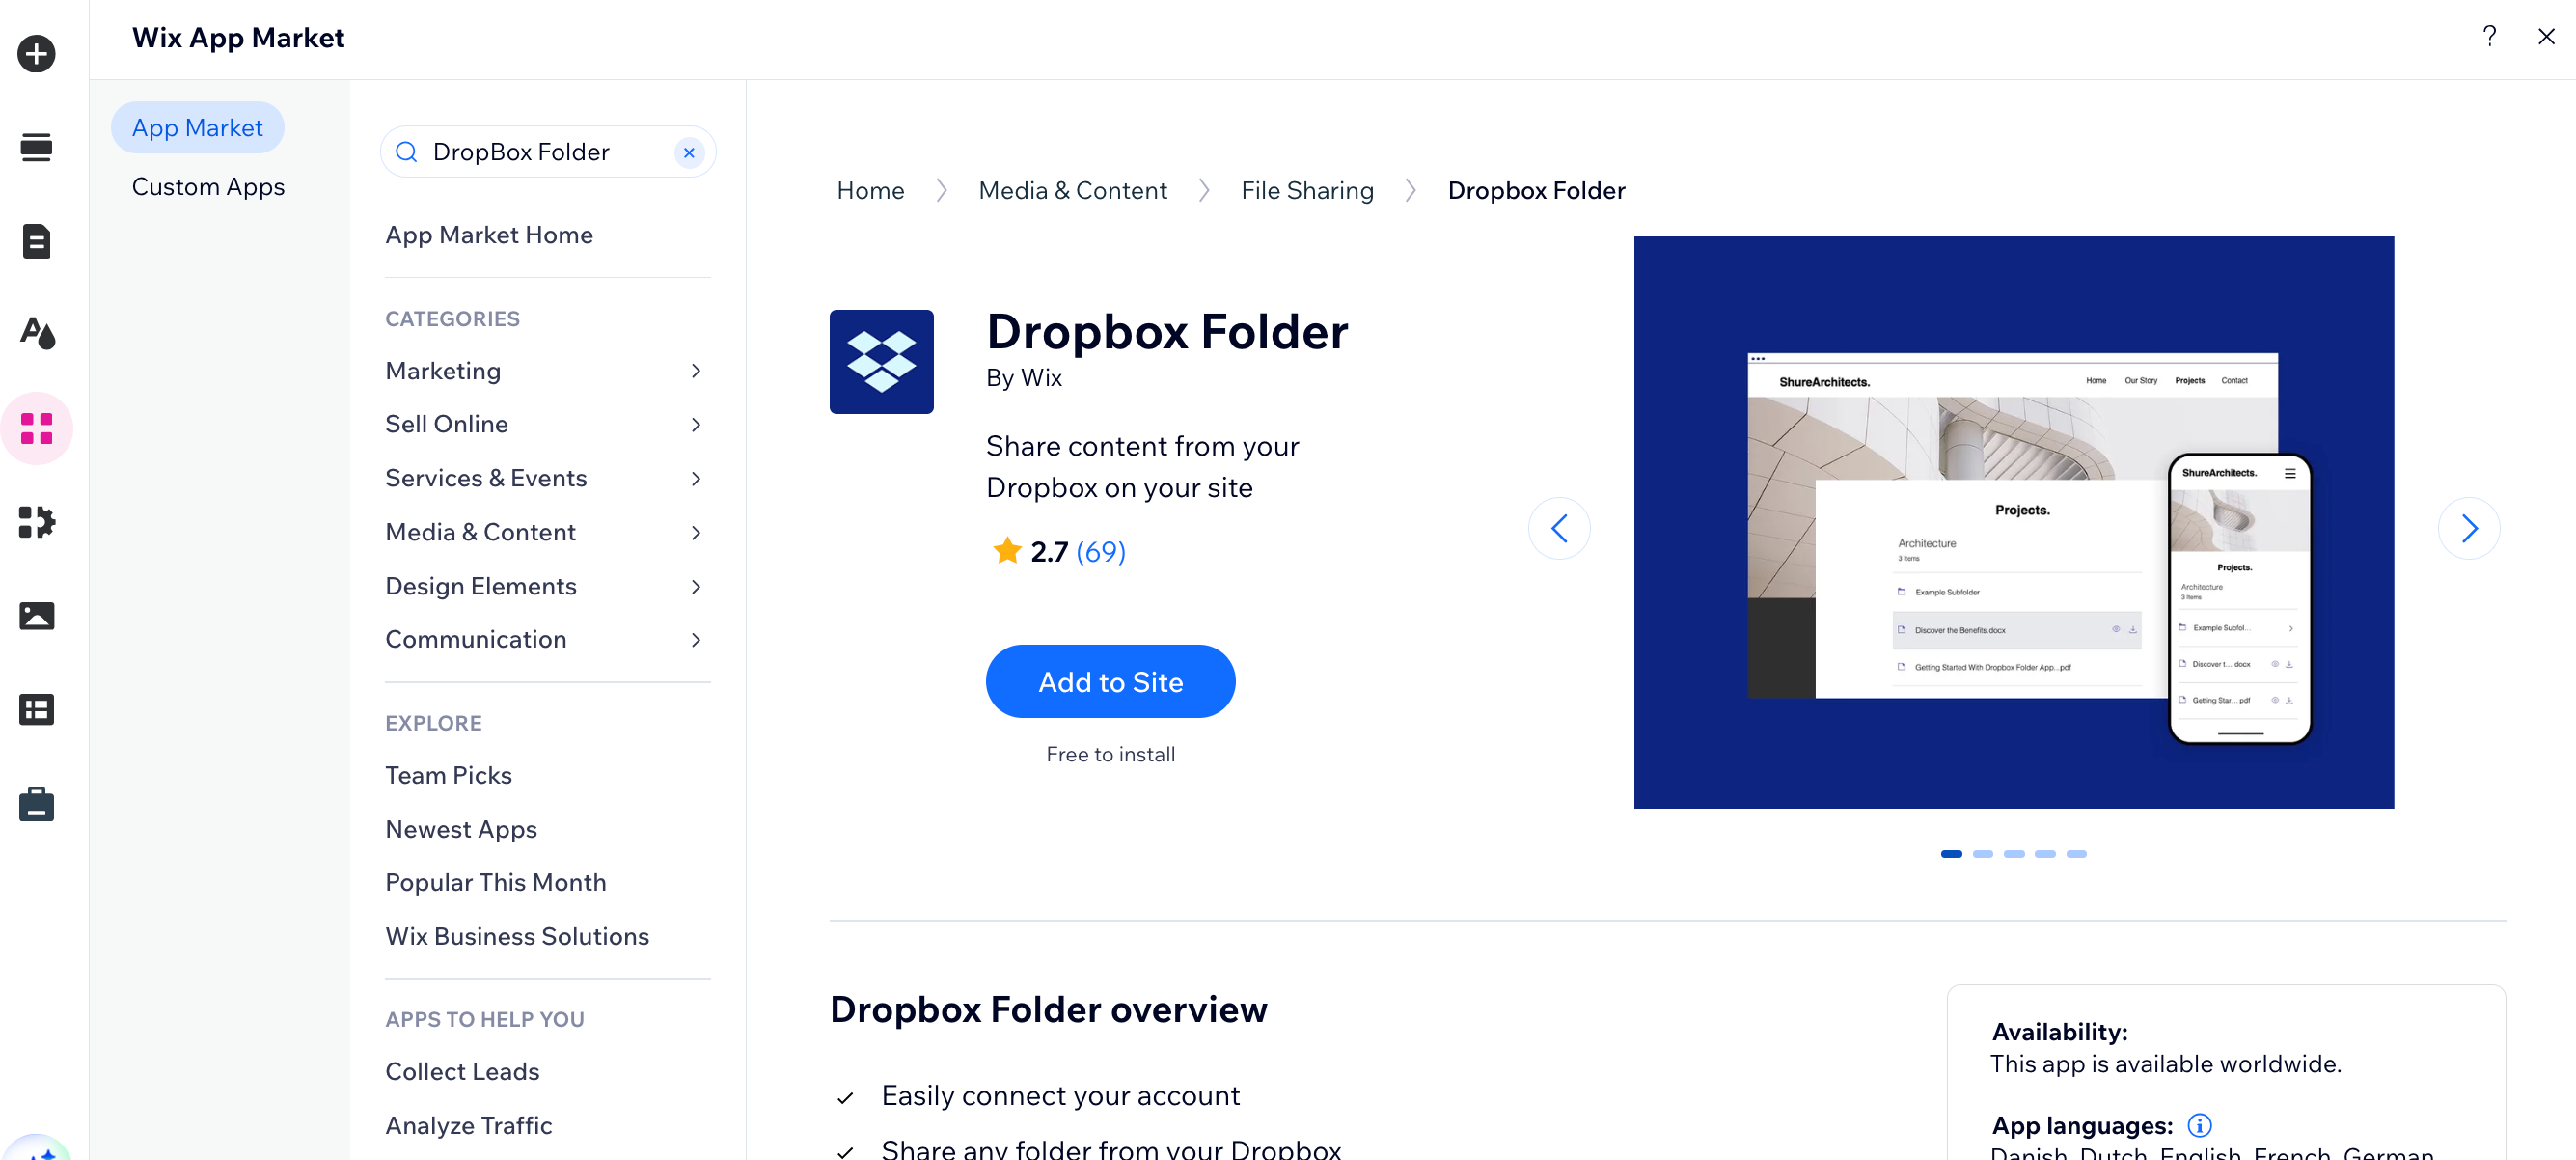
Step 1 | Add the Dropbox Folder app to your site
You can find the Dropbox Folder app in the Wix App Market. Go to the App Market in your editor to add it to your site, then connect it to an existing or new Dropbox account.
Wixエディター
スタジオエディター
- クリック Add Apps
 エディターの左側にある
 - Search for the Dropbox Folder in the search bar.
- Click Add to Site.
- Select the app in your editor and click Settings.
- Do one of the following:
- Click Connect Account and sign in to your Dropbox account.
- クリック Create a new account:
- Sign up with Dropbox.
- Verify your email address.
- Click Allow to grant access to display your Dropbox folders.
ヒント
If a pop-up does not open, try turning off your pop-up blocker or updating your browser version.
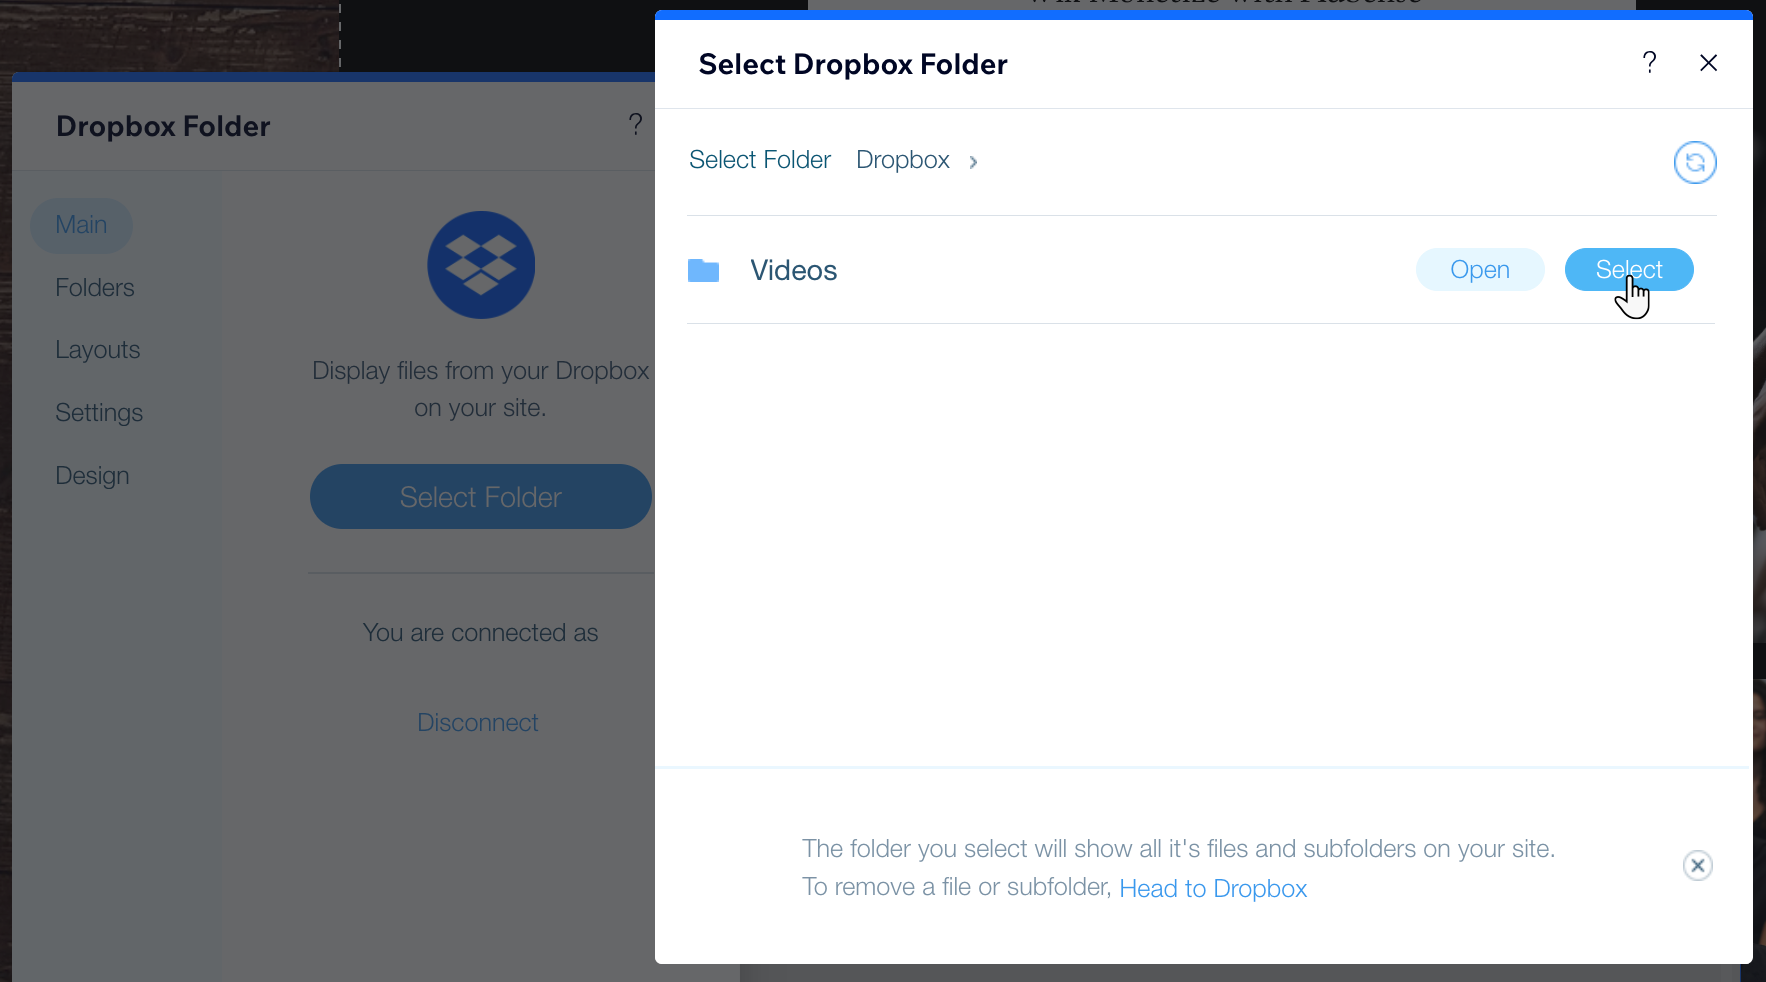
Step 2 | Choose which folders you want to display
After connecting the app to your Dropbox account, you'll be able to select which folders you want to make available on your site.
To select the folders:
- Click the Dropbox Folders app in your editor.
- 設定をクリックします。
- Click the Folders tab.
- Click Select Folder.
- Hover over the folder you want to display and click Select.
ヒント
If you added a folder recently, and it doesn't appear, click the リフレッシュ アイコン  .
.
.Step 3 | Customize how the app looks on your site
With the Dropbox Folder app, you can choose how the folder is displayed, what information is shown and what colors and fonts you want to use.
To customize how the app looks:
- Click the Dropbox Folders app in your editor.
- 設定をクリックします。
- をクリックする。 レイアウト tab to choose how you want to display the files inside your folder:
- List: Displays the full list of files in your folder.
- Icon: Displays the folder name. When clicked, a pop-up appears with a list of files.
- をクリックする。 設定 tab to choose what info you want to show in the folder:
- Click the Show title toggle to show or hide the folder title.
Tip: Edit the folder title in the Title text field. - Click the Show number of items toggle to show or hide the number of files.
- Click the Allow file preview toggle to show or hide the title.
- Click the Show title toggle to show or hide the folder title.
- Click the Design tab to customize the colors, fonts and icon style.
注:
The design options differ depending on the layout you chose in step 3 above.
よくある質問(FAQ)
Can I show some files in a specific folder and not others?
Can I add more than one folder to my site?
これは役に立ったか?
|