Wix Events: Adding an Image to an Event
8分で読める
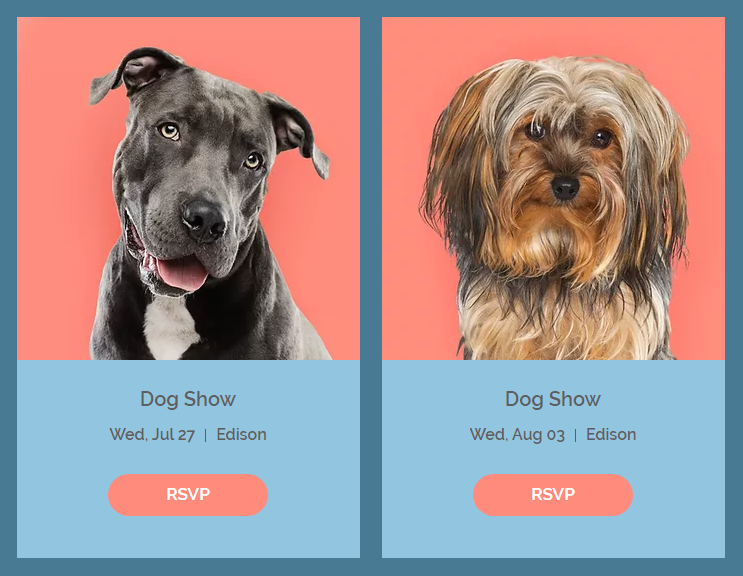
Add great images to entice site visitors to sign up for your events. Once you add an image to an event, you can control the way it looks on the Events List and the Events Details page.
ヒント
Make sure you align the ratio of the images you upload with the settings you select in the Editor. For example, if you upload images with a 16:9 ratio, we recommend that you customize your Event List and Event Details page to display images with the same ratio.
Step 1 | Add an image to an event
Start by adding a good-quality image to your event.
To add images to an event:
- Go to Events in your site's dashboard.
- Create a new event or select an existing one.
- をクリックする。 プラス アイコン
 under Event image in the General info section.
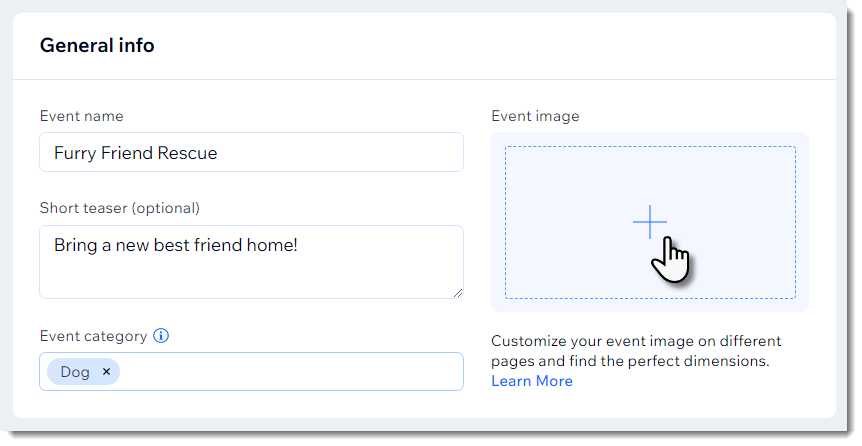
- (In the Media Manager) Select an existing image or click Upload Media to upload a new image.
- Click Save.
ヒント
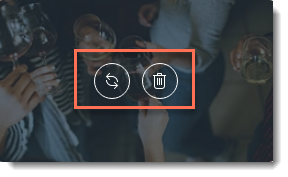
To replace or delete an image, hover over it and click the relevant icon.
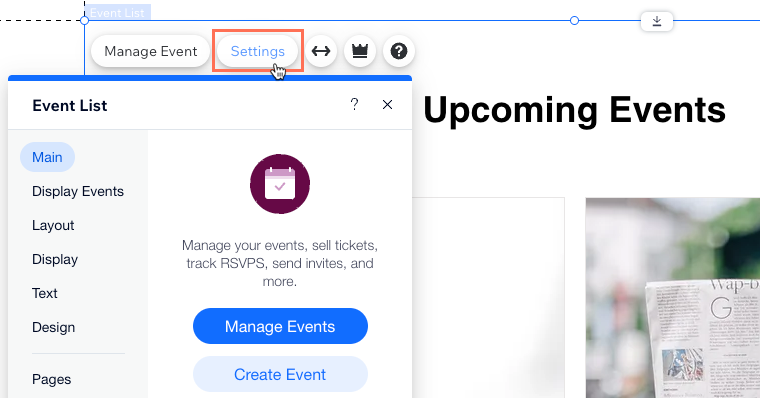
Step 2 | Customize image settings on the Events page
Go to your editor and select the layout you want to use in the Event List element on your Events page. After selecting a layout, you can customize the image settings.
To customize images on the Events page:
Wixエディター
スタジオエディター
- 編集者のところに行ってください。
- Go to the Events page:
- クリック ページ&メニュー
 エディターの左側にある
 - Click Event Pages.
- Click your Events page.
- クリック ページ&メニュー
- Click the Event List element on your page.
- 設定をクリックします。
- レイアウトタブを クリックする。
- Select a layout:
Grid, List, or Calendar layouts

Side by side layout

Step 3 | Customize image settings on the Event Details & Registration page
Now that you know which image ratio is going to be used for the Event List, you can customize the image in the page that displays the event details.
To set the image display on the Event Details & Registration page:
Wixエディター
スタジオエディター
- 編集者のところに行ってください。
- Go to the Event Details & Registration page:
- クリック ページ&メニュー エディターの左側にある
- Click Event Pages.
- Click Event Details & Registration.
- クリック ページ&メニュー
- Click the Event Details element on your page.
- 設定をクリックします。
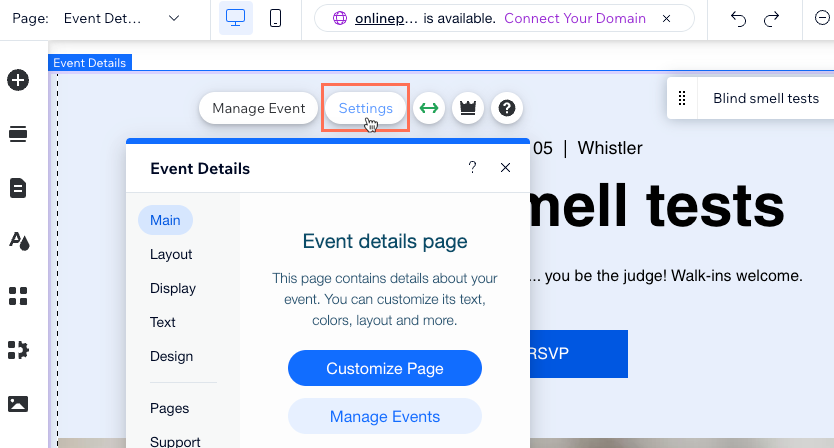
- レイアウトタブを クリックする。
- Select a header layout: Classic or Side by Side.
- Select a ticket picker layout: List or Cards.
- Select the alignment of your header and event info.
- (Classic layout only) Select the image aspect ratio: 1:1 or 16:9.
- (Side by Side layout only) Select an alignment option: Left or Right.
- Select an image resize option:
- Crop: Images are cropped to the same size. If you upload images in different sizes and with different aspect ratios, part of the image may be cut off.
- Fit: If you select the fit option, the entire image is displayed and keeps its original aspect ratio.
- Drag the slider to adjust the image opacity.
- Select the color that appears behind the image.
これは役に立ったか?
|