Wix Blog: Featuring Posts in Wix Blog
4 min read
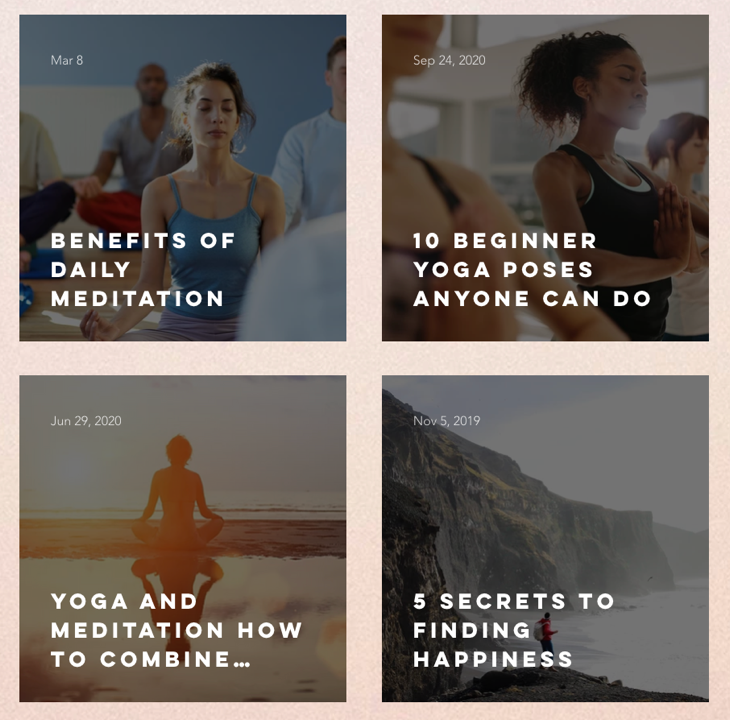
Hand pick specific blog posts that you want to feature. You can display featured posts anywhere on your site using a Post List. You choose where you want it to appear, how it looks and which posts to feature.
What's the difference between featured posts and pinned posts?
- Featured posts: Featured posts can appear on any page of your site. You can choose exactly which individual posts you want to feature and add a custom feed to display those selected posts.
- Pinned posts: Pinned posts are "sticky posts" that appear in your regular blog feed. Because they are pinned, the stay at the top of your feed even after you publish newer posts.
Step 1 | Set some blog posts as "featured"
In order to display featured posts in your Post List, you'll need to mark some of your posts as "Featured". You can do this while creating or editing a blog post under Post Settings in the Blog Post Editor.
To set posts as "featured":
- Go to Blog in your site's dashboard.
- Click Create New Post or hover over an existing post and click Edit.
- Click the Settings tab on the left side panel.
- Enable the Set as Featured Post toggle.

Step 2 | Add the Post List element to your site
A Post List is a blog add-on that lets you display a specific group of posts (e.g., featured posts) anywhere on your site. Go to the page you want to place the featured posts on and add the Post List add-on from your editor's Add panel.
To add the Post List element:
Wixエディター
スタジオエディター
- 編集者のところに行ってください。
- クリック エレメントの追加
 エディターの左側にある
 - Click Blog.
- Click your preferred Post List.

Step 3 | Set your Post List to display featured posts
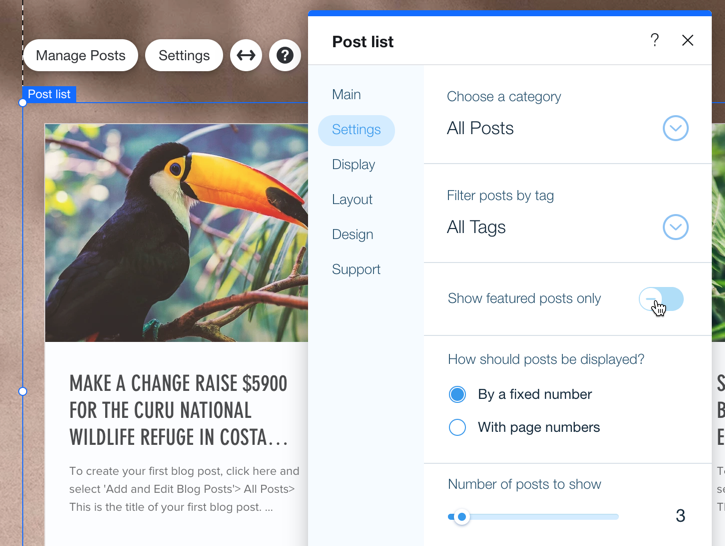
Once you've added your Post List, you can set the Post List to display any posts you want. To display featured posts only, select this option in the Post List settings.
To set the Post List to display featured posts:
- Click the Post List in your editor.
- 設定をクリックします。
- Click the Settings tab.
- Enable the Show Featured Posts only toggle.
ヒント
You can also set the Post List to display posts from a specific category or tag, and set the number of posts you want to display. Learn more about setting up a Post List.
Step 4 | Customize the look of your Post List
This part is up to you. You can choose what information appears on the Post List, change the layout or customize the design. If you're happy with how your Post List looks, you can skip to the next step.
To customize the look of your Post List:
- Click the Post List in your editor and click Settings.
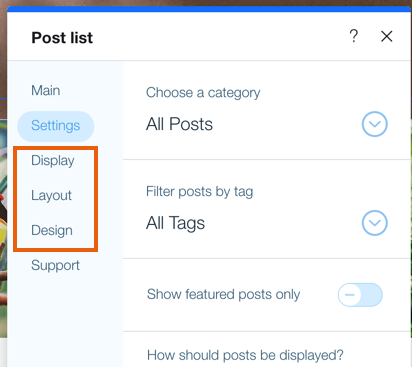
- Choose what you want to customize:
Display
レイアウト
Design
これは役に立ったか?
|