CMS: Adding and Setting Up the Switch Input Element
読了目安: 6分
Allow visitors to toggle a switch and submit a binary response to a Boolean (true or false) collection field. For example, you could use the Switch input element to allow visitors to opt-in to a newsletter from a custom form made up of other input elements.
Wixエディター
スタジオエディター
- 編集者のところに行ってください。
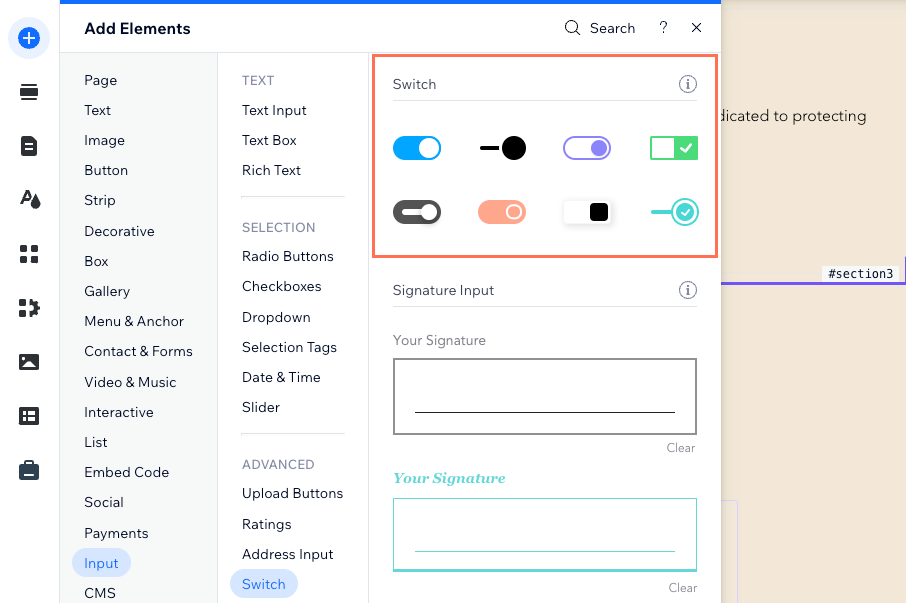
- Add the Switch input element:
- Go to the page where you want visitors to use the Switch input to submit a response.
- クリック エレメントの追加
 エディターの左側にある
 - Click Input.
- Click Switch.
- Click and drag the relevant Switch input element onto the page.
- Connect the Switch element to the CMS collection where you will store the submissions:
- をクリックする。 CMSへの接続 アイコン
 on the Switch element.
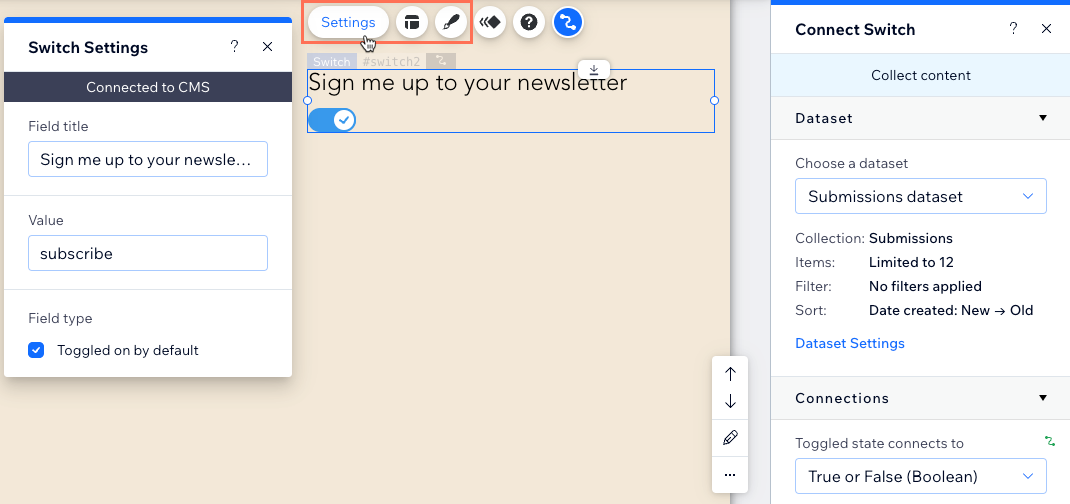
 - Click the Choose a dataset drop-down and select a dataset that connects to the collection where you will store the submissions.
- Click the Toggled state connects to drop-down and choose the boolean field in which you will store the submissions.
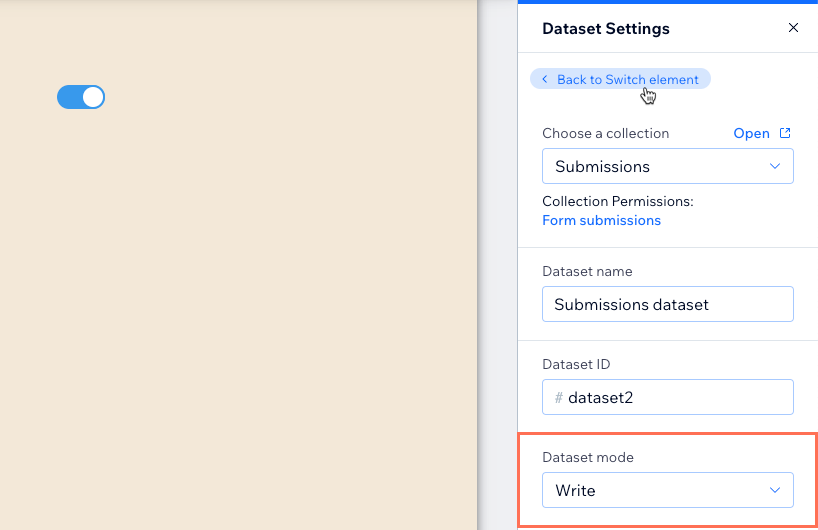
Tip: To add a new field for storing submissions, select Add new field, then enter the field name and click Add. - Set the dataset mode and collection permissions:
- Click Dataset Settings.
- Click the Dataset mode drop-down and select Write or Read & Write.
- (If necessary) Click the permissions type next to Collection Permissions and select Form submissions in the 1st drop-down. You can click the additional drop-downs to refine the permissions. Click Save once you're done setting the permissions.
- Click Back to Switch element at the top of the Dataset Settings panel.
- をクリックする。 CMSへの接続 アイコン
- Customize the Switch input element:
- クリック 設定 to edit the following:
- Field title: Edit the title text that lets visitors know what the switch does.
- Value: (Velo only) Enter the component's value property used in your JavaScript code.
- Field type: Select the checkbox if you want the switch to be toggled on by default.
- をクリックする。 レイアウト アイコン
 to set the handle placement, size, icon display, and direction.
 - をクリックする。 Design アイコン
 to customize the design for both states: Switch On そして Switch Off
- クリック 設定 to edit the following:
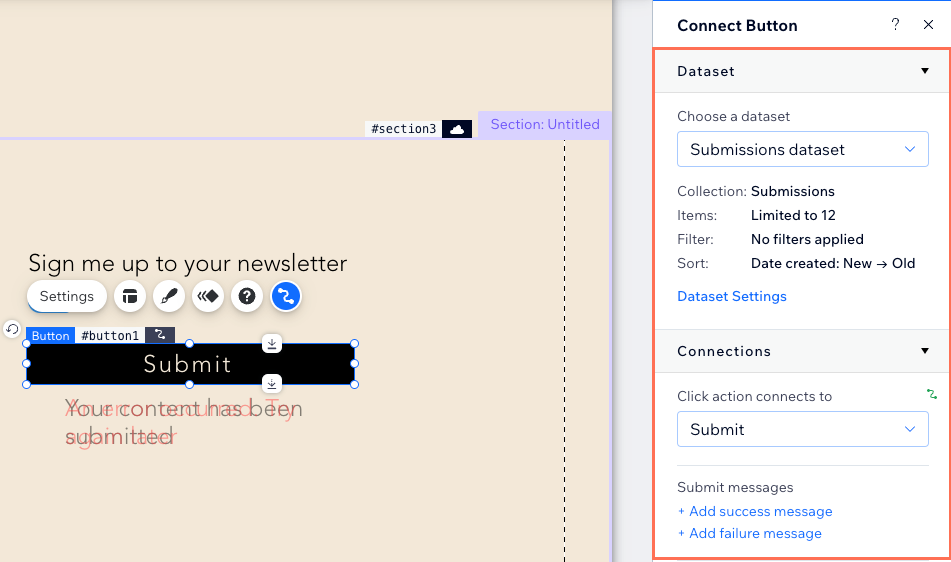
- Add a 'Submit' button for visitors to click to send their submissions.
- Click Preview to test your connections.
- 変更を公開する準備ができたら、「公開」をクリックします。
これは役に立ったか?
|